Reclaimed Doll Dress On Form
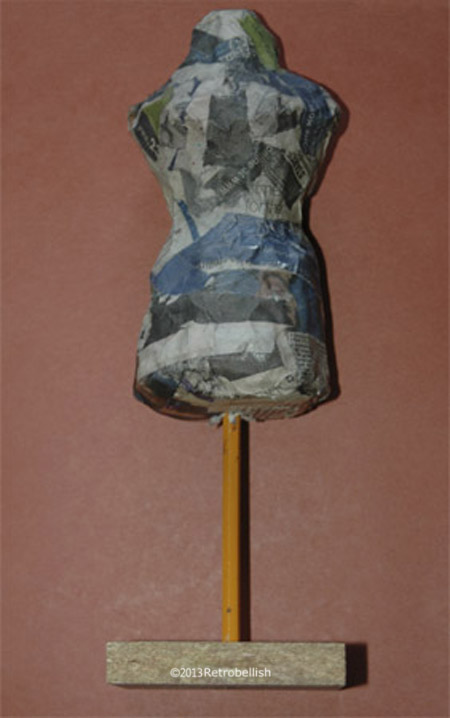
Throughout the years I have bought several interesting dolls at craft shows and garage sales. One of my doll’s had a dreary dress and for the longest time, I’ve wanted to make that doll a prettier dress. To make it easier to work on the dress, I decided to make a dress form as close as possible to the doll’s size. The form started out from a piece of reclaimed aluminum foil that I rolled up into an oblong shape. I then took old newspaper strips, made paper mache and wrapped the paper mache strips around the foil. Paper mache forms are sold at most craft stores, but are usually smaller in size. I needed this form to be approximately the same size as the doll, so making my own form was the best option and it also gave me a chance to use up some recyclable items I had lying around the house.
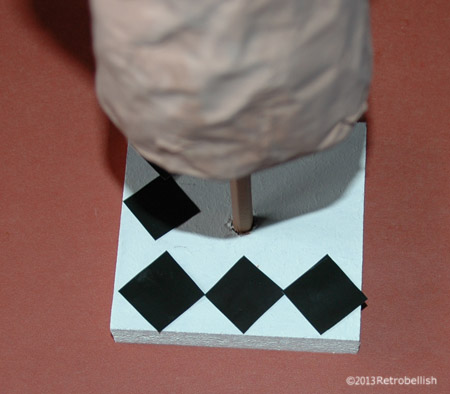
I was quite happy that the form I made was very close in size to the doll’s size. I then needed to make a stand and a base. Once the form was thoroughly dry, I drilled a small hole into the bottom center of the form and into the square wood base I had found in my garage. Using my hot glue gun, I put some hot glue onto both ends of an old pencil and stuck the pencil into the drilled hole and into the base. Once the hot glue dried, I used a light tan acrylic craft paint to paint the paper mache form.
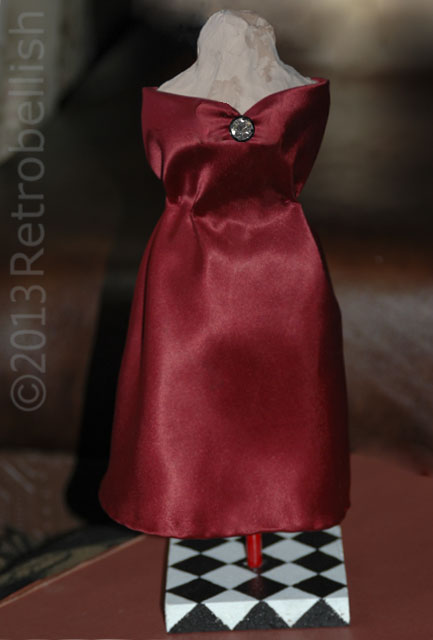
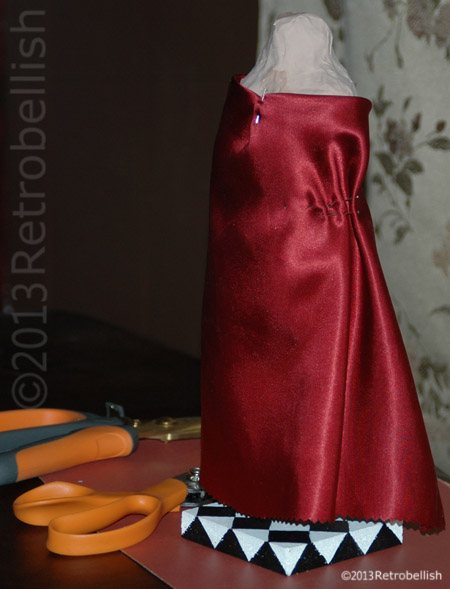
I had picked out a beautiful deep satin red fabric from my old fabric remnants to make the doll’s dress, a color that I thought looked very nice in contrast to the form’s tan color. I then decided to use acrylic craft paints to create a harlequin black and white pattern on the base. Once the base was painted in white and the paint dried, I cut out black little squares from an old calendar I was about to recycle. By trial and error, I found the right size little squares for the harlequin print on the base and used a pencil to trace the little squares. I then used black acrylic paint to paint in the little squares. Once the base was thoroughly dry, I was finally ready to make the dress.
As you may have read on some of my previous posts, I love to make miniature dresses for dolls or just as art pieces. This project started out as a form for my doll’s dress, and although the red satin fabric lent itself to a much fancier dress than I intended for my doll, I decided to keep this evening dress as an art project on this stand. I used small snaps to fasten the back of this dress, so I plan to remove the dress, make a different style dress for my doll, and place the red dress back on this stand permanently as an art piece. To add a little sparkle to the top center of the dress, I used a small earring (a partner to the one I lost), but you can use any piece of jewelry you’d like.
So although I intended to use this form to help me make my doll’s dress, I was happy that I made an art piece to place in my sewing room, yet I will still be able to make my doll’s dress, and then display the red dress on my shelf as an art piece. Even though I chose to make my paper mache form, you could buy one and make your very own piece of art. Remember, just have fun and enjoy your crafts.