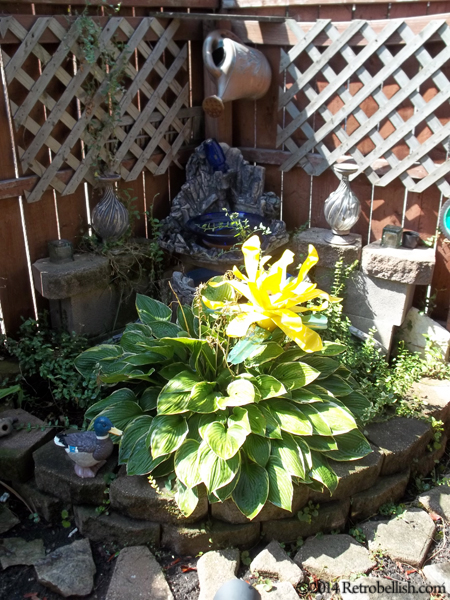
Reclaimed Items Yard Fountain
First Published August 30, 2014 | By Diana Romaxx
http://retrobellish.com/2014/08/reclaimed-items-fountain/Click Here To See Original Post
Junk Mail Collage Flowers
This fun reclaimed project is made from junk mail and a few graphics that we made in a graphic program. If you receive a lot of junk mail, as a crafter you know that a lot of these papers have some bright and beautiful colors. I like to save scrap papers or cardboard that have bright or gradient colors that I can use to make paper collage art – it’s like painting with paper.
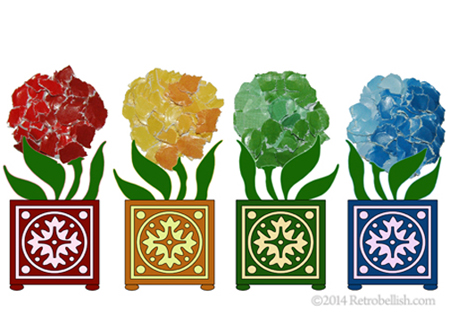
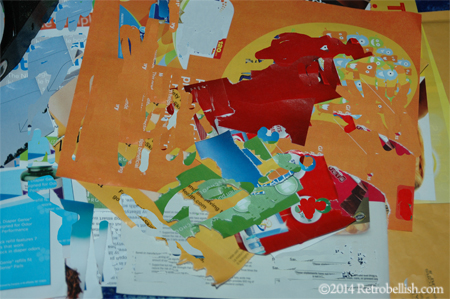
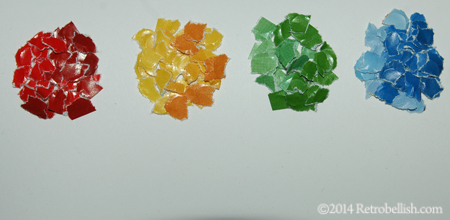
Sometimes, I also paint some of the pieces of paper with acrylic paints to achieve certain colors that I don’t have at the moment. Just let them dry and then rip them into small pieces or whatever size you need to create your own paper collage.
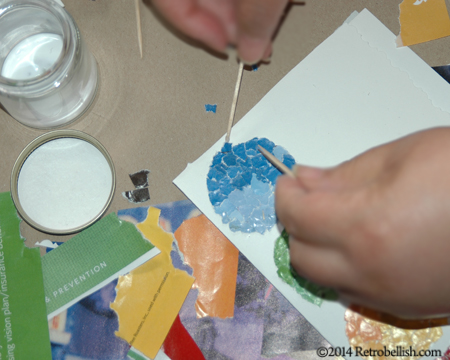
White glue is my perferred choice to glue down the scrap paper pieces but you can use your favorite choice. For me, I prefer a toothpick to glue down the paper pieces, but I have also used a junk paint brush when needed.
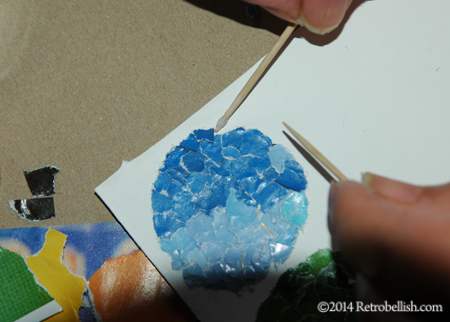
After all the paper pieces are dry on the background, I scan the complete piece, and then use a popular image editing software to compose the flowers with the pot images, or the pots could also be made of paper. The piece can then be framed for a more complete look. And although I chose to make a flower collage, one can make whatever you can think of. So just have fun and create your own piece of art.
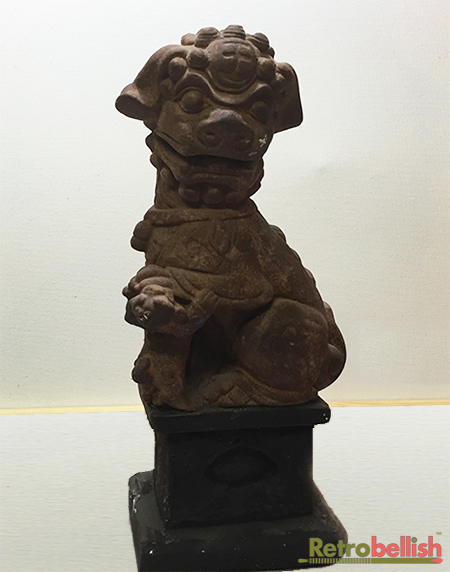
Refurbished Foo Dogs
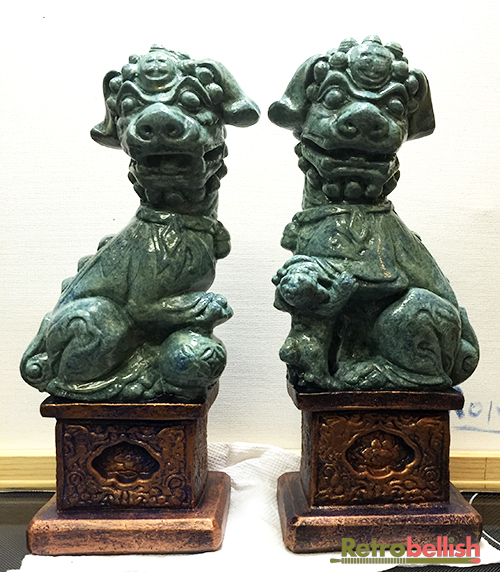
These two foo dogs were originally painted with a dark rust color and had gotten chipped from laying around the garage. After we did some redecorating in one of our rooms, I wanted to give these small statues a second life by giving them a faux rustic stone finish. I began by adding a layer of dark moss green acrylic paint with a soft brush. I let that layer thoroughly dry before adding the next layer. I then used a soft sponge to add a lighter shade of the same moss green over some areas of the statue and making sure to leave some of the dark moss color show through. Once that shade dried, I added a watered down medium shade of the moss green with a soft brush and the colors began to look blended in some areas and gave the finish a mottled look. Once the third layer was completely dry, I applied the fourth and final layer of very light moss green paint sporadically over the statue, which further blended the colors, and gave me the stone-like finish I wanted. I then repeated the same process on the second statue.
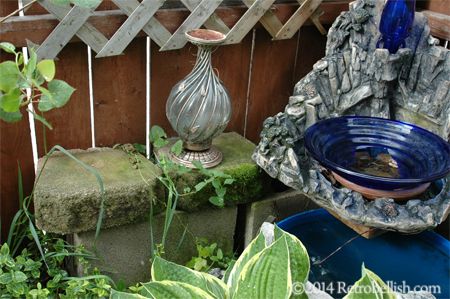
I painted the base with a soft brush using a flat black acrylic paint. Once that layer dried, I painted the next layer using the same soft brush, but for contrast, I used a flat navy blue acrylic paint. Once this layer thoroughly dried, I used a soft dry brush to apply a fast light stroke of metallic bronze acrylic paint, leaving very little of the navy blue and black colors showing through. Once the bronze paint dried, I sprayed the entire piece with a coat of clear acrylic gloss.
Re-purposed Halloween Tot Bag
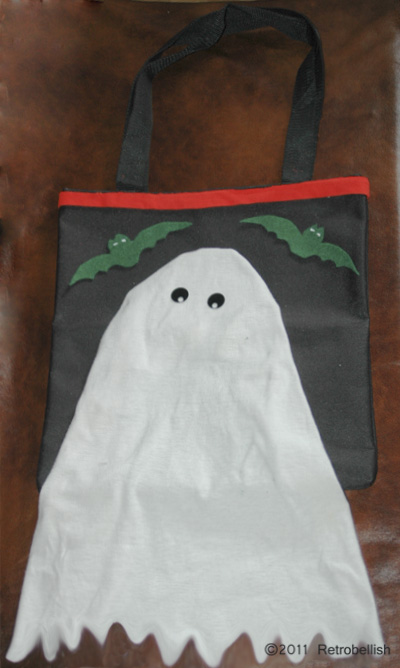
(This project was originally published October 23, 2011) Halloween is a great time of the year to reuse a lot of fabric remnants and other leftover craft materials to create fun ghoulish pieces. This project is made from an old tote bag I had laying around, an old white tee shirt, some leftover pieces of fabrics, cardboard, and a hot glue gun (or fabric glue).
I drew out an idea on paper and decided on embellishing the tote bag with some trim, a little ghost and two bats. I used an old white tee shirt to make the ghost, a round plastic lid to partially trace onto cardboard for the shape of a ghost head, an orange piece of trim, a small piece of black fabric (round sequins or buttons) for ghost eyes, a small piece of cardboard to make a bat template, and a small piece of green felt (or any green fabric) for the bats… Click Here To See Project
Paris Theme Paper Plates
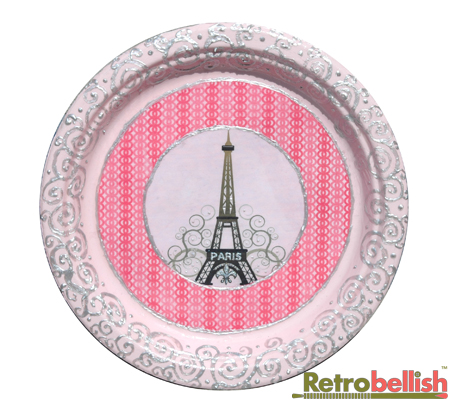
This beautiful Paris theme plate started with one of our original graphic designs of the Eiffel Tower surrounded with swirls against a light pink background and framed within a dark pink circular pattern. I had several large pink paper plates that were left over from a party and thought our Eiffel Tower design would look great in the center of one of these large plates. Because it was computer designed, it was easy to re-size the design to fit perfectly in the center of the plate. I then cut out the round design, glued it to the center of the pink paper plate using white craft glue, and let it dry.
Next, I used a small tube of silver fabric paint to trace the round edges of the circular design. I then used the same silver fabric paint to draw a freehand swirl design in the outer areas of the plate. For this part of the project, I only painted the swirls in about one-half of the plate’s outer area because it is difficult to hold the plate while drawing the swirls without smudging the fabric paint. To avoid smudging the fabric paint, I let the fabric paint dry overnight, and then continued painting the other half of the plate the next day. This project turned out so well in pink, I decided to create another one in blue.
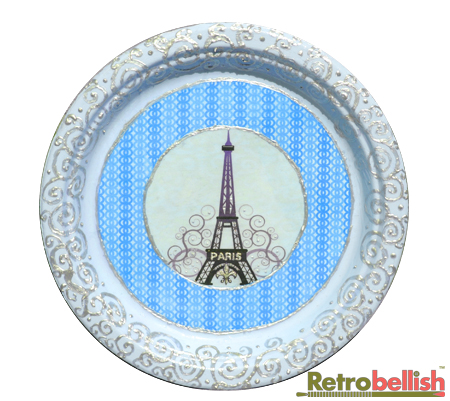
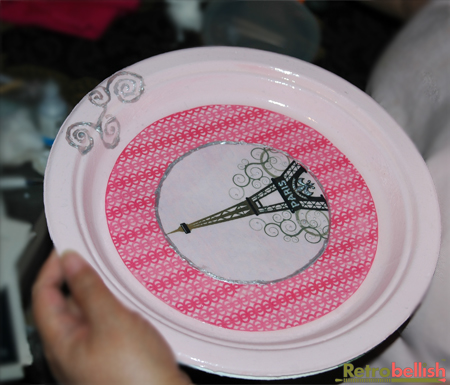
The next step is entirely optional, but once the fabric paint on the plate is completely dry, I would suggest you seal the entire plate with a glossy or matte Mod Podge or any similar product. I coated the entire surface of the plate with glossy Mod Podge. As always, just because we created this one in paper, don’t be afraid to create your very own project. You could also use a clear glass plate, plastic plate, styrofoam plate even a round circular piece of wood, so don’t be afraid of the medium and just create your very own project – you will truly enjoy it. Thank you for your visit. Diana Romaxx
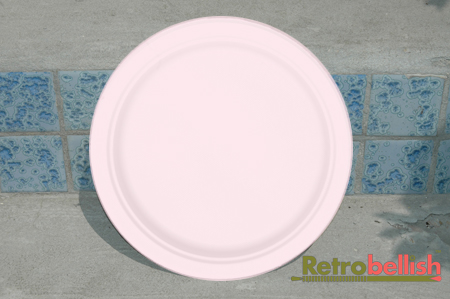
Back View Of Paper Plate
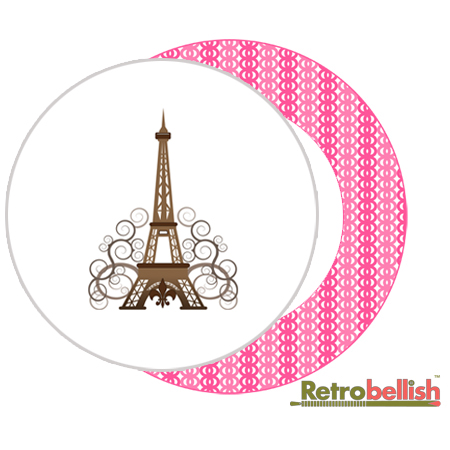
Our Two Graphic Designs