Reclaimed Items Yard Fountain
First Published August 30, 2014 | By Diana Romaxx
http://retrobellish.com/2014/08/reclaimed-items-fountain/Click Here To See Original Post
Repurposed Halloween Tote Bag (Re-Post)
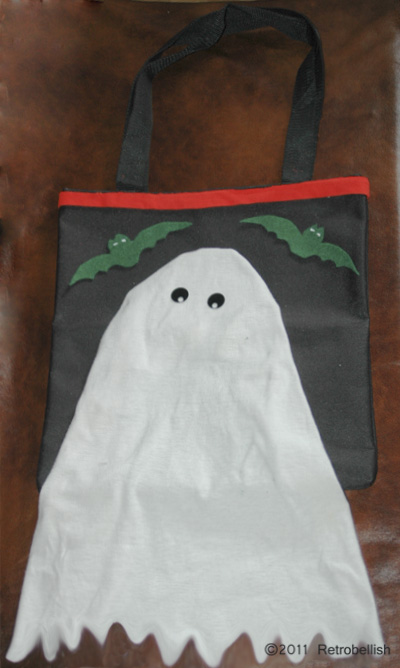
(This project was originally published October 23, 2011) Halloween is a great time of the year to reuse a lot of fabric remnants and other leftover craft materials to create fun ghoulish pieces. This project is made from an old tote bag I had laying around, an old white tee shirt, some leftover pieces of fabrics, cardboard, and a hot glue gun (or fabric glue).
I drew out an idea on paper and decided on embellishing the tote bag with some trim, a little ghost and two bats. I used an old white tee shirt to make the ghost, a round plastic lid to partially trace onto cardboard for the shape of a ghost head, an orange piece of trim, a small piece of black fabric (round sequins or buttons) for ghost eyes, a small piece of cardboard to make a bat template, and a small piece of green felt (or any green fabric) for the bats… Click Here To See Project
Baby Shower Corsage Reposted
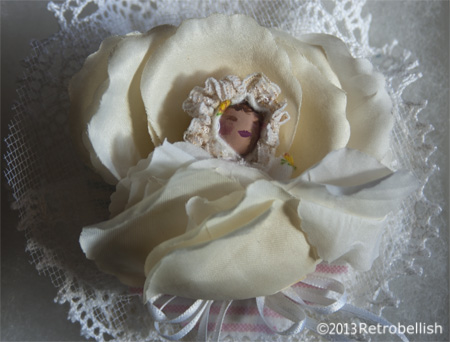
Welcome, This post was originally published October 10, 2013. This I have always enjoyed making baby shower items such as centerpieces, umbrellas and corsages using reclaimed items. I was inspired to make this baby shower corsage by looking at pictures of beautiful natural flower corsages. Since I didn’t know the baby’s gender, I decided to use neutral light colors in all the materials I chose. I looked in my craft box and found remnants I had left over from other projects. I had a cream colored silk flower, a small piece of lacey trim, a small piece of white tuling, a few swatches of soft flannel fabric, a small pierced wooden bead for the head, leftover piece of interface and a strand of white ribbon…See Original Project Here
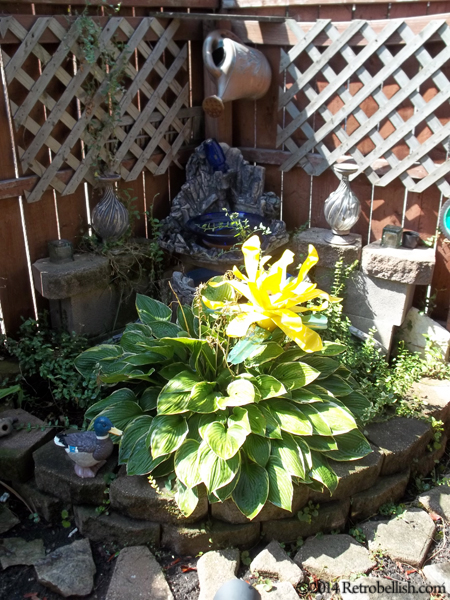
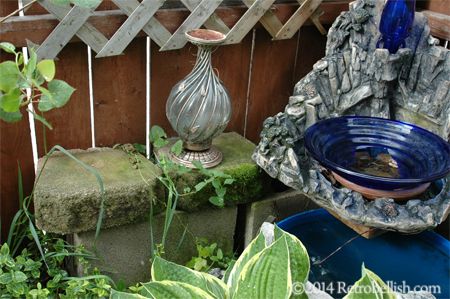
Reclaimed Items Fountain
This fountain started out from a food grade blue plastic barrel. We cut the barrel in half leaving more of the barrel on the bottom. We then buried the barrel about two feet into the ground. Next we started to build up the sides with dirt that we had left over from a fence project. Everything you see in the photo was left over from different projects or given to us by friends.
Years ago when several of our trees were small, we had placed decorative garden pavers around each one. As the trees grew throughout the years, we removed the pavers and saved them. We used these old garden pavers to build a decorate wall around the fountain and placed a few on the sides to use as shelves. We also added a lot potting soil on top of the dirt so we could plant some flowers and plants. We also used several old flat lime stones to create a small path in front of the fountain. The yellow pop bottle flower was from a previous Retrobellish project Found Here.
Embellished Teal Blue Knit Blouse

This project started out from one of my thrift store finds. I had come across this teal blue blouse that I really liked, but the only thing wrong was that the stripes around the collar and sleeves were faded, which made the blouse look worn out. Looking at the blouse more closely, I knew that I could create a decorative piping to cover the faded black stripes. To achieve this, I used a size I crochet needle and size 3 black fashion crochet yarn (100% Mercerized Cotton).
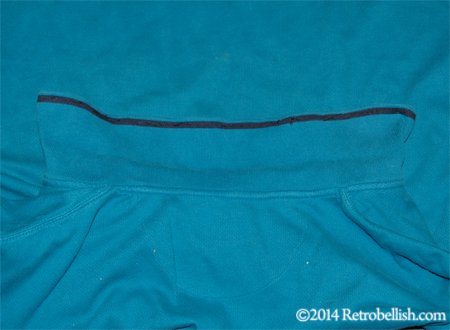
I made the crocheted piping (using single stitches) to cover the black faded stripe around the collar and more piping to cover the faded stripes around each of the sleeves. The blouse actually looked better than I thought and I had plenty of black crochet yarn, so I decided to also pipe around the V neckline of the blouse. It gave the blouse an all new look and the best part of it was that it was so fast and easy to do.
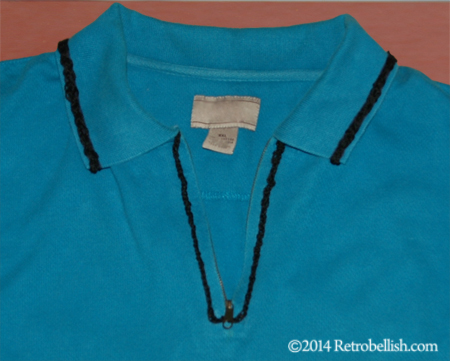
So just pick any item you may want to embellish and just by adding a little bit of piping you can embellish an old shirt back to life. So just have fun and create your own.