Repurposed Halloween Tote Bag (Re-Post)
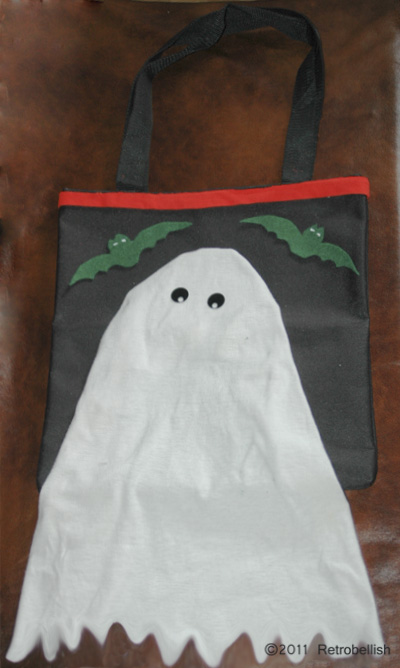
(This project was originally published October 23, 2011) Halloween is a great time of the year to reuse a lot of fabric remnants and other leftover craft materials to create fun ghoulish pieces. This project is made from an old tote bag I had laying around, an old white tee shirt, some leftover pieces of fabrics, cardboard, and a hot glue gun (or fabric glue).
I drew out an idea on paper and decided on embellishing the tote bag with some trim, a little ghost and two bats. I used an old white tee shirt to make the ghost, a round plastic lid to partially trace onto cardboard for the shape of a ghost head, an orange piece of trim, a small piece of black fabric (round sequins or buttons) for ghost eyes, a small piece of cardboard to make a bat template, and a small piece of green felt (or any green fabric) for the bats… Click Here To See Project
Baby Shower Corsage Reposted
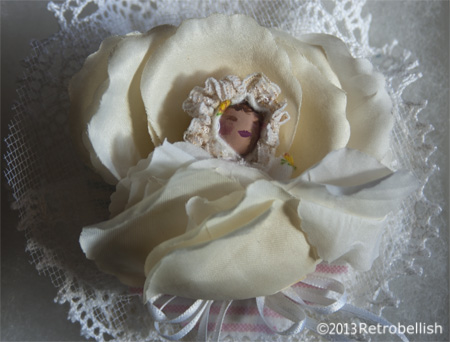
Welcome, This post was originally published October 10, 2013. This I have always enjoyed making baby shower items such as centerpieces, umbrellas and corsages using reclaimed items. I was inspired to make this baby shower corsage by looking at pictures of beautiful natural flower corsages. Since I didn’t know the baby’s gender, I decided to use neutral light colors in all the materials I chose. I looked in my craft box and found remnants I had left over from other projects. I had a cream colored silk flower, a small piece of lacey trim, a small piece of white tuling, a few swatches of soft flannel fabric, a small pierced wooden bead for the head, leftover piece of interface and a strand of white ribbon…See Original Project Here
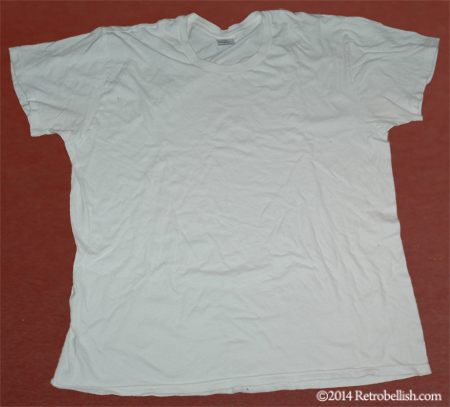
Embellished Tee-Shirt
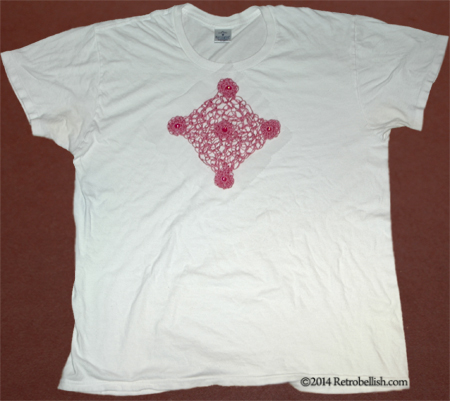
I love the beautiful crocheted and lacey trims I’ve seen on a lot of blouses and dresses. I have a comfortable but very plain white tee shirt that I’ve wanted to embellish for quite a while, and after seeing so many beautiful crocheted designs, I finally decided to try making my own crocheted embellishment to sew onto my tee shirt.
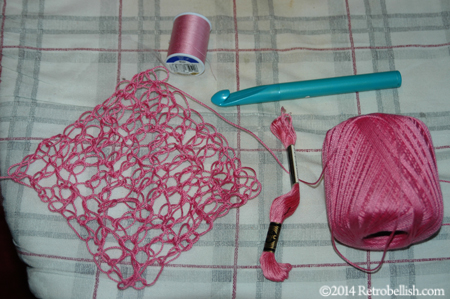
I chose a very pretty pink crochet yarn for this project (Size 3 Crochet yarn, 100% Mercerized cotton). For years, I’ve always loved a crocheted design on the center of an old scarf of mine, so I tried crocheting something similar using different sized crochet needles, but nothing I tried looked lacey enough. I then tried crocheting simple single stitches with my larger needles and that’s when I began to create an open lacey design that looked very nice.
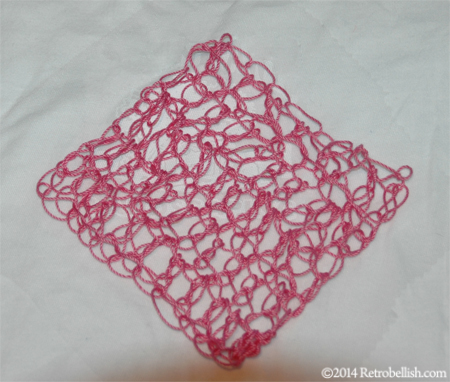
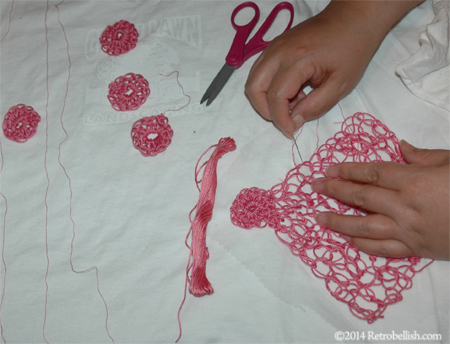
After trial and error, I found that a very large Size Q crochet needle created a loose pretty stitch I really loved. I decided to make a square shape so that when turned on its side it became a diamond shape. I single crocheted one row of 12 chains and then crocheted 12 rows of single stitches. The large open stitches of the crocheted square looked very nice when laid flat, but were very loose when I picked up the square shape. For stability I decided to sew the crocheted square in place on white tuling. I cut a square of white tuling (about an inch longer (on all sides) than the size of the crocheted square). Once I centered the crocheted piece onto the tuling, I trimmed away a little of the tuling all the way around. Using a sewing needle and a single strand of matching pink embroidery floss, I sewed the crocheted piece (on the white tuling) onto the tee shirt.
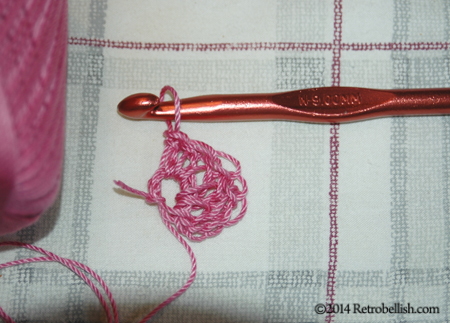
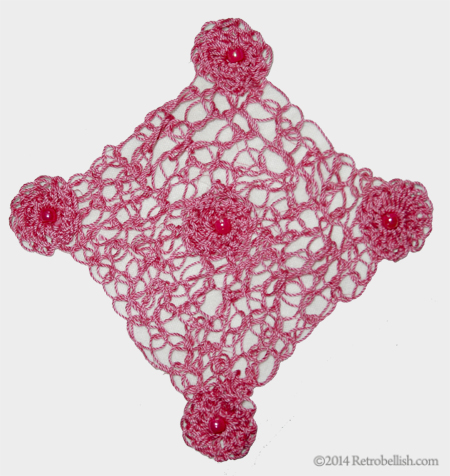
I wanted to further embellish the diamond shape at each corner and possibly in the center, so I made rosettes to adorn each corner of the crocheted diamond shape and another rosette in the center. I crocheted the rosettes using a Size N crochet needle, crocheting six single chains (using the same pink crochet yarn) and made 12 double-crochet stitches for each rosette. I repeated this four more times. Using pink embroidery floss and sewing needle, I sewed the rosettes onto the crocheted piece (making sure I sewed through the tuling and tee shirt as well). Using a sewing needle and pink polyester sewing thread, I sewed a large iridescent pink barrel bead through the center of each rosette.
Like so many of the other projects I’ve made here, this is only one example of how to embellish a tee shirt with a simple crocheted design. So just have fun creating a design of your own to embellish your tee shirt by just crocheting it and sewing it on.
Embellished Teal Blue Knit Blouse

This project started out from one of my thrift store finds. I had come across this teal blue blouse that I really liked, but the only thing wrong was that the stripes around the collar and sleeves were faded, which made the blouse look worn out. Looking at the blouse more closely, I knew that I could create a decorative piping to cover the faded black stripes. To achieve this, I used a size I crochet needle and size 3 black fashion crochet yarn (100% Mercerized Cotton).
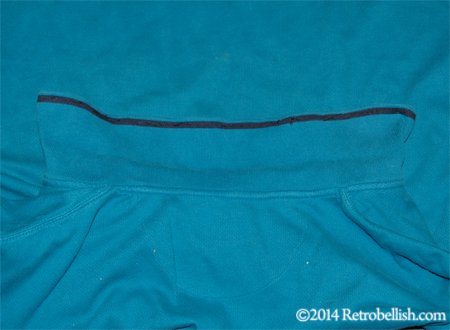
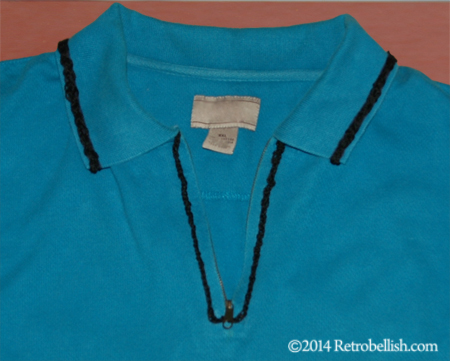
I made the crocheted piping (using single stitches) to cover the black faded stripe around the collar and more piping to cover the faded stripes around each of the sleeves. The blouse actually looked better than I thought and I had plenty of black crochet yarn, so I decided to also pipe around the V neckline of the blouse. It gave the blouse an all new look and the best part of it was that it was so fast and easy to do.
So just pick any item you may want to embellish and just by adding a little bit of piping you can embellish an old shirt back to life. So just have fun and create your own.
Retrobellish Fashion Accessories
These are some of our previous reclaimed fabric projects about fashion accessories. Click on the pictures to read the whole articles. Reclaimed Fabric Red & Black Choker
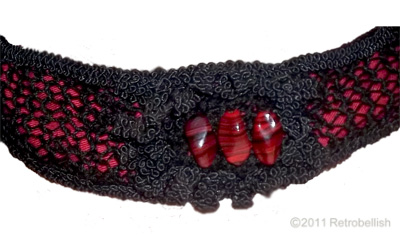
The choker was made from a leftover red fabric strip of soft thick cotton and a stretchy black netting that I knitted. I knitted the two pieces (using size 8 knitting needles and size 3 crochet thread–12 stitches wide by 36 rows). Next I hand sewed the edges of the finished knitted piece at the edges stretching it as I sewed it across the face of the red fabric to make the stitches wider and show off more of the red fabric. I then sewed on a trim all the way across on both edges.
Wearing Finished Beaded Fabric Cuff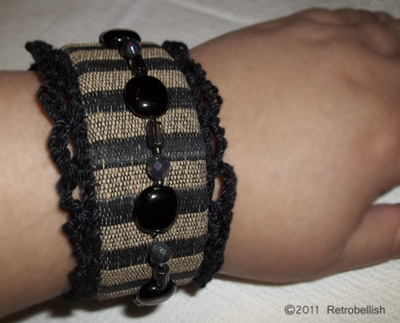
The finished cuff measured approximately 2 inches wide by 10 inches long. For fabric support, I used a 1/8 inch thick interfacing about a ¼ inch smaller than the fabric’s measurements. I wrapped the fabric around the interfacing and hand sewed the fabric with the seam in the back. I also sewed a small piece of solid black fabric over the seam in the back of the cuff to hide the seam and used a small black snap for the cuff’s closure.
Finished Denim, Lace and Pearl Pin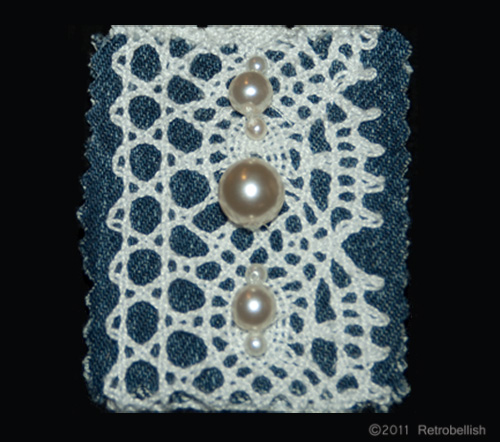
Recycling even the small scrap pieces of fabrics leftover from other projects could produce little fun pieces such as embellishments for other projects. I have a nice casual denim jacket that has an outside left breast pocket. The pocket is square in shape and I’ve always thought it would look nice with some kind of pin, but I didn’t like the look of any of the pins I have. I looked through my fabrics, trims and beads and combined a few things to see if I could make a pin for my jacket. I really liked the look of blue denim covered with a leftover piece of white lace trim. I looked through my beads and found some pretty white pearl beads of all different sizes. A few of the pearls looked nice over the white lace trim and both looked nice against the dark blue of the denim.