Elegant Lilac Scarf
Materials I Used in this Project:
Organza fabric (52” L x 10” W )
Fabric scissors and Pinking shears
Tape measure
Straight pins
Sewing thread and needle
1 skein fun fur (optional)
Size 10 (U.S.) knitting needles
* * * * * * * * * * * * * * * * * * * * * * * * * * * ** * * * * * * * * *
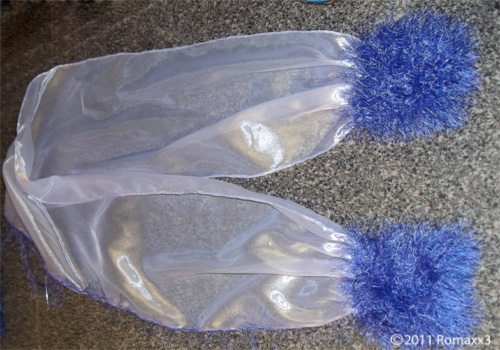
A few years ago, I bought several yards of a beautiful lilac colored organza at a great fabric sale. At the time, I had no idea what I would make with it, but I loved it, so I bought it. Recently, I bought a violet purple dress and thought it would look better with a scarf of some kind. I remembered the organza fabric and thought it might work. I held the organza next to the dress and the violet colors looked great together, so I decided make an organza scarf.
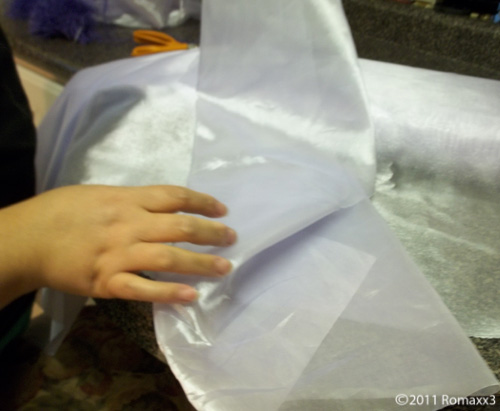
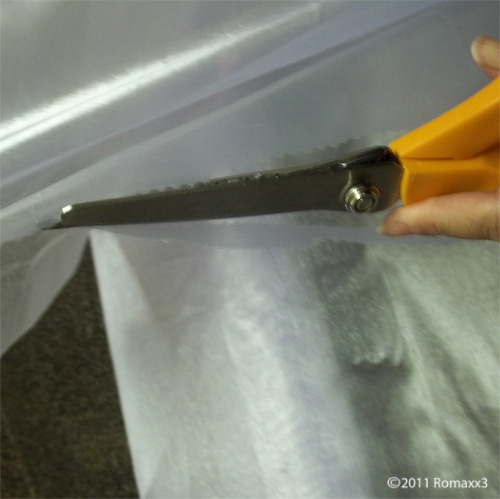
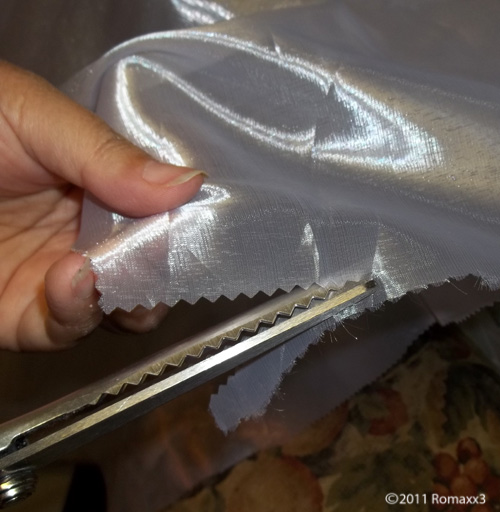
I have several scarves that I tried on with my dress so I could get an idea of the length and width that would compliment my dress. I picked out the scarf that I thought was the perfect length and width and used it as a template to cut the organza. I carefully pinned the scarf to the organza and used pinking shears to cut the fabric. I also added a seam allowance of about ¼ inch all the way around. After measuring the cut organza, it turned out to be 52” long and 10-1/2 wide.
I sewed a hem only on the two length sides of the scarf and left the tail ends raw (that I had also cut with pinking shears). This part is optional and you can decorate (or not decorate) each end of your scarf anyway you’d prefer, but I planned to knit some furry yarn into two separate rectangular pieces to cover each end of the scarf.
I thought the ends would look better if I sewed a running stitch about 2 inches from each scarf end and then sewed on the knitted furry rectangles. To make each of the knitted rectangles, I used size 10 (U.S.) knitting needles and casted on 21 stitches and knitted nine rows (or any length you’d prefer). I actually kept knitting rows (holding them up to the scarf end) until the length was longer than the edge of scarf, which is how I came up with my measurements.
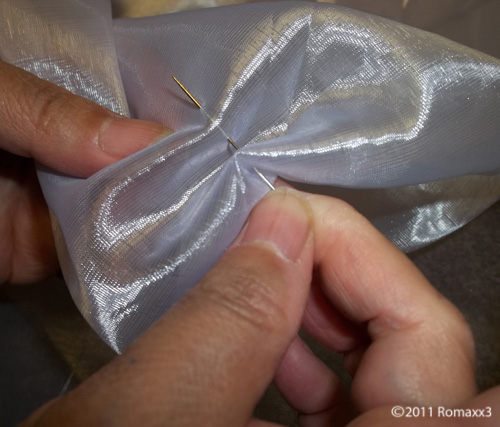
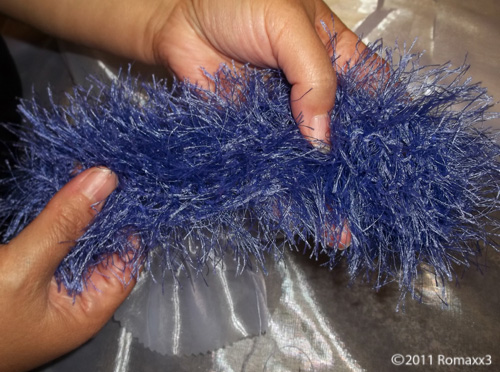
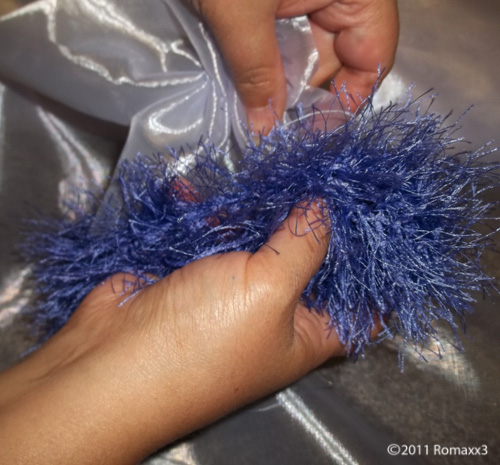
Next, I wrapped one of the furry pieces around the gathered end of the scarf (with the center furry rectangle covering (hiding) the stitches) and spread it out as evenly as I could all the way around. I began to pin the furry yarn to the scarf in a few spots. I then started sewing a few stitches to tack down the furry yarn to the scarf. You don’t have to sew every square inch of the fur onto the scarf, but just enough to hold it in place. I then repeated this on the other end of the scarf. I’m very happy with my scarf and love the way it looks with my dress.
Make Your Own Recycled Fabric Knitted Purse
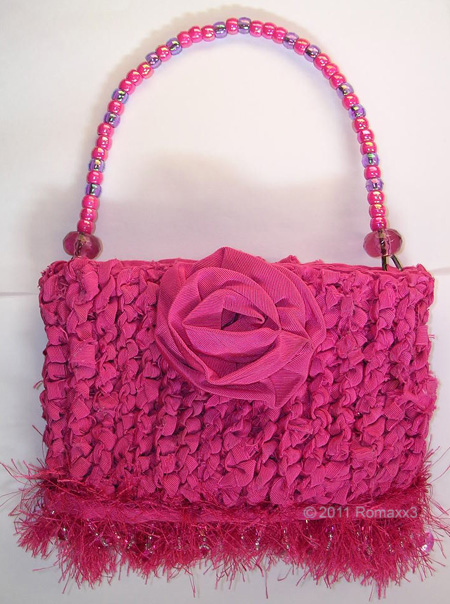
The following knitted purse article was a previous article I had written a few years back and posted on the Romaxx3 Crafts and Squidoo websites. Since I posted the knitted cell phone case cover here and mention this purse, I thought it would be a good idea to include this on Retrobellish to show a different item made from the same technique.
It all started when I watched a craft show about knitting with fabric. The show featured a lady who sewed a simple summer dress in a smooth beautiful floral colored cotton fabric. The beautiful summer dress had an empire waistline, and although the top portion of the dress was fashioned in a tube top style, it had the most beautiful braided-like texture, and it tied at the shoulders with thin straps. The lady explained that she had created this beautiful texture by knitting it with strips created from the same floral fabric. I couldn’t believe how beautiful the dress looked. I immediately knew that I wanted to try this technique, although it would probably be on a smaller scale, and I came up with the idea of a small knitted purse.
Knitting Technique
The technique involves cutting fabric into thin strips, preferably using a type of fabric that won’t run at the edges when cut into thin strips (each strip should be about 1/2 of an inch wide or about a finger’s width) and the whole length of the fabric. The best fabrics that worked were the polyester blends (or you can also use pinking shears or scallop edged scissors to cut ravel-resistant edges. Although this is not the same as a straight edge cut, the stitches still look beautiful on this type of project. I also made one purse using a softer fabric for which I had to use pinking shears and it still was very beautiful. If you’re not certain about the fabric and using pinking shears, you can always try making a small sample before beginning a larger project.
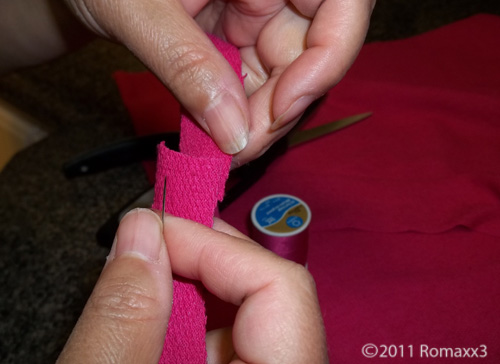
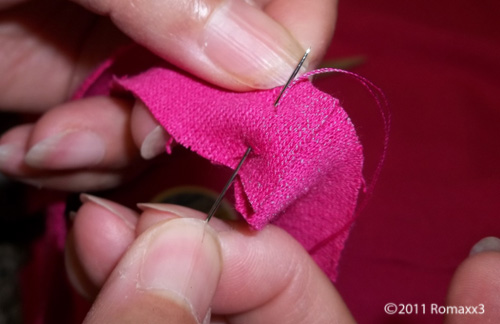
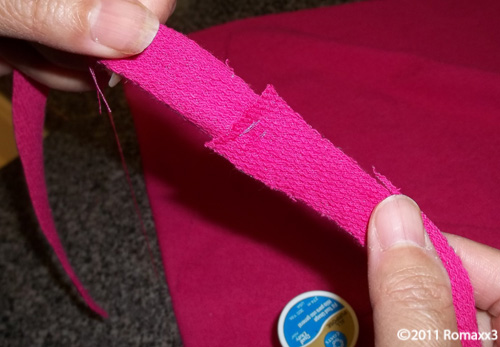
Continue making many long strips in the same fashion as described above because you’ll need to connect them into one very, very long strip. One way to connect these fabric strips is by sewing one end of a strip to the next strip. While slightly overlapping one strip end to the next strip end, hand sew a few stitches to bind the two ends together (I used a regular sewing needle and matching colored thread). Repeat this process many times, because you’ll need to take this very long strip and start forming a fabric ball, just like you would form a ball of yarn. The lady on the show never indicated how much fabric she used to make her finished product, but I cut many strips and (comparing it to the size of a ball of yarn) made a medium sized fabric (strip) ball and then began knitting. I cut about 2/3 of one yard into strips, but I did have about 3 yards of fabric in reserve in case I ran out of strips and had to cut more strips. So depending on your project, fabric, size needles, you’ll have to estimate how much you’ll need as you go along.
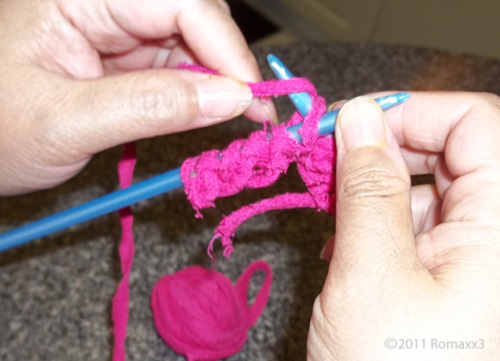
The lady used large knitting needles (size 13), but I used size 12 knitting needles. I then took one end of my fabric strip, made my slip knot and cast on 16 stitches from my fabric ball. I started knitting and just used my discretion when I completed a rectangle to the size that I thought was perfect for my small purse. You can always experiment with the type of fabric you’d like to use, as well as with the needle size for the project you decide to knit.
A very important tip regarding the use of patterned fabric – you need to make certain that the colorful pattern on the front of the fabric is just as vibrant on the back of the fabric because not all fabrics have the same color intensity on both sides, and this type of knitted technique will not look well if side one of the fabric is not as colorful as side two of the fabric.
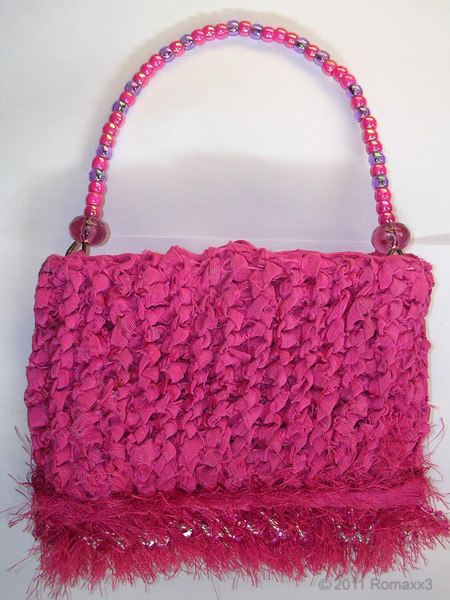
The deep hot pink fabric I used for my purse was recycled from a bridesmaids dress that I knew I’d never wear again. I had about 3-4 yards of this beautiful fabric, and it was solid in color on both sides. More importantly, it did not run when I cut it into 1/2 inch wide strips. I only measured the first strip to a half-inch in width and then cut the rest of the strips by eye.
When you’re done knitting the rectangular piece that will be your purse (or whatever you make), you can choose to finish the edges of your knitted piece in any of your preferred methods of sealing any knitted project you’ve ever made. I chose to seal my knitted purse edges by using a crochet needle to pull through a fabric strip (from my same fabric strip ball), and also by hand-sewing some areas with a regular needle and matching pink colored thread.
Embellishments:
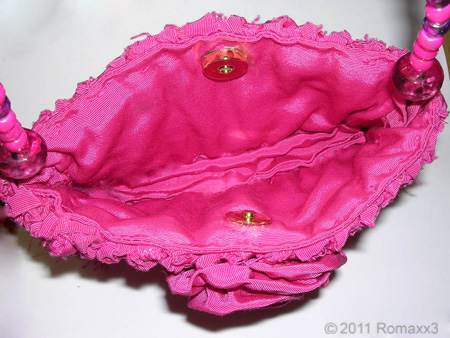
I measured and cut a rectangle of fabric to line the inside of my purse and tacked it on (by hand sewing stitches down the edges). Using fun fur I knitted a band (using no. 8 knitting needles, I knitted four stitches across and kept knitting until the band reached the width of the purse) and then I sewed the furry band onto the bottom edge of my purse. I then bought some sparkling beaded trim that I hand sewed at the bottom edge of my purse right next to the furry trim. I then sewed a small loop of fabric to the inside corners of the purse. Each loop served as the link through which I would insert the wire loop for my wire handle.
Making The Handle
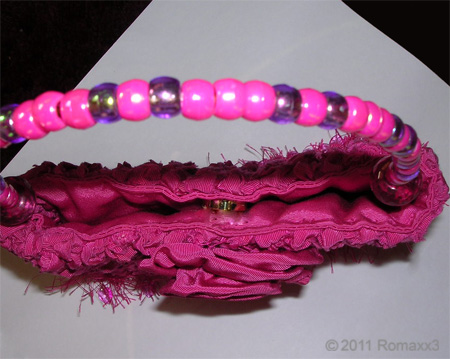
I next used a heavy gauge wire and took some pliers to form a hook that I put through one of the fabric loops, on the other wire end I slid on some big beautiful colored beads that I bought to match the fabric, then by eye, measured the wire to the size of the handle I wanted for the purse, used my wire cutters to cut the end of the wire, formed a loose loop and put it through the other fabric loop before tightening the wire loop to seal it.
I then took a fabric flower that was already on my dress and sewed it onto the front of the purse. I loved the way my purse turned out and I’ve enjoyed wearing it. Although it’s a project that takes time, it’s also a hobby that I love and enjoy very much.
How to Make A Knitted Crocheted Fabric Case for Your Cell Phone
Materials I used for this project:
–Enough fabric strips (sewn together) to wind into a fabric ball (about a half skein’s worth)
–Size 10 knitting needles
–(Optional) Approximately a yard of matching fun fur
–1 small crochet hook (to weave the fabric strip through to join two knitted panels together)
–(Optional) the same crochet hook to weave fun fur through sealed edges
–(Optional) Small pink glass beads, sewing needle and pink sewing thread
Making a personalized case for your cell phone can be fun and not as complicated as it may seem. Whether your a pro crafter or a beginner, this project shows you a simple and fun way to create your own one-of-a-kind knitted (or crocheted) case.
I started this project by using some vintage fabric that I had purchased over ten years ago, but very similar in color to the fabric I used for a previous knitted purse project (project posted here under “Make Your Own Recycled Fabric Knitted Purse”). I decided to use this fabric because the texture and hot pink color were perfect for the look of the cell phone case I wanted to make. This fabric is a polyester/cotton blend that doesn’t fray when you cut it. So choose a fabric you really like, but preferably one that doesn’t run or fray when you cut it. If you choose a fabric that does fray when you cut it, you can use pinking shears to cut your fabric for a ravel-resistant edge, and the fabric strips will still look beautiful when knitted (I’ve tried this on another project). If you’re not sure about the look, you can always try knitting a small sample before you start a big project.
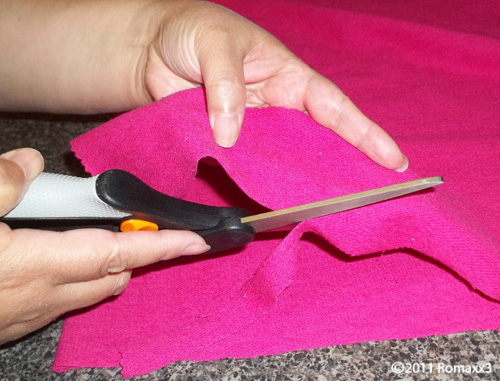
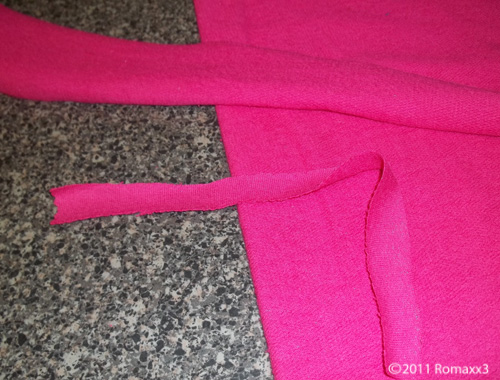
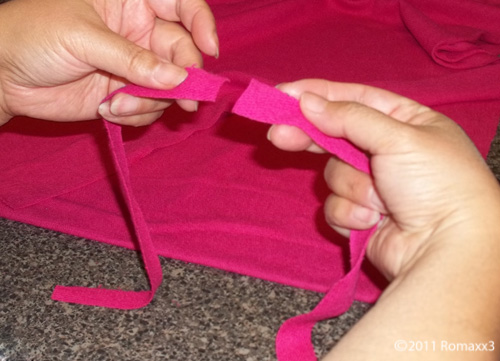
Previously, I made the fabric ball by cutting the (non-fray) fabric into long strips (about a finger’s width wide by the fabric’s total length). I then took many of these long fabric strips and sewed them together end to end (overlapping one end a little bit over the other end–it doesn’t matter which end goes over or under the other) until I had one very, very long strip that I then wrapped into a ball (just like you would wrap yarn into a ball).
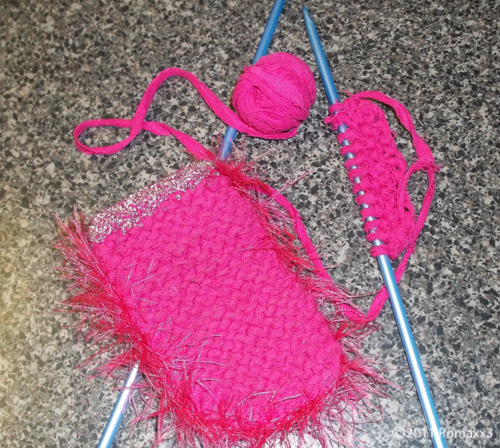
Once you’ve wrapped the long fabric strip into a ball, you can take this fabric ball and start knitting it (as you would with yarn). I knitted my cell phone case using size 10 knitting needles (you can also experiment with different sized needles that would make it easier to work the fabric you use). Because of the heavier fabric I chose, I casted on 12 stitches, but since every fabric differs and will give you a different gauge, knit (or crochet) a couple of rows and measure the stitches by holding them across the width of your phone so that you can see if it is wide enough. I then knitted 20 rows, and then repeated these steps for the second panel.
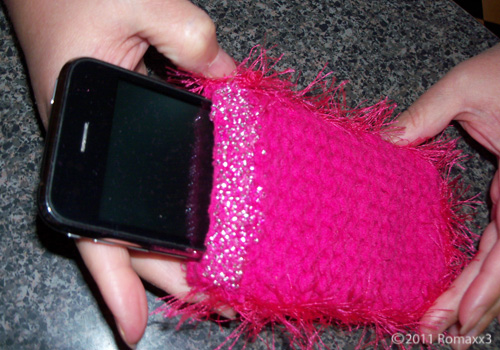
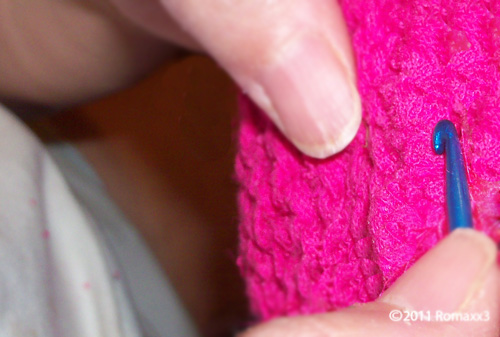
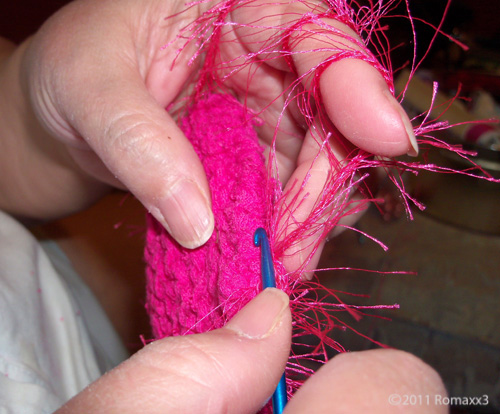
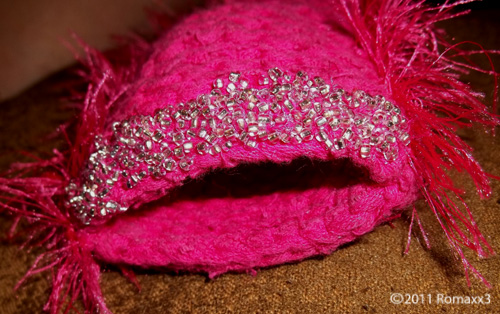
Next, after completing the two panels, I used the same fabric ball and a crochet needle, and single stitched all the way around the one side, the bottom, and the other side of the knitted panels to seal them (leaving the top edge open to slide your phone inside). Actually, you can seal the sides using any method you’d prefer. Decorating the edges is optional, but I decided to decorate three sides using a hot pink fun fur yarn (as shown in the pictures). I wove the fun fur through the same sealed edges using the same small crochet hook.
This is also optional, but later I also hand sewed a few small glass beads to the top two rows on one side of my cell phone case, which helped me to designate which side was the front of my phone case. The wonderful part is that you can have a lot of fun decorating your case in any way you’d like.
Welcome To Retrobellish
Fabric Painting by Diana Romaxx
