Elegant Lilac Scarf
Materials I Used in this Project:
Organza fabric (52” L x 10” W )
Fabric scissors and Pinking shears
Tape measure
Straight pins
Sewing thread and needle
1 skein fun fur (optional)
Size 10 (U.S.) knitting needles
* * * * * * * * * * * * * * * * * * * * * * * * * * * ** * * * * * * * * *
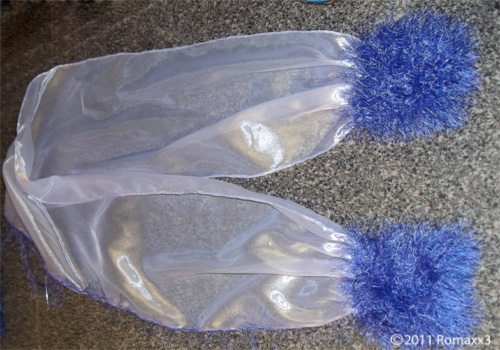
A few years ago, I bought several yards of a beautiful lilac colored organza at a great fabric sale. At the time, I had no idea what I would make with it, but I loved it, so I bought it. Recently, I bought a violet purple dress and thought it would look better with a scarf of some kind. I remembered the organza fabric and thought it might work. I held the organza next to the dress and the violet colors looked great together, so I decided make an organza scarf.
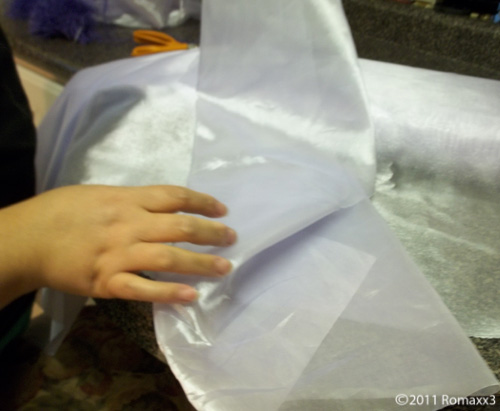
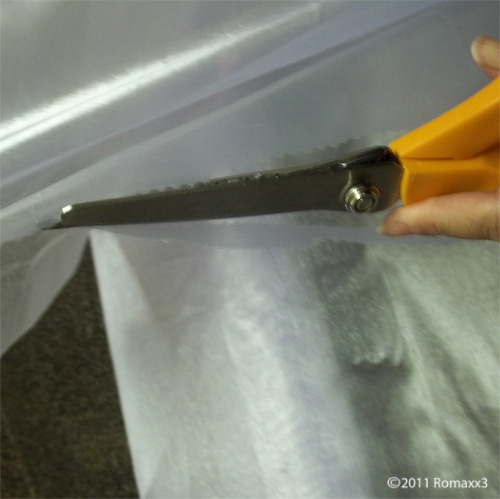
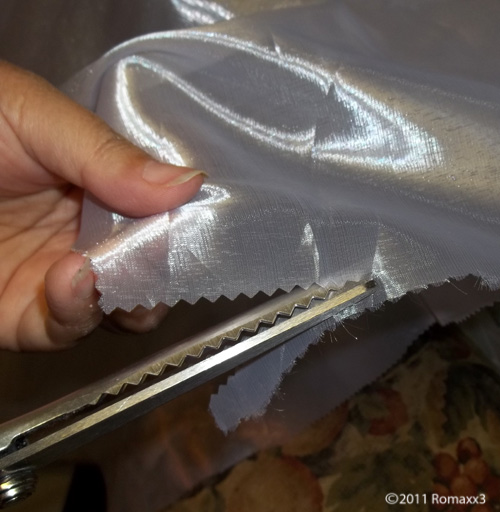
I have several scarves that I tried on with my dress so I could get an idea of the length and width that would compliment my dress. I picked out the scarf that I thought was the perfect length and width and used it as a template to cut the organza. I carefully pinned the scarf to the organza and used pinking shears to cut the fabric. I also added a seam allowance of about ¼ inch all the way around. After measuring the cut organza, it turned out to be 52” long and 10-1/2 wide.
I sewed a hem only on the two length sides of the scarf and left the tail ends raw (that I had also cut with pinking shears). This part is optional and you can decorate (or not decorate) each end of your scarf anyway you’d prefer, but I planned to knit some furry yarn into two separate rectangular pieces to cover each end of the scarf.
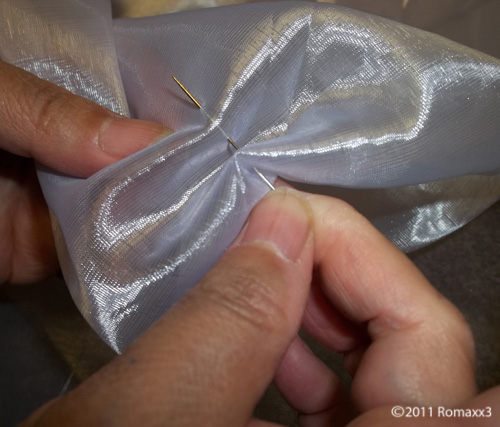
I thought the ends would look better if I sewed a running stitch about 2 inches from each scarf end and then sewed on the knitted furry rectangles. To make each of the knitted rectangles, I used size 10 (U.S.) knitting needles and casted on 21 stitches and knitted nine rows (or any length you’d prefer). I actually kept knitting rows (holding them up to the scarf end) until the length was longer than the edge of scarf, which is how I came up with my measurements.
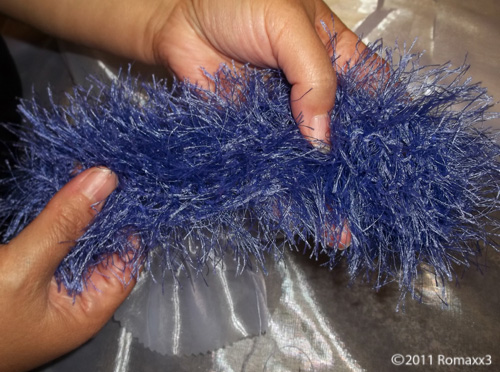
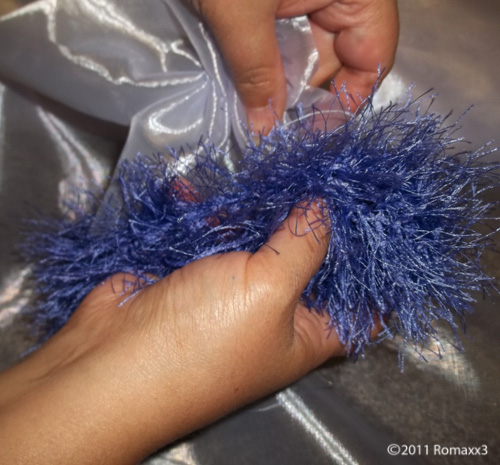
Next, I wrapped one of the furry pieces around the gathered end of the scarf (with the center furry rectangle covering (hiding) the stitches) and spread it out as evenly as I could all the way around. I began to pin the furry yarn to the scarf in a few spots. I then started sewing a few stitches to tack down the furry yarn to the scarf. You don’t have to sew every square inch of the fur onto the scarf, but just enough to hold it in place. I then repeated this on the other end of the scarf. I’m very happy with my scarf and love the way it looks with my dress.