Manila Folder Abstract Collage
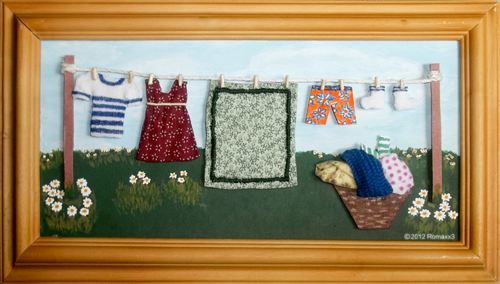
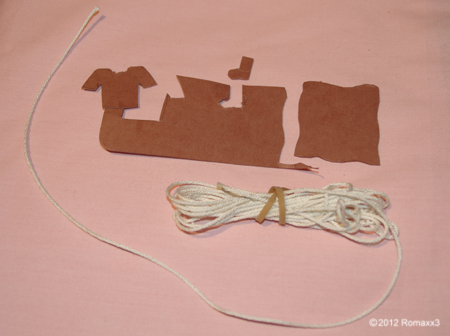
This clothes line abstract collage started out as trashed manilla folders that were being thrown away. I really liked the thickness of these expandable folders and their chipboard-like quality gave me the idea to cut them into sections and store them in my scrap folder for future craft projects. The wood frame was one of several frames bought on sale a while back, which were also saved for future craft projects.
I was inspired with the idea for this art collage when I saw a movie which featured a little house in the countryside. In one yard scene, there was a line full of very colorful clothes billowing in the breeze and it was interesting that you could surmise there was a baby and children of different ages living in the house just by the variety of clothes hanging on the line. I thought, what a beautiful picture this would make, and then thought of this idea to have different types of clothes hanging from a line. The frame (on the outside edges) measures 6-1/2 inches in length by 11-1/2 inches in width.
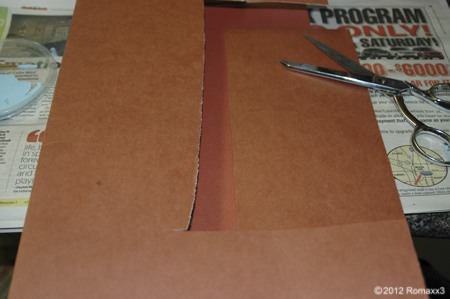
I measured the back inset of the frame, drew these measurements onto a large piece of the reclaimed cardboard and then cut out the rectangular cardboard which served as a background to support the art pieces. One side of this reclaimed cardboard was a cream color, which was perfect for me to paint the country scene. I used regular acrylic craft paints for the sky and the clouds. Much later, I decided to paint some daisies throughout the scene.
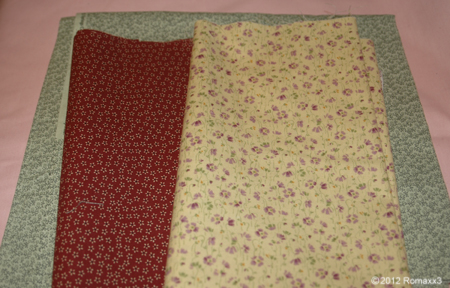
To make the scale of the clothing seem as realistic as possible, I looked through my old fabric remnants for the smallest prints I could find. I then placed the little cardboard shapes onto their respective fabrics and by eye traced each shape onto the fabric (leaving about a 1/4 inch margin all the way around the shape), and then cut out the traced shapes. Next, I used a toothpick to dot a little bit of hot glue (from my hot glue gun) onto each tiny cardboard edge, glued the fabric edge onto the dot of hot glue. Once the cut out fabrics were hot glued to the cardboard cutouts, I let them dry thoroughly. In the meantime, the tiny white striped shirt, white socks, and polka-dot towel were made from plain white cotton, but I used different colored fabric markers to paint on the little stripes and polka-dots. I also used the reclaimed cardboard to make the laundry basket and a brown fabric marker to draw a weave-like pattern on the basket. I used round toothpicks and wire cutters to make the tiny wooden clothes pins, which were carefully hot glued on the string and clothing item by using a toothpick and tiny dot of hot glue.
I used more scrap pieces of cardboard and cut two long strips to make the wood posts. I hot glued some white string near the top of each post to use as the clothes line. I cut out many more small pieces of the thick reclaimed cardboard scraps and hot glued many tiny sets of three little squares together to glue behind each item and make them stand out from the background and give each piece more depth.
I had so much fun making these pieces from reclaimed cardboard and since I cut up many more expandable folders that were thrown away, I will definitely be making another similar project in the near future — stay tuned.
White Crocheted Pearl Purse
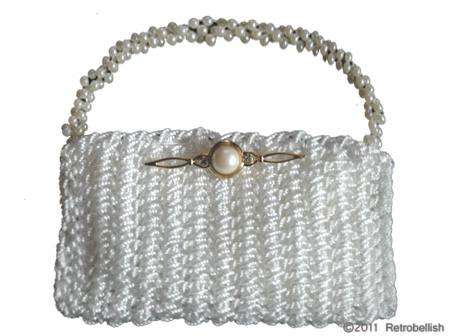
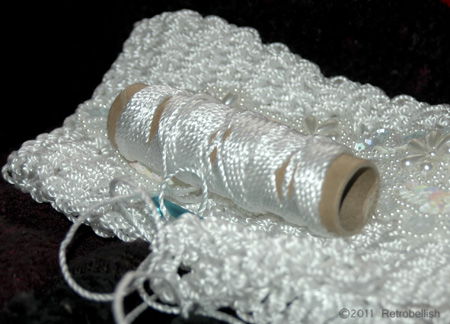
Just when I thought I couldn’t find any other type of fiber thread to crochet with, I found this Twisted Mason’s String Line in many colors at our local home improvement store. One of the pros I liked about this nylon string is that it’s very strong and lends itself to making very strong crochet pieces such as purses and straps. Other great qualities about this string is that it’s so soft to the touch and crocheting with it creates a great thick texture and an incredible satin sheen. It’s also waterproof.
Although the string is very thick and beautiful, it does have one drawback, the cut end of the string easily unravels. Before starting this project, I used my hot glue gun to dab a very small dot of hot glue onto the loose ends, and used a toothpick to push the loose ends together. Once the glued tip is dry, you can begin to crochet.
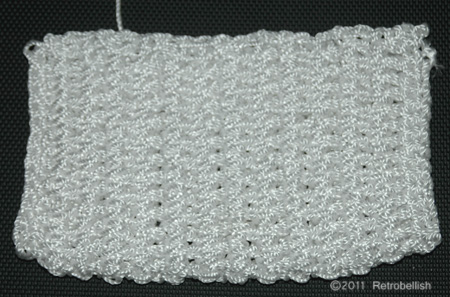
Because the string is so thick, I used a size N crochet needle. I crocheted 28 single chains, single crocheted the next row, and double crocheted the next ten rows. At this point I experimented by folding the purse in half vertically (against the direction of the crocheted rows). I loved the way the weave looked vertically when I held it in my hand like a clutch purse. This part is great, because at an early point you can decide how big you want your purse. I decided at this point that I wanted my purse a little bigger, so I crocheted several more rows and stopped at 14 (double crocheted) rows. I then single crocheted one more row before finishing. I knotted and hot glued the cut end (and after it dried) tucked the end within the stitches.
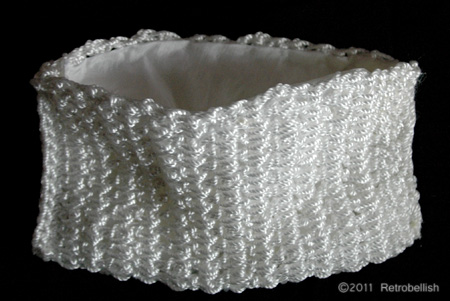
Next I wanted to line the inside of the purse, so I measured the purse. When folded, the purse measures five inches long and eight inches wide. I had a pretty white (polyester blend) fabric left over from another project which I used to line the purse. I hand sewed the fabric to the inside of the purse (making sure to stop within 1/4 inch from the edges). I folded the purse in half and using a smaller crochet needle weaved a ten inch long (same) string through the purse edge stitches to seal each side of the purse (making sure to hot glue the cut ends). For the purse closure on the inside top center, I decided to cut and sew on two small white Velcro pieces.
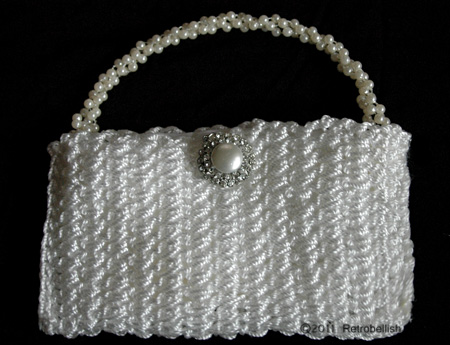
Some of the embellishments used in this project are from leftover miscellaneous broken pieces and even thrift store finds that I keep in a box for projects such as this one. I thought some of these pieces might look pretty on the purse. In a few of the featured pictures you can see where I’ve tried comparing different pieces to embellish the purse. I also had a long strand of wired pearls that I thought would make a great purse handle. I tripled and twisted the wired pearl strand into a handle shape that gave me that unique look for the purse and actually complimented the beautiful thick weave of the purse.
I enjoyed making this purse very much, and had even more fun embellishing it. The sky is the limit for creating and embellishing a small purse. The white string I used for this purse was beautiful, but the string also comes in different colors so I can’t wait to try my next purse in a beautiful bright color, which I will definitely post here. I also imagine using a bright print fabric to line the inside of my next purse along with some beautiful colorful beads for the handle and outside embellishments.
Recycled Fleece Leopard Gloves
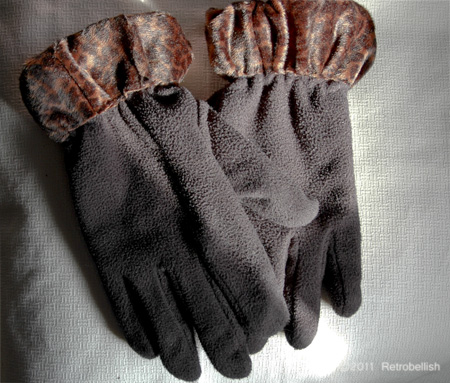
Another way to give an old pair of gloves a fresh new look is by adding some type of embellishment, especially when the gloves have a two inch extended cuff. I thought the gloves would look very nice embellished with some beautiful fabric. I looked through my fabric remnants and found an old leopard print that I thought would look very nice sewn onto the cuffs of my gloves. I measured the cuffs, the fabric, and then cut enough fabric for both cuffs.
I sewed the fabric onto each cuff and started by placing the fabric edge near the elastic edge part of the cuff. I then made sure to slightly gather the fabric every inch or so and sewed that gathered fabric firmly to the glove. This would ensure that the fabric would have enough elasticity to stretch with the glove’s elastic edge.
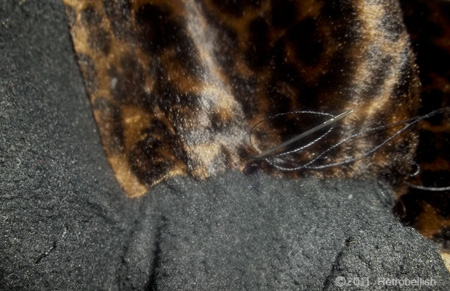
Next I folded the rest of the fabric over the cuff edge and sewed the other end to the inside part of the glove. I really loved the way the newly embellished gloves turned out. They have a totally different look and with only a little less than a quarter yard of fabric. You don’t have to embellish a cuff with fabric, you can easily change the look of gloves with simple and colorful buttons, bows, or other embellishments. There are so many wonderful and fun fabrics for children and many that can be found on sale in the remnants section of a fabric store.

