Grapevine Holiday Wreath
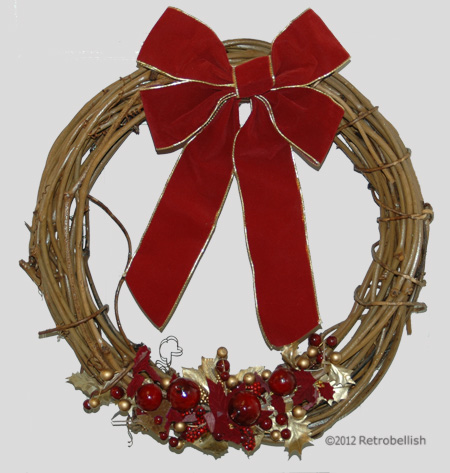
The holiday season is a fun time of the year to get creative with decorations for your home. This grapevine holiday wreath is very simple to make and could easily be updated every year with different ornaments of your choice. I had a very plain grapevine wreath at home that I wanted to decorate with some type of ornaments, but nothing too big that would hide the beauty of the vines.
Right after the holidays last year, I went to a craft store clearance sale and found some beautiful ornamental sprigs that I really loved. One of these sprigs was perfect because it had beautiful deep red berries and gold leaves that looked beautiful when I held them up against the wreath. I loved the look so much that I wired the sprig onto the wreath and decided that a bow at the top would balance out the wreath. I found a beautiful deep red bow with gold edging that complimented the sprig perfectly.
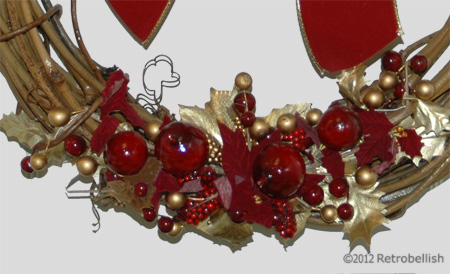
It felt wonderful to hang such a beautiful wreath on the door. These grapevine wreaths are very strong and versatile and lend themselves to many different types of decorating techniques. So just have fun and create your very own one-of-a-kind wreath.
Upcycled Mens Suit
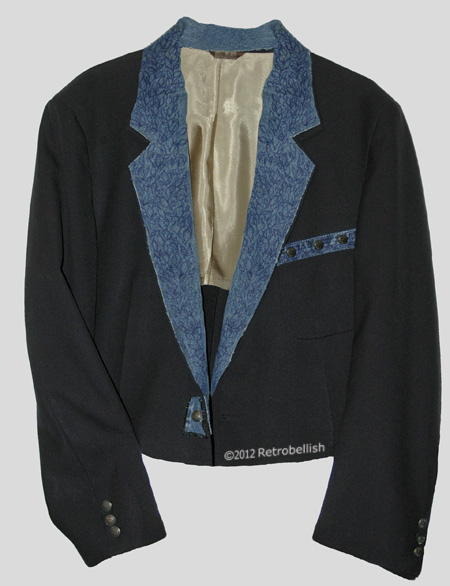
The inspiration for this project came to me while cleaning out David’s closet this fall. We were taking down the summer clothes for the winter when I came across a few of David’s old suit jackets from his younger days which he had outgrown many moons ago. We decided to donate most all the clothes in the closet to the Salvation Army except a few pieces I decided to keep to upcycle. One was this navy-blue suit jacket and the other was an old pair of jeans. I have always loved to embellish the lapels of my jackets and I had an idea to use the jeans to make a hand painted applique for this suit.
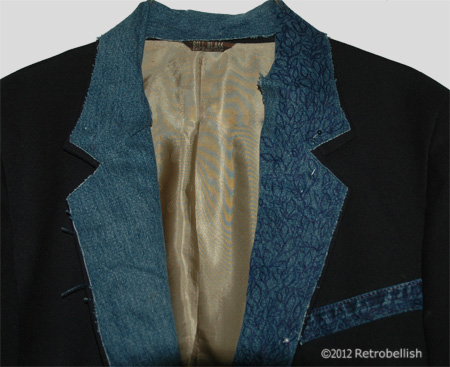
I started out by trying on the jacket, pinning it to a length I liked and cut the suit 14 inches from the bottom edge using pinking shears to prevent the fabric from fraying. To create a smooth bottom edge, I measured a 1/4 inch hem, sewed it, and then used a cool iron. I then used a pencil and plain paper (taping a second piece of paper) to trace each lapel and part of the neckline area. I then carefully cut out a pattern for each side. I took the paper patterns and pinned them onto the denim. Using tailor’s chalk, I added a 1/4″ inch hem all the way around, then cut out the denim shapes. I sewed the denim pieces onto the jacket and carefully sewed on the neckline pieces as well. I also used extra denim pieces and leftover buttons from this jacket project to embellish the pocket. For further embellishment, I used a dark navy-blue permanent fabric marker to draw vines and leaf shapes onto the lapels and neckline.
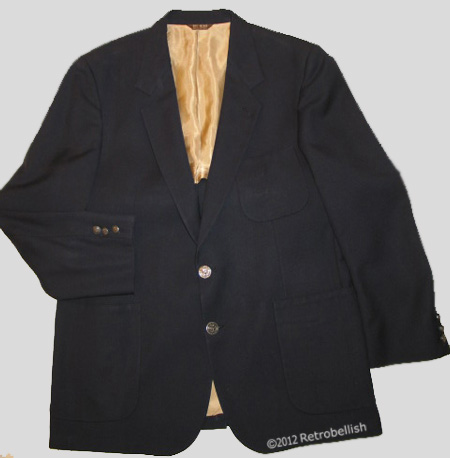
When I had tried on the jacket, I knew the sleeves had to be shortened, so I left these for last. I measured the length that I liked, pinned the sleeves a bit longer for a hem, removed the buttons from each sleeve cuff, and cut the sleeves with my pinking shears. I sewed the hem, ironed and sewed on the buttons. I used what I had available to me at the time, but this project could also be accomplished with an old coat, a woman’s suit jacket or blazer. Thank you for stopping by! Just have fun and create your own.