Vintage Lacey Blue Hanky
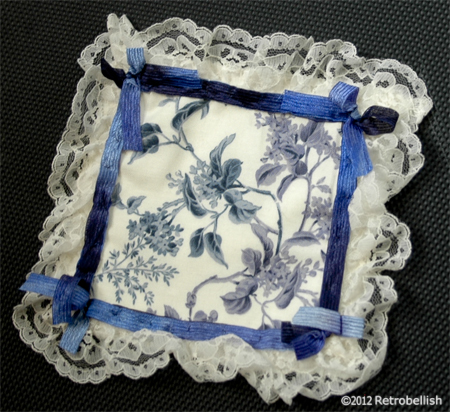
This blue vintage hanky started out from one of my many botanical print fabric pieces that I’ve collected throughout the years. I also used the same fabric in a previous post titled “Something Blue,” which was a small fabric pouch with potpourri used as the “something blue” for a bride-to-be. The fabric lends itself to many projects and is so visually pleasing to me. One of the ideas I thought of after making the other project was to use it to create something reminiscent from the Victorian age, yet modern.
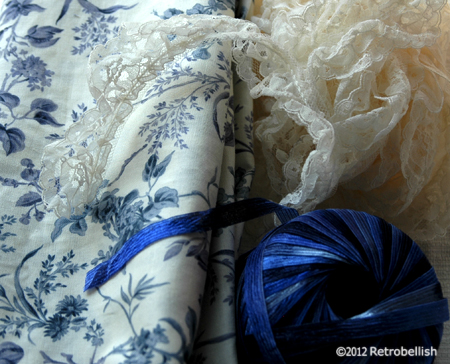
I thought of making this dainty little hanky and used the same vintage blue bontanical print fabric to make the 4″ x 4″ square. I cut the cotton fabric with pinking shears to minimize fraying and placed it over a solid cream colored fabric cut in the same size. I then placed the straight edge of the lace in between the botanical print fabric and the cream colored fabric and hand sewed a simple running stitch to bind all three pieces together. I then placed the blue silky ribbon over the sewn edge to hide the stitching and used navy blue thread to sew on the ribbon, making sure the needle went through all layers. The last touch was to sew a little bow on each corner of the hanky. I made the bows from the same variegated blue ribbon with no specific measurement. The bows were hand sewn onto each corner with navy blue sewing thread.
Again, although I used this specific botanical fabric I had collected, this piece could also be made from an old scarf, an old shirt, or even an old dress or skirt. All you need is a 4″ by 4″ piece of any fabric you like, some ribbon and lace that could be reclaimed from an old dress or lacy collar. One could even use fabric glue to bind the pieces without any sewing. So just have fun and create your very own vintage hanky.
Reclaimed Styrofoam Floral Painting
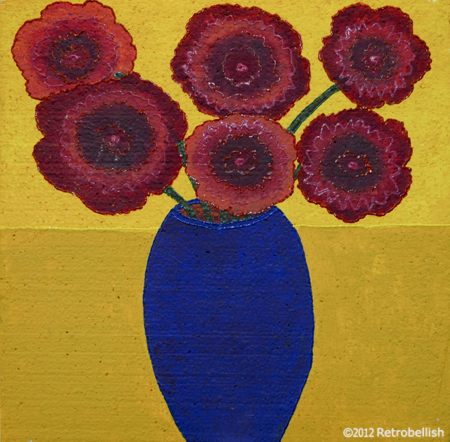
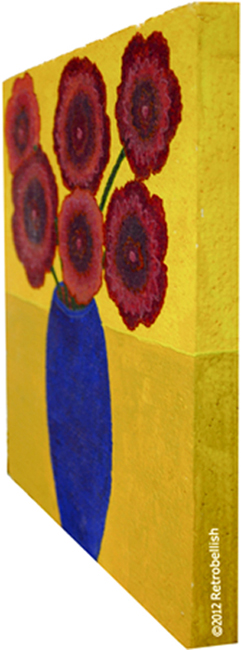
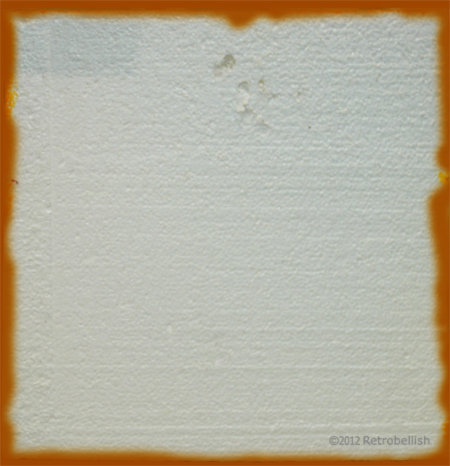
This Styrofoam Floral Painting started with a reclaimed piece of broken insulation. One of the aspects that caught my eye about this Styrofoam was that it was a very thick piece and when painted could easily resemble a wrapped canvas. We first trimmed the Styrofoam piece to square it off and ended up with a piece that measured approximately 16″ x 16″ x 1-1/2″ in depth. I painted the piece with gesso to seal it and give it a canvas-like texture. I used latex acrylic paints to paint the background, vase and flowers. After the flowers were thoroughly dry, I used fabric paint in slightly contrasting colors to edge out the flowers and vase, which added yet more texture and dimension.
Painting on Styrofoam was an experiment and using gesso gave the Styrofoam a more interesting texture. After the background was dry, painting the vase and flowers adhered to the surface so firmly that I didn’t even need a second coat of paint. It has been quite a few years since I painted this piece and the surface has remained in excellent condition, and the colors have not faded or flaked off at all. Another wonderful advantage of painting on thick Styrofoam is how very light this large piece is and how we were able to hang it up by merely pressing it against a tiny nail on the wall.
Although I used Styrofoam for this project, one could also use Masonite, wood or even a wood frame wrapped in old fabric and painted with gesso. Styrofoam is a very versatile and fun medium to work with and lends itself to many craft projects. Challenge yourself to be crafty and help keep it out of the trash. Also, see another one of our Styrofoam art pieces posted here titled Scrap Styrofoam Relic below.
Fabric Pen Embellishing
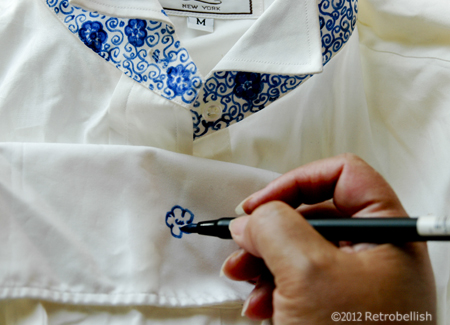
Using Blue Fabric Pen to Embellish Lapel
A fast and inexpensive way to give an outdated or worn blouse a fresh look is to embellish it with whatever color and design you’d like. Fabric paint pens are a great way to create your own designs on reclaimed or new clothing. I loved this white blouse, but I’ve always enjoyed wearing it mostly with blue jeans or navy blue pants. So when the blouse got a little worn in the collar and cuffs, I decided to give it an updated look with a pretty dark blue hand-printed design on the collar and cuffs.
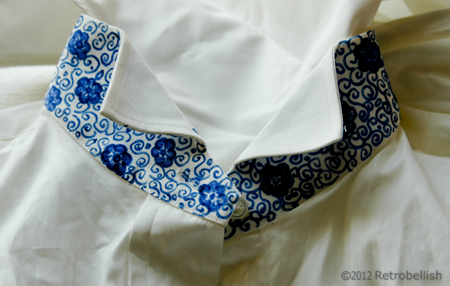
Blue Fabric Pen Embellished Collar
I first practiced drawing a simple design on paper using a regular pen. Once I found a simple design pattern I liked, I used the actual fabric marker on an old plain cotton tee shirt to test the ink and feel of the pen on fabric. I practiced the design on that tee shirt and shortly thereafter started drawing the design onto the white blouse. The dark blue paint line drawn with the fabric marker does not spread at all like a regular marker does on paper, so take your time and practice until you feel comfortable.
There are several fabric marker brands on the market, most of which are available in many beautiful colors, resist fading, machine washable, and are surprisingly very inexpensive. The brand I bought is sold separately (not in a set), inexpensive, and available in about 15 different colors. For the best results, just follow your manufacturer’s instructions.
I had a lot of fun with this project and I may change the blouse buttons from white to blue, but that definitely will be a project for another day (another blog post). Although I used a white cotton blouse for this project you can use any color clothing and definitely any article of clothing from jeans to scarves, so just have fun creating your own designs.
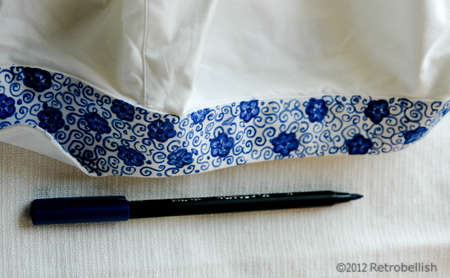
Blue Fabric Pen Embellished Sleeve Cuff