Reclaimed Fabric Paris Theme Purse
This small evening purse was made from the reclaimed fabric of a bridesmaid dress that I know I’ll never wear again. In the past, I’ve donated bridesmaid dresses, but there were only a few that I just couldn’t part with because the dress fabric was so beautiful. I saved these dresses, took my time taking them apart, saving the zippers, buttons and fabrics. As a big fan of all things Paris, I decided that I would use this beautiful pink silky fabric to make a Paris themed purse. The first thing that came to mind was the Eiffel Tower, so I decided to make an Eiffel Tower of sequins. I really didn’t know how this would turn out, but thought I’d give it a try.
The purse is only 8 inches long by 6-1/2 inches wide and I was able to use embellishments I already had. I used the pink fabric (doubled because it was very thin) that I hand sewed in a pocket style, two strips of black lacey trim that I also sewed on, small black sequins on a single strand to make the abstract Eiffel Tower, and a very light lacey black trim for the very bottom edge of the purse. For the handle I used a 22 gauge wire, two pieces of black velour (from a roll) that I sewed in a tube (then turned inside out), and pink pearls from an old necklace.
I cut two small strips of pink fabric (2 inches by a half inch) to make two very little fabric loops. I sewed one fabric loop on the left, near the top and inside of the purse, and the other fabric loop on the right side. It was through these fabric loops that I would pass the wire end and curl it to seal it with pliers leaving the other wire end free. I passed one of two velour tubes through the wire, then the pearls, then the other velour tube. I then passed the other wire end through the little fabric loop and sealed it as well.
For a closure, I used a small snap on the inside top center of the purse, but I also embellished the outside center with one large black sequin (that has a hole on the top center) and then sewed on a pearl in front of the sequin (hole). I really loved the way this little purse turned out and although the Eiffel Tower is abstract, you can also make this purse and use a store bought applique for a more realistic look.
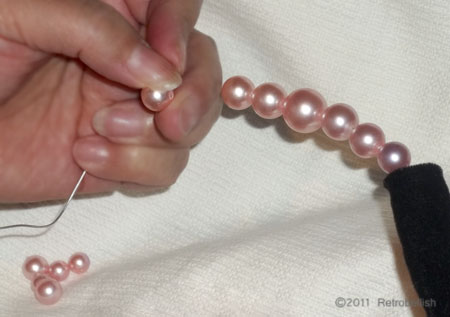
Beading The Wire Handle
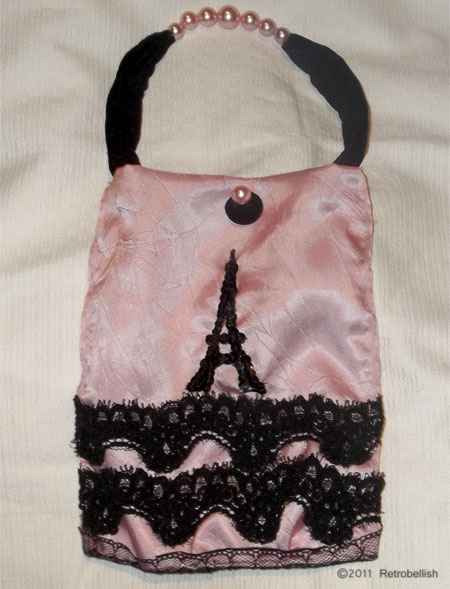
Reclaimed Fabric Paris Theme Purse
Reclaimed Fabric Red & Black Choker
The choker was made from a leftover red fabric strip of soft thick cotton and a stretchy black netting that I knitted. I knitted the two pieces (using size 8 knitting needles and size 3 crochet thread–12 stitches wide by 36 rows). Next I hand sewed the edges of the finished knitted piece at the edges stretching it as I sewed it across the face of the red fabric to make the stitches wider and show off more of the red fabric. I then sewed on a trim all the way across on both edges.
Separately, I sewed the same trim in little loops around the center so it looked like a flower. I then sewed three little red and black ceramic beads in the center of the flower. I then crocheted (using size E/4 crochet needle) two little squares as closures (using size 3 red crochet thread) and sewed a black button to one end and a little crocheted loop on the other end. I then sewed each red crocheted piece at each end of the choker.
Recently, I had made a black and gold striped cuff in a previous article and thought it would be a great idea to make a choker with other leftover fabric pieces and embellishments I already had.
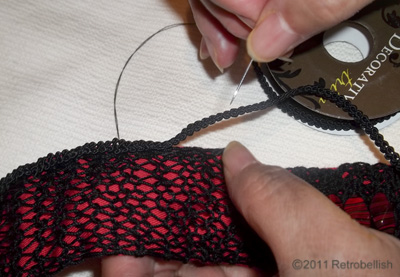
Sewing The Black Trim On the Finished Choker.
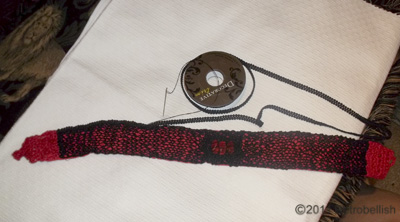
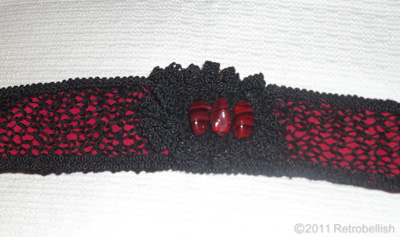
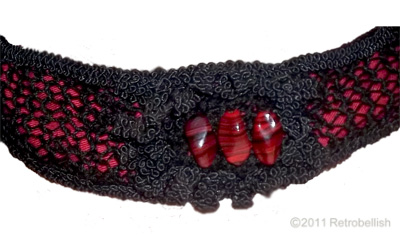
Reclaimed Fabric Red & Black Choker
Art On Reclaimed Plaster Lion
This lion cub is a plaster piece that had been painted in a dark color that made the lion cub dull and bland. We had acquired some statuary from a plaster business that was closing in Milwaukee, Wisconsin about 13 years ago. I had painted an abstract painting at the time that I named Confetti and my husband suggested that I should paint the same colors and designs on the lion cub as an abstract piece. At first I thought it would be better if I painted the cub in realist coloring and features, but later decided my husband was right and I should give it a try.
It was very interesting to paint the cub in the same abstract colors and designs I had used in my painting. I had so much fun and was very impressed with the results that I decided to name him Calico Cat. Here I have featured the original painting and Calico Cat. I’m glad I listened to my husband’s advice — sometimes it’s fun to use your imagination on an old piece and give it a new look and feel.
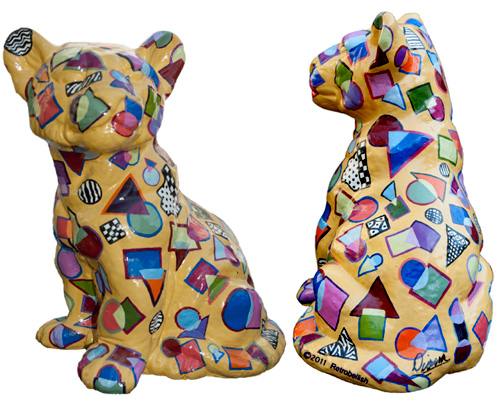
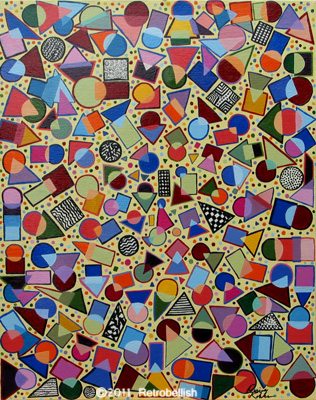
Confetti Painting by Diana Romaxx
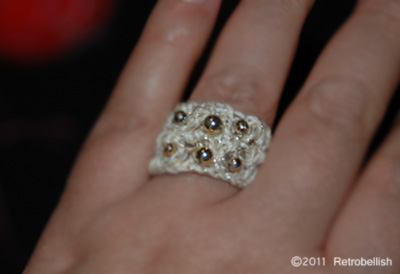
Making A Beaded Crochet Ring
Crocheting has always been a very therapeutic craft for me, so it doesn’t matter how big or small, I always look forward to any new crochet project. I’ve wanted to try making a crochet ring for the longest time, so I decided to try it. I used a size E/4 crochet needle and started the ring by crocheting 17 single chains. I measured the length of crocheted single chains around my ring finger every so often until both ends touched and the band felt snug. I then double-crocheted two rows to make the ring, and stitched together both ends. I’ve had this beige and gold metallic crochet thread for a very long time, however, I threw away the wrapper so I’m guessing that it’s very close to a size 3 crochet thread.
I decided to use a 34 gauge gold jewelry wire to thread the gold beads through the ring. The wire is very flexible and soft yet thin enough to thread the tiny gold beads. I used gold seed beads, but slightly bigger ones in the center of both rows. This really turned out to be a very fun project. I’m definitely looking forward to making another one in a brighter color.
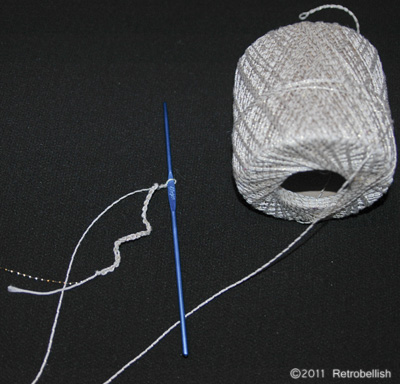
Starting to Crochet Ring's 1st Row
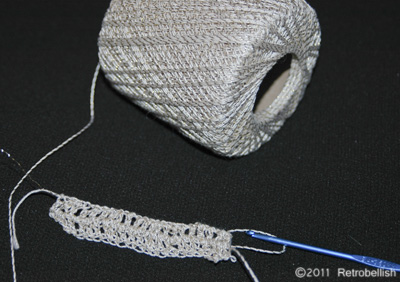
Crocheting the Ring's 2nd Row
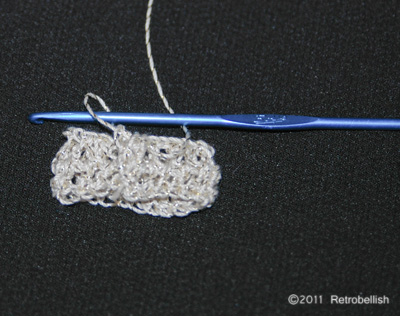
Crocheting Both Ends Together
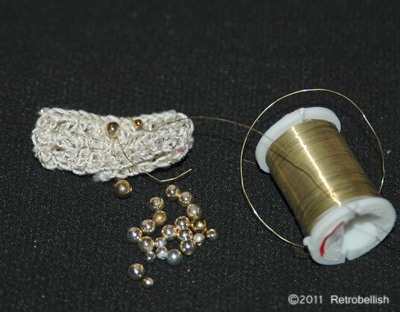
Ready to Begin Beading the Ring
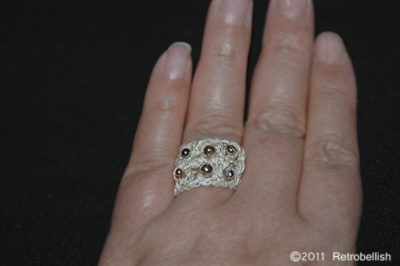
Crochet Beaded Ring
