Manila Folder Abstract Collage
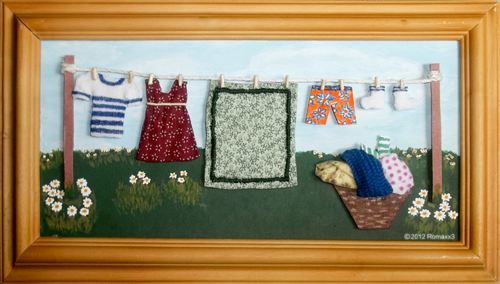
This clothes line abstract collage started out as trashed manilla folders that were being thrown away. I really liked the thickness of these expandable folders and their chipboard-like quality gave me the idea to cut them into sections and store them in my scrap folder for future craft projects. The wood frame was one of several frames bought on sale a while back, which were also saved for future craft projects.
I was inspired with the idea for this art collage when I saw a movie which featured a little house in the countryside. In one yard scene, there was a line full of very colorful clothes billowing in the breeze and it was interesting that you could surmise there was a baby and children of different ages living in the house just by the variety of clothes hanging on the line. I thought, what a beautiful picture this would make, and then thought of this idea to have different types of clothes hanging from a line. The frame (on the outside edges) measures 6-1/2 inches in length by 11-1/2 inches in width.
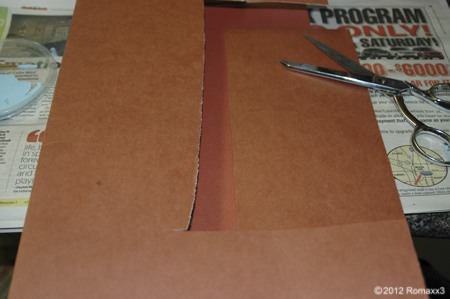
I measured the back inset of the frame, drew these measurements onto a large piece of the reclaimed cardboard and then cut out the rectangular cardboard which served as a background to support the art pieces. One side of this reclaimed cardboard was a cream color, which was perfect for me to paint the country scene. I used regular acrylic craft paints for the sky and the clouds. Much later, I decided to paint some daisies throughout the scene.
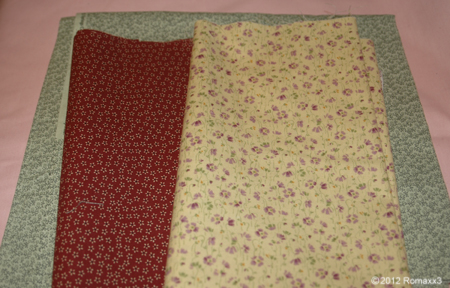
To make the scale of the clothing seem as realistic as possible, I looked through my old fabric remnants for the smallest prints I could find. I then placed the little cardboard shapes onto their respective fabrics and by eye traced each shape onto the fabric (leaving about a 1/4 inch margin all the way around the shape), and then cut out the traced shapes. Next, I used a toothpick to dot a little bit of hot glue (from my hot glue gun) onto each tiny cardboard edge, glued the fabric edge onto the dot of hot glue. Once the cut out fabrics were hot glued to the cardboard cutouts, I let them dry thoroughly. In the meantime, the tiny white striped shirt, white socks, and polka-dot towel were made from plain white cotton, but I used different colored fabric markers to paint on the little stripes and polka-dots. I also used the reclaimed cardboard to make the laundry basket and a brown fabric marker to draw a weave-like pattern on the basket. I used round toothpicks and wire cutters to make the tiny wooden clothes pins, which were carefully hot glued on the string and clothing item by using a toothpick and tiny dot of hot glue.
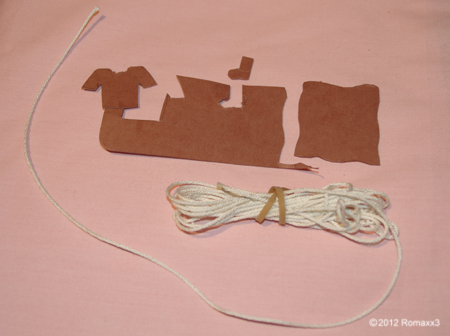
I used more scrap pieces of cardboard and cut two long strips to make the wood posts. I hot glued some white string near the top of each post to use as the clothes line. I cut out many more small pieces of the thick reclaimed cardboard scraps and hot glued many tiny sets of three little squares together to glue behind each item and make them stand out from the background and give each piece more depth.
I had so much fun making these pieces from reclaimed cardboard and since I cut up many more expandable folders that were thrown away, I will definitely be making another similar project in the near future — stay tuned.
Forest Maiden Paper Mache Mask
In the past, when working on paper mache projects, I’ve always made small paper mache items, but I’ve always wanted to try making a large paper mache mask. I thought about the many different style masks I’ve seen on television, in books and at museums. I drew several rough sketches on paper and finally decided to try and make an abstract mask that looked like a forest maiden with leaves for hair.
I found a large piece of masonite board in the garage that I thought would be a perfect size base for my mask. I dusted off the board and wiped it clean. I then gathered a stack of old newspapers and started tearing up sheets into medium size pieces (about 3 to 6 inch pieces). I continued until I had a large pile of torn newspaper pieces. I then made the paper mache paste using flour and water – with a dash of salt as a preservative.
I took some of the larger newspaper pieces and started soaking them into the paste mixture. I first started the mask with the face by placing some of the bigger soaked chunks down on the board. Once I started forming the face, I started to place smaller soaked pieces on top of the base pieces by laying them on as smoothly as possible.
Once I formed a shape resembling a pleasing face, I worked on building up the forehead, the eyebrow areas and then the cheek bones. I rolled and soaked several torn pieces together and placed those large soaked pieces in the area where the nose would go and then did the same with the mouth, which I decided to make slightly open. I then worked on the hair, which I tried as closely as possible to resemble leaves. It is an abstract piece that measures 16 inches in length and 14-1/2 inches wide (the board measures 24 inches by 24 inches). Once I felt it was done, I was very pleased with the entire piece.
Although I started this project on a weekend, I let it dry thoroughly for a week before I primed it with a coat of gesso. The piece is primed and ready to be painted or even embellished with pieces of fabric, beads, small found objects or leftover jewelry pieces, but that will be the next project. I really enjoyed making this mask, and although I used old newspapers, you can always use magazines or any kind of scrap paper to make this project. You can use craft paint, a color wash or patina to paint your piece or any technique you’d prefer.
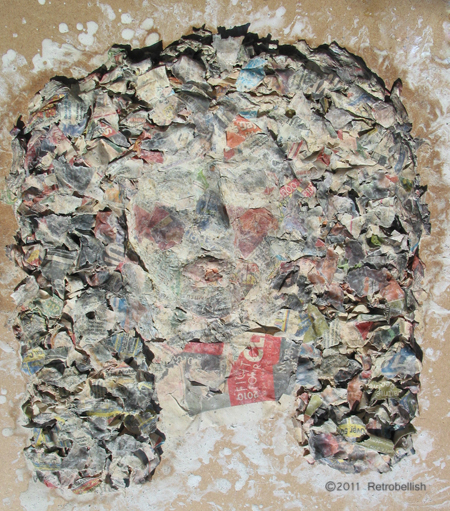
Forest Maiden Paper Mache Mask Before Primer
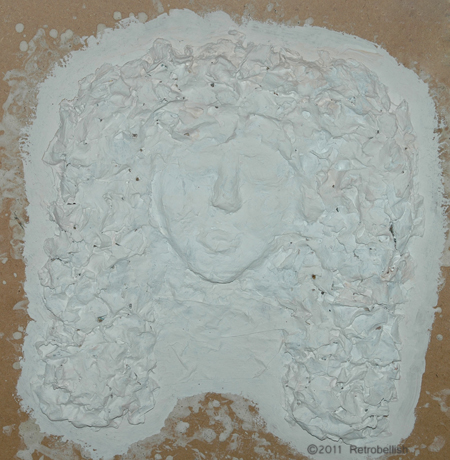
Forest Maiden Paper Mache Mask Primered with Gesso.
Recycled Magazine Glass Plate Collage
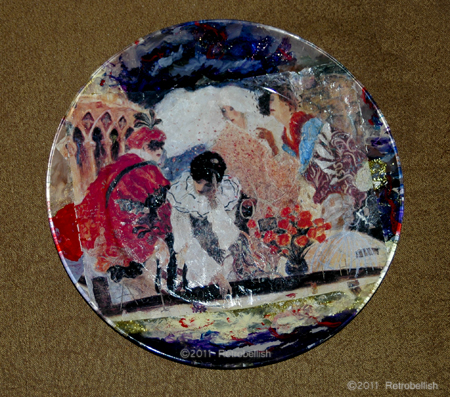
Recycled Magazine Collage On Glass Plate
It is very ironic how some of the things we take for granted, like throwing away magazines, can help you create your own very little treasured pieces of art. About 20 years ago, my husband used to collect depression glass pieces and I used to pick up a lot of clear plates at garage sales, estate sales, and thrift stores. I didn’t know what I was going to do with them, but I accumulated quite a few of these clear glass plates. I’ve always loved the art and paintings in magazines, especially some of the landscapes, florals and nature scenes. Even some of the ads were so beautiful that I would keep the magazines around for a while.
While recycling our paper one year, I got an idea that since I loved some of the art in these magazines so much, I would create a collage of some kind. I started by cutting some pages out, tearing pieces from others that I liked and placing them side by side to create scenes until I found the right combinations to create these collage plates. On one plate I created some Tuscan scenes, on others I created a stormy sky with some angels, and on another there was an abstract garden scene. The following plate is one of my favorite collage plates — it’s a painting of four persons dressed in Carnival costumes by a fountain. I carefully ripped multiple pieces from magazines to create a scene.
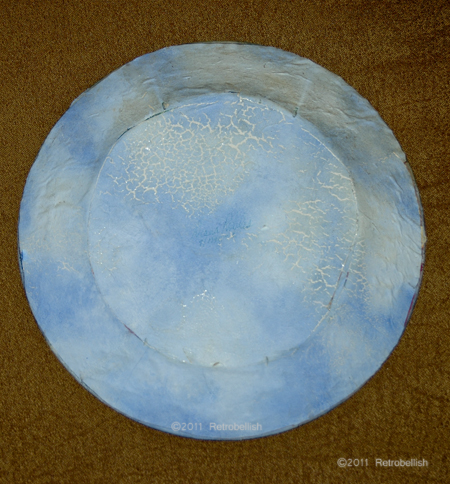
Recycled Magazine Collage On Glass Plate--Back Side
The clear glass plate is 9″ in diameter and the torn scene did not quite fit to the edges of the plate, so I Mod Podged it onto the center of the plate anyway. Once the piece on the plate was dry, I thought I’d use acrylic paints to paint in the clear parts of the plate by just matching the colors on the edges of the piece. I couldn’t believe how the plate began to look as I extended the edge colors to the end of the plate edges. Up close you could clearly see where the piece ended and the painting began, but from a distance, the plate actually looked like it was all one piece.
For strength and to protect the piece, I thought I’d Mod Podge some thick white art paper to the back of the entire plate. The paper was so plain and even though no one would see it on the back of the plate, I wanted to paint something pretty on it. I decided to paint a light blue sky with soft white clouds. Once the paint dried, I Mod Podged it to the back of the plate and as you can see, after all these years it has a little cracking on it, but it still sealed the plate beautifully. I love the brilliant colors of this beautiful piece and to this day it still hangs on my kitchen wall high above the cabinets.
Folk Art on Plaster Piggy Bank
This plaster piggy bank was very popular in the seventies and eighties and sold at plaster-craft shops throughout the states. This one had been painted with tempera paint and was looking a bit faded and dull. Before I painted it, I wiped it with a damp cloth and painted the whole piggy bank with a fresh coat of gesso.
Once the gesso was dry, I thought of a farm scene and decided to try painting something with a barn and animals. Once I got started with the farm scene, it was really fun and I ended up continuing a country theme all the way around the piggy bank. This piggy bank is one of many pieces on which I’ve painted folk art scenes. This piggy bank measures approximately 9 inches long, 5 inches tall and 15 inches round.
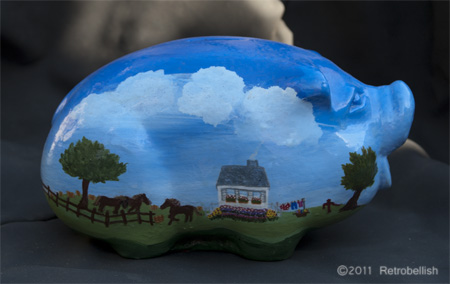
Folk Art On Piggy Bank Right Side
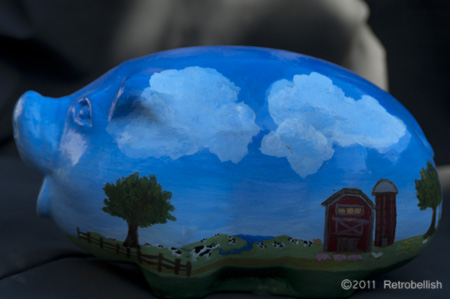
Folk Art On Piggy Bank Left Side
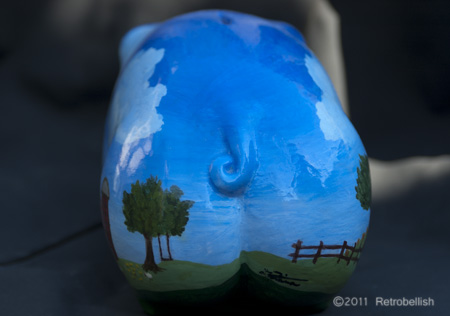
Folk Art On Piggy Bank Back Side
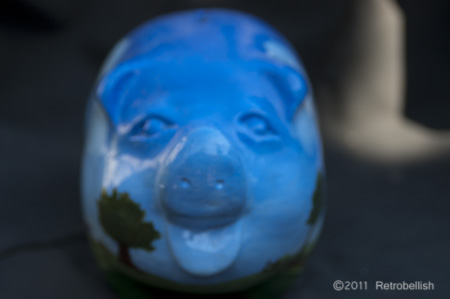
Folk Art On Piggy Bank Face
Paper Mache Fish
This fish is made of old newspapers and a few embellishments I had lying around the house. This is a simple and fun craft to make with children or just for the fun of recycling some old newspapers into your own art piece. I placed several sheets of newspaper on the table to prepare my work area. In a medium container, I made the standard paper mache paste made of flour and water (2 parts flour to one part water–until you get a pancake batter consistency) and added a dash of salt as a preservative. I then tore up several sheets of newspaper into medium sized pieces.
I made the fish core by crumpling some sheets of newspaper (using my hands) and forming them into the fish shape (as close as possible). I then started to dip the torn pieces into the paste mixture and started applying them onto the crumpled sheets to form the shape. At this point you can start shaping your fish to your preferred style. Once the fish shape dried, I used acrylic craft paints to paint the fish. The tail is made from a scrap piece of interfacing that I cut with my pinking shears and scissors, made a slit on the fish tail end and then slid the interface tail piece (with a little glue) into the fish tail end.
I glued on a half round marble for each eye and used fabric paint to draw around the eyes and mouth. I actually made four fish and painted them all in pretty bright colors, but I gave them all away and didn’t photograph them except for this one. Once you get started, it’s a simple and fun project to make. This makes a very lightweight piece which could also be hung with thread or you can make several smaller pieces and hang them as a mobile in a child’s room.
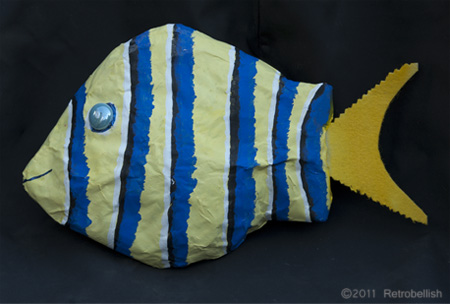
Paper Mache Fish