Painting On Reclaimed Wood Frame
Last year I had the opportunity to make a painting for my niece’s wedding. She had the idea to use a framed picture big enough to set on a table with all the seating tags adhered to the face of the painting so guests could find their names and table number right from the picture. I told her I could draw some abstract examples for her on a smaller scale to see how she would like the different scenes. Because the wedding date was set for October, she told us that her wedding color theme would be right from the rich beautiful colors of fall. She chose gorgeous deep reds, warm browns and deep golds. She then described the setting of where the reception was to be held and the beautiful warm colors of the brick walls near the entrance. The entrance area had a long tall table upon which the painting would be set so I was immediately inspired to paint a warm subtle scene of a beautiful sky at dawn, the horizon and soft warm earth colors. I also pictured a large deep brown tree on the left with beautiful maple leaves in an array of bright fall colors. This would leave the entire space to the right of the tree to adhere the lists of names and table numbers.
My husband almost always prefers to use reclaimed wood to make his own frames for his paintings and likes then to be more rustic than perfect. Among the pieces of wood he used, he also used a small piece of wood from an old shelf on which we kept family pictures including some of when our niece was very young. When he completed the frame, he painted it in a deep brown color that complimented and beautifully set off the colors in the painting. Because the name and seating lists were to be taped to the painting, a glass was added to prevent damage. The painting measures 36″ x 40.” Our niece and her husband loved the painting so much, that the painting now hangs in their living room.
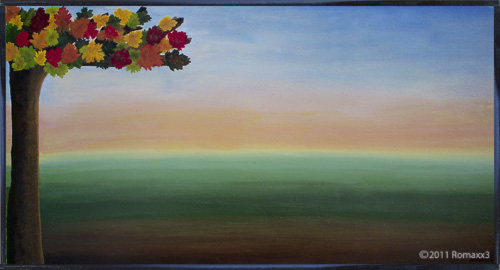
I Named The Painting New Beginnings
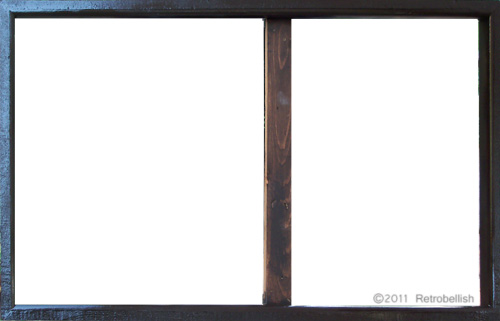
Reclaimed Wood Frame For The Painting New Beginnings
Art On Reclaimed Plaster Lion
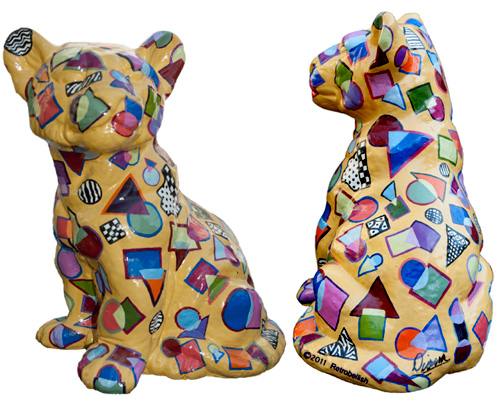
This lion cub is a plaster piece that had been painted in a dark color that made the lion cub dull and bland. We had acquired some statuary from a plaster business that was closing in Milwaukee, Wisconsin about 13 years ago. I had painted an abstract painting at the time that I named Confetti and my husband suggested that I should paint the same colors and designs on the lion cub as an abstract piece. At first I thought it would be better if I painted the cub in realist coloring and features, but later decided my husband was right and I should give it a try.
It was very interesting to paint the cub in the same abstract colors and designs I had used in my painting. I had so much fun and was very impressed with the results that I decided to name him Calico Cat. Here I have featured the original painting and Calico Cat. I’m glad I listened to my husband’s advice — sometimes it’s fun to use your imagination on an old piece and give it a new look and feel.
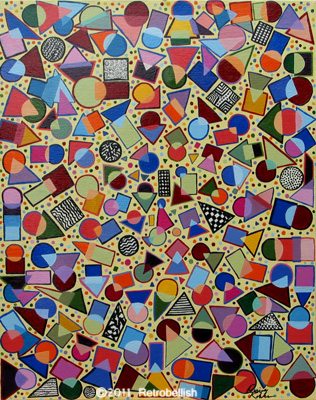
Confetti Painting by Diana Romaxx
Whimsical Wood Stools
These three wood stools were a great find at a clearance sale and a perfect fit for my kitchen counter. Although the stools were a little beat up, they were still very solid and I knew I could work with them. I knew I had some leftover upholstery fabric and foam pieces I had saved from a previous project that were just enough to cover the tops of all three stools. The stool tops were plain wood with white legs. Because my kitchen has a fruit theme and the fabric has a very colorful fruit theme, I wanted to give the stool legs a very colorful and lively look. So instead of painting the same designs on all three stools, I decided to just paint different whimsical designs on each of them. The designs I painted on the stools were red cherries against a light green background, purple grapes against a golden background, and a lively black-and-white checkered pattern. And although the stools are beginning to show some wear and tear, they look even more whimsical and rustic with age.
So if you have some old chairs around the house that just don’t match the decor of your home, with a little craft paint and a little time, you could recreate them into your very own work of art.
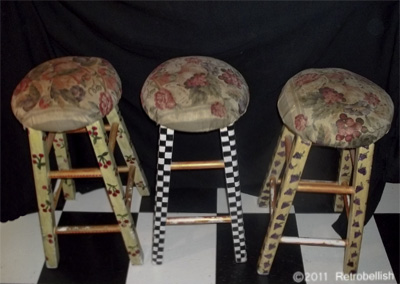
Three Painted Wood Stools
Scrap Wood Abstract Fish
This fish was made from leftover scraps of wood that we had saved from a book-shelf we had built a few years ago. The fish was drawn out on the wood freehand and then cut with a scroll-saw. The fish was sanded around the edges just enough to smooth it out. We then drilled a hole big enough to insert a small dowel-rod into the fish body and two holes were also drilled for the glass eyes at this time. The bottom fins were hand cut from fine cuts of the 2×4. To create the base, we used a piece of 2×4 and mitered the edge to give it a rounded cut around the top of it. We then aligned the fish with the base to find the balance point to drill a hole into the base to insert the bottom part of the dowel-rod from the fish body. Wood glue was used to glue the pieces together. The whole thing was then primed with gesso to assure even paint absorption. Then the fun part for me was painting and embellishing the fish.
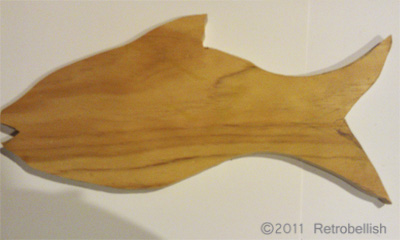
Abstract Wood Fish Cutout
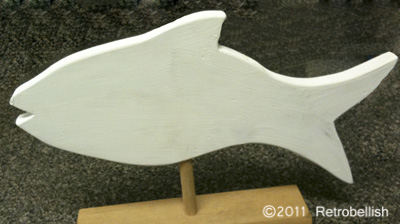
Abstract Wood Fish Primed
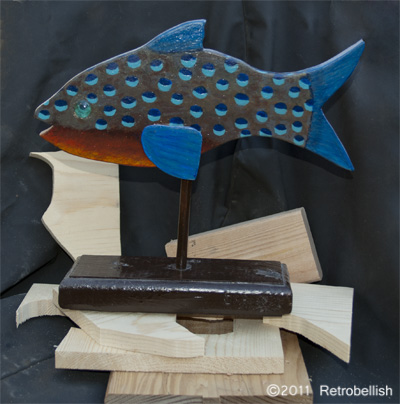
Abstract Wood Fish Left Side
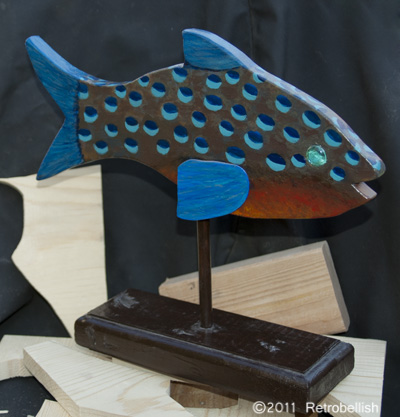
Abstract Wood Fish Right Side
Repurposed Red Cast-Iron Sink
This old cast-iron sink got a new life as yard art. The sink was left over from a bathroom remodeling job done about thirty years ago. The sink had been in the yard so long that it was partially buried into the ground. We took the old sink and chrome faucets and cleaned them up. We did some sanding to remove the rust. We then primed, painted the sink a bright red color, the supporting pipe in a bright orange, and added some colorful glass flowers we had purchased a while back.
The sink looks great and added a wonderful addition to our yard. This sink could also double as a bird bath. Re-embellish, re-invent, recycle.
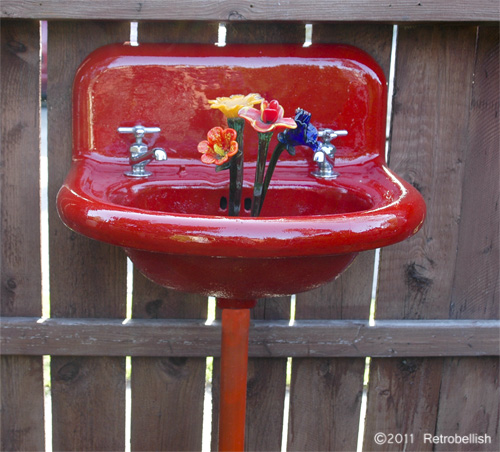
Red Cast-iron Sink