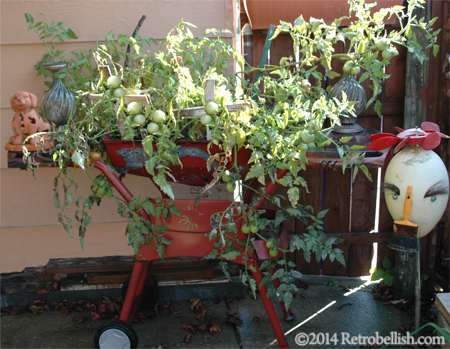
Repurposed Grill Planters
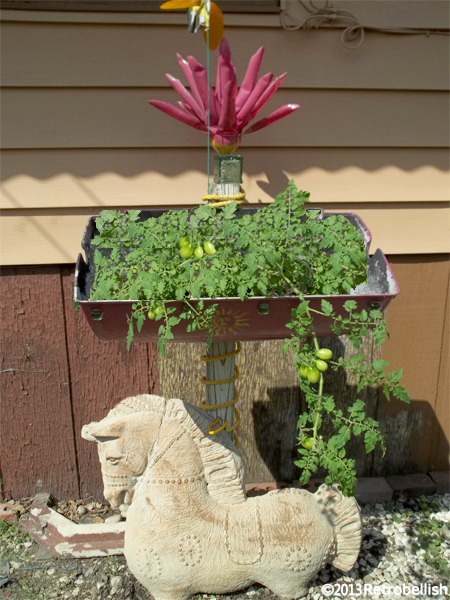
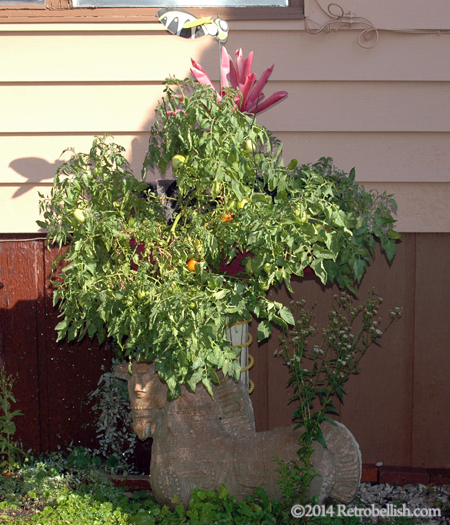
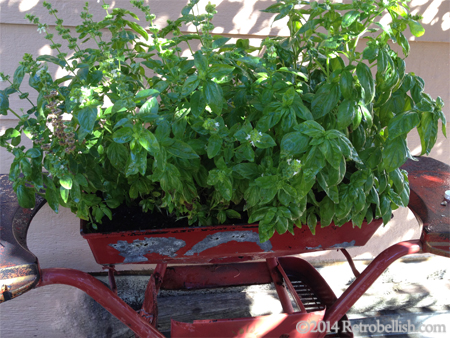
These repurposed grill planter projects started out with one of our grills that had outlived its use as a grill. The grills featured in this article were previous Retrobellish projects found here (links provided below). We have also added some new updated pictures of the grill planters in use today.
Reclaimed Grill Top Planter Published August 31, 2013 By Diana Romaxx
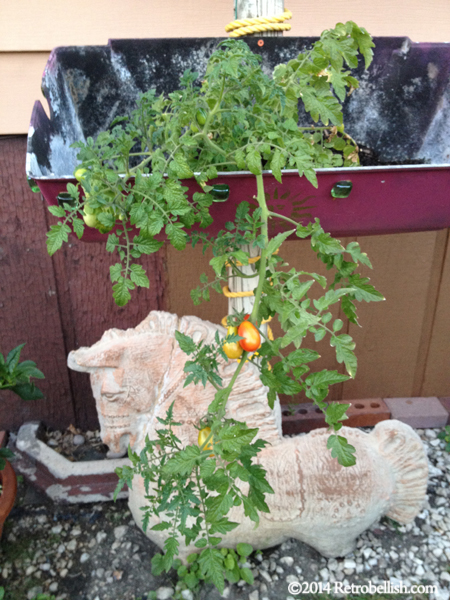
Recycled Gas Grill Planter Published October 17, 2011 By Diana Romaxx

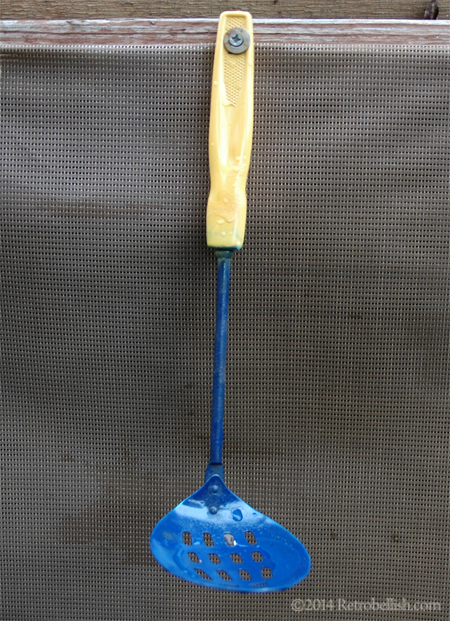
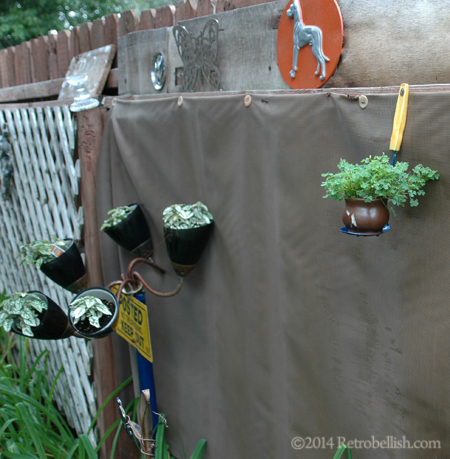
Reclycled Spoon Plant Holder
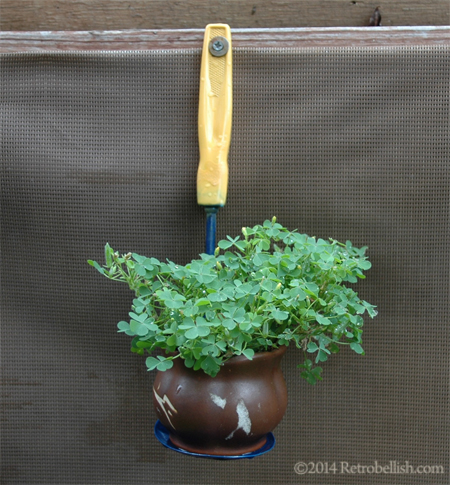
This small plant holder started out as an old perforated serving spoon that was rusted. We bent the bottom of the spoon out to make a flat surface to hold a small ceramic pot that we had lying around our project box. We spray-painted the spoon yellow and blue for a contrasting yet whimsical look. For the plant we needed a small flowering plant that could fit into the small ceramic pot. There is a wild clover plant that grows around our back fence and we decided to use one of the smallest ones for our project.
This would also be a fun project to continue if you should have other spoons to recycle.
Repurposed Book Page Flower Art
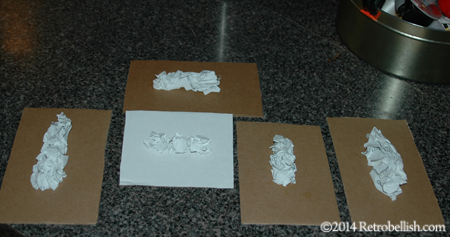
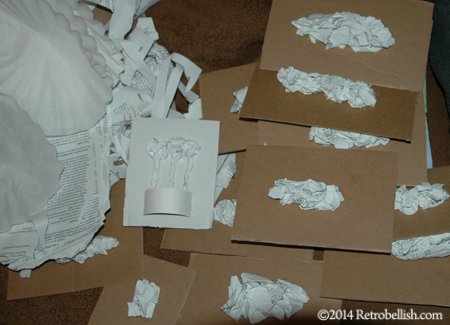
I recently posted paper mache plaster dresses and wondered what flowers might look like using the same paper mache plaster technique. I used the same recycled paper to create flower shapes and centered them on a 5″ x 7″ cardboard background, but when I applied the plaster over the paper flower petals, the mixture was too heavy and flattened the flower petals too much. I usually photograph each stage of my projects and when I reviewed the flower photos, I realized how beautiful the plain paper flowers looked before I had applied the plaster mixture over them.
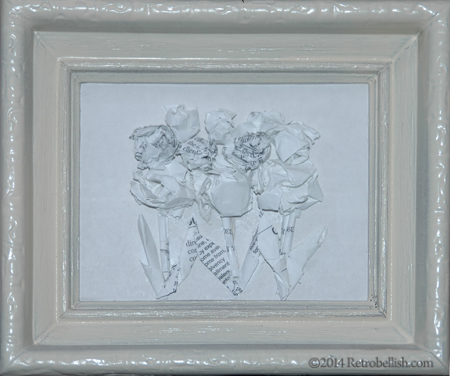
I decided to try again, but this time leave the paper flowers in their natural state and make them a little smaller in size. I shaped the recycled paper into little flowers and found out that the ones closely resembling little roses looked the prettiest. I applied a dab of white craft glue to the back of each of the little rose shaped flowers and adhered them directly onto the cardboard background, creating two rows of flowers.
I made flower stems for only the bottom row of flowers. I rolled strips of the same recycled paper into elongated little tubes and glued them directly onto the cardboard background. I used the same recycled paper to make leaves by folding them to closely resemble large leaf shapes. Again, I used craft glue to adhere the leaf shapes to the cardboard background, to each side of the stems.
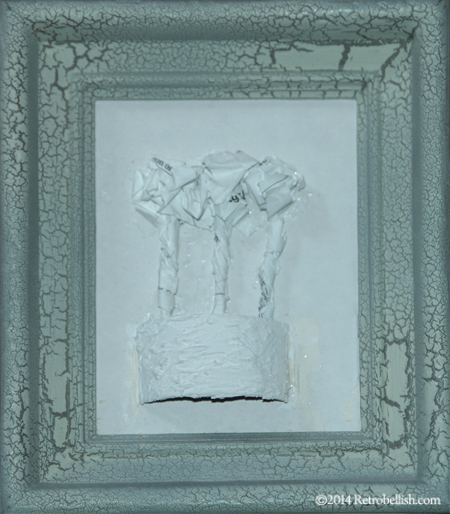
I made the flowers in the next little frame in much the same way, but used a paper towel core to make the little three dimensional flower pot. To make the little flower pot, I used scissors to cut across a small section of a paper towel core and then cut that small section into a half rounded shape. I then painted the cut cardboard with gesso. After the gesso dried, I took a small paintbrush to brush a little plaster across the surface to give the little flower pot a heavier looking texture. After the cardboard flower pot piece dried, I used glue on each end to adhere it onto the cardboard background making sure I positioned it to cover the bottom of the stems to make it appear like flowers are growing out of a little flower pot.
Although in this project I chose to leave the recycled paper in its natural state, you can give the flowers a more colorful look by applying a craft paint or a transparent color wash to each of the paper shapes before or after you create your flower shapes. Even though I used flowers as my subject, you can make any paper shapes you desire for your own personal creation.
Reclaimed Wood Puppet Box
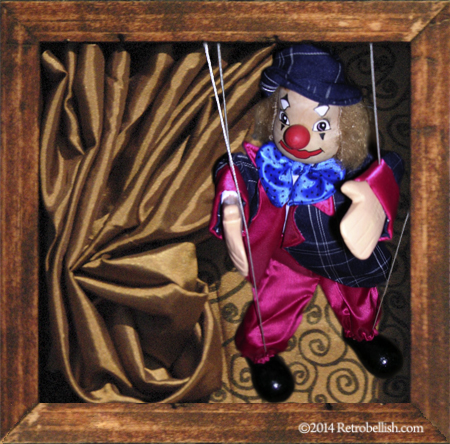
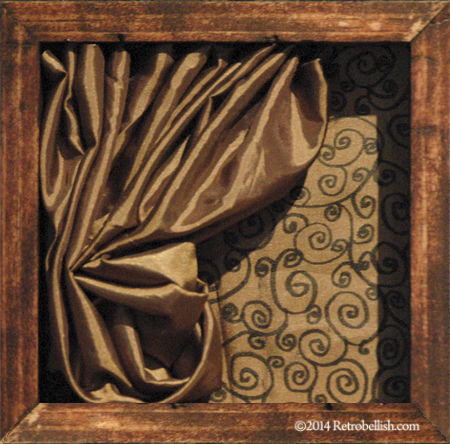
This Puppet Box Started out from a few reclaimed pieces of wood from a previous home repair. I cut the wood into four even pieces to make a square frame and then mitered the edges. I used a construction wood glue to bond the pieces together. After the wood glue dried, I applied a brown craft paint stain to the frame to give it a distressed look and feel. For the back of the wood puppet box, I measured and cut out a square from a sturdy (wheat cracker) box. I found a remnant fabric piece that was larger than the cardboard square and used fabric glue to affix the fabric edges onto the backside of the cardboard square. I then drew several swirl designs on paper to use as a guide. After the fabric glue dried, I used a fabric marker to draw a swirl design by eye onto the fabric square front side using my drawing as a guide. I used fabric glue and thumb tacks to adhere the fabric cardboard backing onto the back of the wood frame.
The little curtain was made from a larger remnant fabric piece. I measured and cut a narrow strip of sturdy cardboard from which I would suspend the little curtain. I used fabric glue along the edge of the narrow cardboard strip, gathered the fabric positioning it onto the narrow strip. Once the glued fabric draped like a little curtain, I used hot glue for a more permanent hold. Once the glue dried, I tacked the narrow strip to the top underside of the wood box. I then pulled the little curtain to one side and tacked it into the left side of the wood box. I then positioned the rest of the little curtain and carefully tucked then trimmed the bottom edge.
We had the little puppet lying around the basement for years and finally decided to give him a new purpose. The frame would make a good home for this puppet and in return we could display him on the basement wall instead of inside a storage box. The puppet’s strings are fastened to wood strips that allow you to maneuver the puppet. We posed the puppet inside the wood box and used thumb tacks to adhere the wood strips with strings into the top underside of the wood box. Although I used a stain for the frame, one can also use craft paint on the frame in your favorite color. Also the box can be used for any item such as small dolls, figurines, or even a photo.

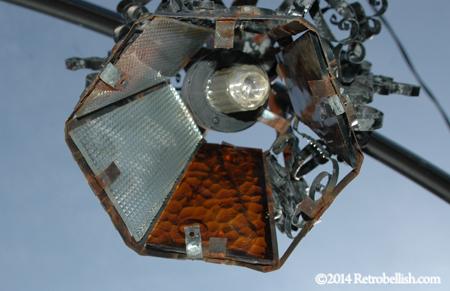
Trash Art Solar Lantern
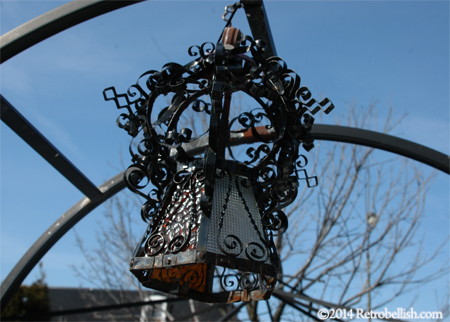
This trash art lantern was made from an old broken Spanish style lamp that we recycled. We did not do much to the lantern except clean it up and remove the wiring. We then used a found piece from a chain link fence to hang the lantern. We were able to bend some of the lamp’s metal pieces by hand to secure the fence piece.
This is one of those projects that are very simple and easy to make. We have enjoyed the lamp on our trellis in back yard for several years now.
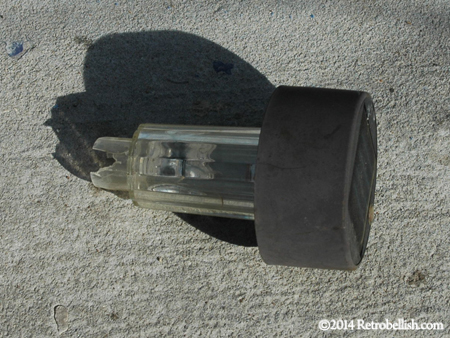
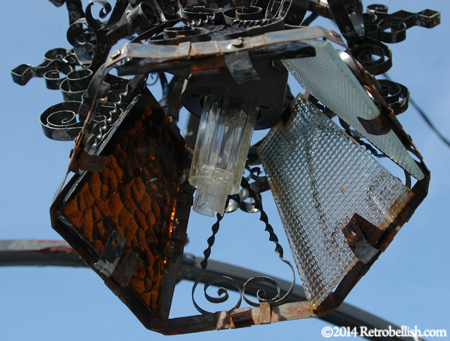
For the light we used a found solar light piece (that still lit up) from a scrapped yard lamp. We simply inserted the solar light piece inside this lamp and again bent some of the lamp’s metal pieces by hand to hold the solar light piece in place.
Although we used this style lamp for this project, you can basically use any outdoor lamp and buy the solar light piece from any big box store for a few dollars to light up your very own recycled whimsical solar lamp art piece. So just have fun!