Recycled Fleece Leopard Gloves
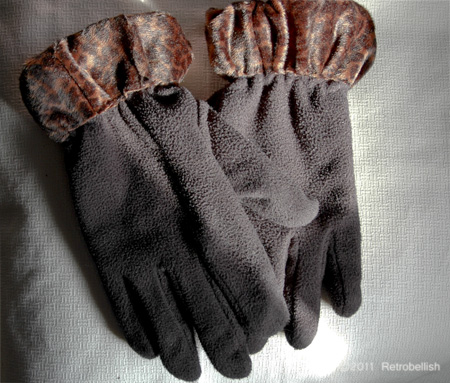
Another way to give an old pair of gloves a fresh new look is by adding some type of embellishment, especially when the gloves have a two inch extended cuff. I thought the gloves would look very nice embellished with some beautiful fabric. I looked through my fabric remnants and found an old leopard print that I thought would look very nice sewn onto the cuffs of my gloves. I measured the cuffs, the fabric, and then cut enough fabric for both cuffs.
I sewed the fabric onto each cuff and started by placing the fabric edge near the elastic edge part of the cuff. I then made sure to slightly gather the fabric every inch or so and sewed that gathered fabric firmly to the glove. This would ensure that the fabric would have enough elasticity to stretch with the glove’s elastic edge.
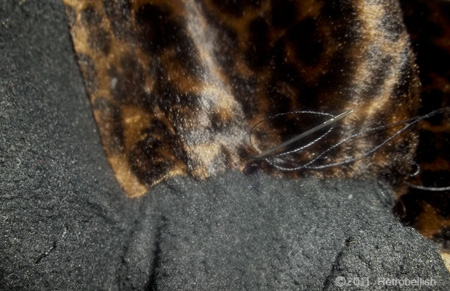
Next I folded the rest of the fabric over the cuff edge and sewed the other end to the inside part of the glove. I really loved the way the newly embellished gloves turned out. They have a totally different look and with only a little less than a quarter yard of fabric. You don’t have to embellish a cuff with fabric, you can easily change the look of gloves with simple and colorful buttons, bows, or other embellishments. There are so many wonderful and fun fabrics for children and many that can be found on sale in the remnants section of a fabric store.
Reclaimed Towel Dog Toy
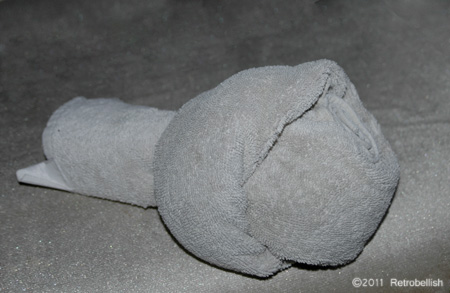
The idea for this reclaimed towel dog toy all started with our puppy boy Maxx who always loved to play tug with his towels as soon as we dried him off after a bath or after playing in the snow. We wanted to recycle some old terry cloth towels that Maxx had ripped up. These towels were still solid enough to make some kind of simple tug toy for Maxx to play with.
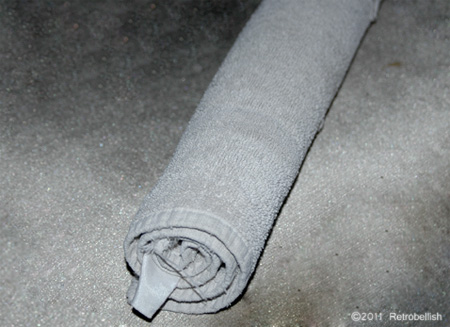
We snugly rolled up the towel length-wise (so that a small ripped part in the middle was hidden) and then carefully tied one end of the rolled up towel into a big knot (making sure to tuck the towel end tip inside the loop of the knot). The tug toy is very sturdy, yet soft enough that it won’t hurt a dog’s mouth when he pulls and bites it. It’s also easy to keep clean because the tug toy can always be untied and thrown in the washer. Once the tug toy gets worn out, one can easily make another one from old towels. The towels could also be cut up into smaller strips for smaller pets.
Collage On Lampshade
A great way to give old worn out or damaged lamp shades a different look and feel is to cover them with anything from leftover fabrics to holiday wrapping paper. In the case of the lampshade featured here, I decided to cover it with some type of fabric or paper when I found it had gotten stained after many years in our garage. I was lucky to find a beautiful Victorian print wrapping paper that had the colors and feel of the look I was trying to capture. To get started, I first removed the outer cloth-like fabric from the lampshade, which revealed a white plastic lampshade base. To give this white plastic base a more antique look, I painted the inside of the lampshade with a brown acrylic craft paint. The lampshade also had a narrow white cloth strip at the top and bottom rims, so I used a strong cup of coffee and paintbrush to tint both of the white cloth strips.
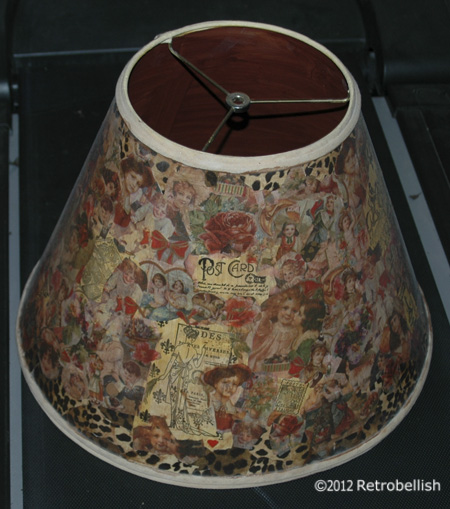
I then cut out all of my favorite pictures from the Victorian wrapping paper, and pieces from some leopard print wrapping paper too. I also have some rubber stamps of different old world pictures (like the London Tower, the Paris Eiffel Tower, and other various Victorian images) which I stamped onto parchment paper and cut out as well. Next, I laid out all of the pictures on a table so that I could see their placement before gluing them onto the lampshade. Once I finished positioning the pictures in an order I found very pleasing, I used a sponge brush and Mod Podge to apply the pictures onto the old lampshade. After the lampshade thoroughly dried, I applied another coat of Mod Podge on the entire shade to seal it. I let that coat dry for a couple hours, and then applied one more coat, which gave the pieces a blended look.
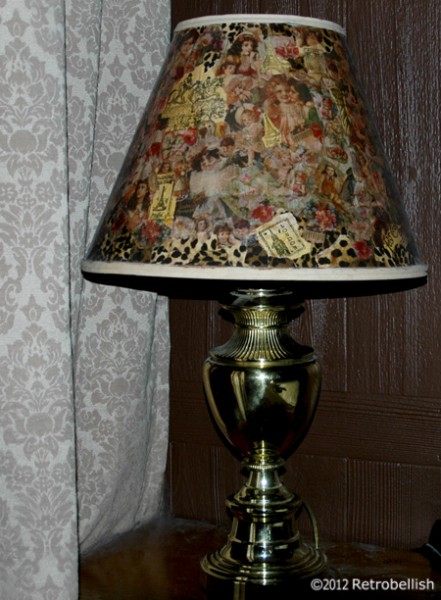
I was very happy with the results and although I didn’t use any decorative embellishments on the top and bottom edges of my lampshade, you can always use beautiful fringe, jewels or textured trim to decorate your lampshade. After a party or any holiday, if I come across a beautiful piece of wrapping paper, I try to recycle as much of it as I can for future craft projects.
Reclaimed Pillow Covers
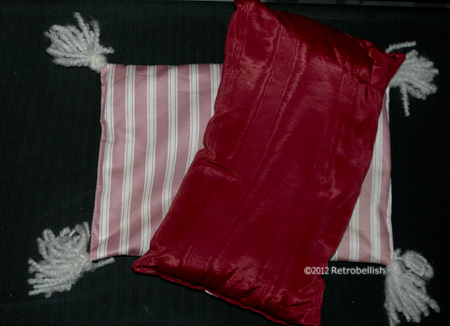
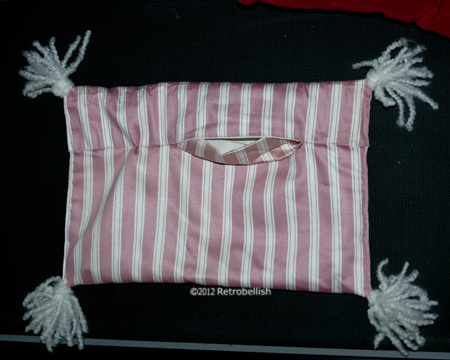
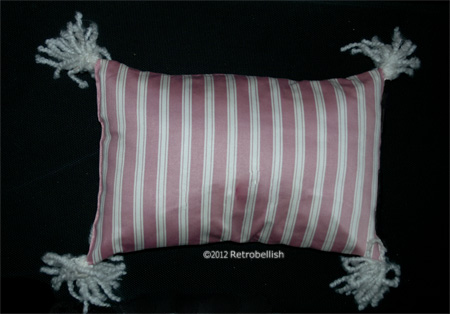
Pillows make great accents in our homes. Sometimes, pillows that may have looked great a few years ago may have lost their luster due to everyday wear and tear and some fabrics may just go out of style, but one could always make covers to give those pillows a fresh look. I had such a dilemma with some pillows that I bought at a clearance sale at a store in our area that was going out of business. I liked the size and shape of the pillows, but not the color. I had some striped pink fabric I loved and had enough to cover the two small pillows.
I placed one of the pillows in the center of the fabric and folded one end of the fabric over half way over the pillow and then the folded the bottom of the fabric up towards the middle of the pillow. I measured and pinned near the places where I would cut making sure to pin a 1/4″ seam allowance. I then cut the fabric making sure to keep the stripes lined up and sewed the sides. I also sewed across the middle, but made sure I left an opening large enough to slip the pillow inside the opening. It turned out very well and I had enough fabric to make one more pillow cover. The pillows look very nice on my chair. In the past, I’ve also used leftover fabric that I reclaimed from old drapes to cover a chair and made a small matching pillow cover. I’ve even used denim from some old jeans to embellish other small pillows to give them a more interesting look, so you can reclaim fabric from just about anything you’d like.
Lost Earring Crochet Pin
I was looking for a pair of earrings to wear and couldn’t help notice the sparkle from some earrings at the back of my jewelry box. I have several lone earrings that don’t have a matching earring because I’ve lost them over the years. Each time I’d lose one, I’d put it in what became the lost earring section of my jewelry box with the hopes of soon finding the lost one. As time passed, I couldn’t throw them out and thought they might one day become a nice future craft project.
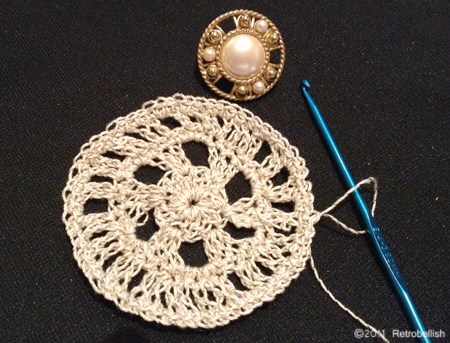
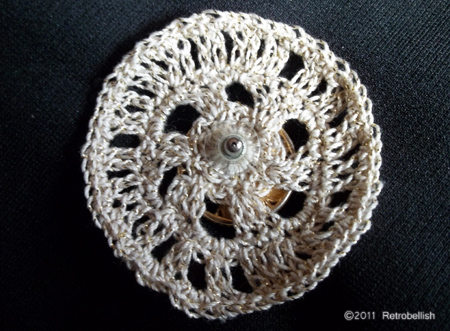
This crocheted pin is one such project that was inspired from browsing through several craft magazines. The old pierced earring I chose measures 1 inch in diameter and the crocheted part measures 2-1/2 inches in diameter. I used a fine beige crochet thread that is intertwined with gold metallic thread and used a size E-4 MM crochet hook. I looked at the earring for design inspiration and by trial and error came up with a very simple pattern.
I started by crocheting five single chains and joined them with a slip stitch. Next, I crocheted four single chains and double-crocheted 12 stitches into the center and then ended that row by joining with a slip stitch. Next, I chained four (to match the length of a double crochet) and double crocheted into each of the next two stitches, then crocheted four single chains and repeated double-crocheting into each of the next three stitches, repeating to the end and joined that row with a slip stitch.
In the next row, I single crocheted into every stitch all the way around. Next, I made four single chains, then double-crocheted into the next stitch, crocheted two single chains and then double-crocheted into each of the next two stitches and repeated all the way around and ended that row with a slip stitch. In the last row, I single crocheted into every stitch all the way around and finished with a knot.
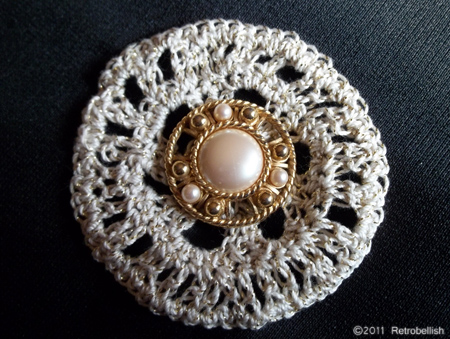
I placed the pierced earring post through the crocheted center, and the post is sharp enough to go through a sweater. The earring back holds the earring in place very well. I’m happy with the results and have worn the pin on a few of my sweaters. Instead of an earring in the center, you can also use a small pin in the center of any crocheted design you create.
