Recycled Magazine Glass Plate Collage
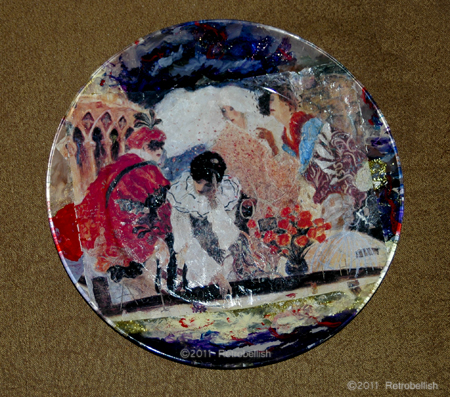
Recycled Magazine Collage On Glass Plate
It is very ironic how some of the things we take for granted, like throwing away magazines, can help you create your own very little treasured pieces of art. About 20 years ago, my husband used to collect depression glass pieces and I used to pick up a lot of clear plates at garage sales, estate sales, and thrift stores. I didn’t know what I was going to do with them, but I accumulated quite a few of these clear glass plates. I’ve always loved the art and paintings in magazines, especially some of the landscapes, florals and nature scenes. Even some of the ads were so beautiful that I would keep the magazines around for a while.
While recycling our paper one year, I got an idea that since I loved some of the art in these magazines so much, I would create a collage of some kind. I started by cutting some pages out, tearing pieces from others that I liked and placing them side by side to create scenes until I found the right combinations to create these collage plates. On one plate I created some Tuscan scenes, on others I created a stormy sky with some angels, and on another there was an abstract garden scene. The following plate is one of my favorite collage plates — it’s a painting of four persons dressed in Carnival costumes by a fountain. I carefully ripped multiple pieces from magazines to create a scene.
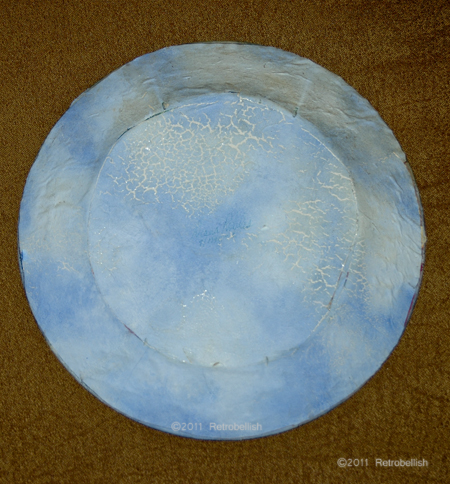
Recycled Magazine Collage On Glass Plate--Back Side
The clear glass plate is 9″ in diameter and the torn scene did not quite fit to the edges of the plate, so I Mod Podged it onto the center of the plate anyway. Once the piece on the plate was dry, I thought I’d use acrylic paints to paint in the clear parts of the plate by just matching the colors on the edges of the piece. I couldn’t believe how the plate began to look as I extended the edge colors to the end of the plate edges. Up close you could clearly see where the piece ended and the painting began, but from a distance, the plate actually looked like it was all one piece.
For strength and to protect the piece, I thought I’d Mod Podge some thick white art paper to the back of the entire plate. The paper was so plain and even though no one would see it on the back of the plate, I wanted to paint something pretty on it. I decided to paint a light blue sky with soft white clouds. Once the paint dried, I Mod Podged it to the back of the plate and as you can see, after all these years it has a little cracking on it, but it still sealed the plate beautifully. I love the brilliant colors of this beautiful piece and to this day it still hangs on my kitchen wall high above the cabinets.
Faux Zebra Fabric Hat Box
This whimsical piece started out as an old hat box that I had lying around for years. I even used it to store my craft paints at one time. About ten years ago, I got the idea to use some remnant pieces of animal print fabrics I had bought at a clearance sale at Minnesota Fabrics.
I measured this oval-shaped cardboard box and then measured the fabric. I carefully cut the fabric for the (outside) top and bottom of the box. Then I cut one long narrow strip of the fabric to cover the side for the top and a much wider strip of fabric for the side bottom part of the box. I also had some gauze-like zebra fabric that I used to line the inside of the box. This gauze-like fabric was very light and sheer yet it also had a visible zebra print that was very similar to the print on the heavier zebra fabric (that I used on the outside of the box).
I used hot glue to adhere the fabric to the box, yet I was careful to dispense very small dots of glue so as not to make it too bulky. I managed to smoothly glue the heavier fabric onto the outside of the box and the gauze-like fabric to the inside of the box. I then glued a black satin cording on the entire top edge of the box all the way around. I still love the way the box looks and I use it to store my little bottles of perfume that used to clutter my dresser.
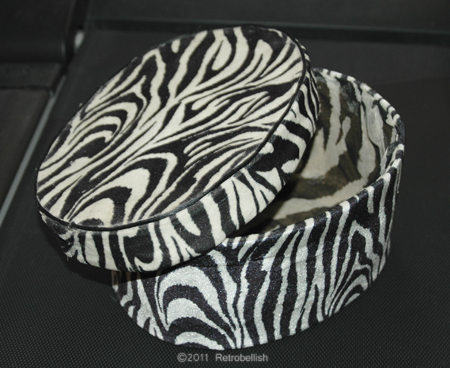
Faux Zebra Fabric Hat Box
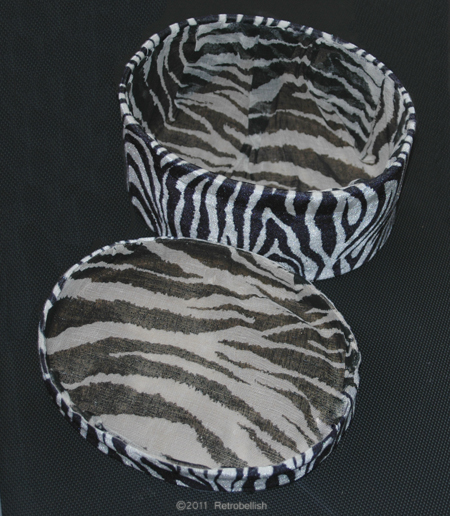
Faux Zebra Fabric Hat Box Inside Fabric
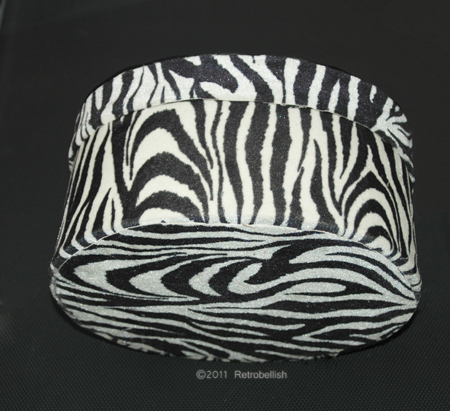
Faux Zebra Fabric Hat Box Bottom View
Folk Art on Plaster Piggy Bank
This plaster piggy bank was very popular in the seventies and eighties and sold at plaster-craft shops throughout the states. This one had been painted with tempera paint and was looking a bit faded and dull. Before I painted it, I wiped it with a damp cloth and painted the whole piggy bank with a fresh coat of gesso.
Once the gesso was dry, I thought of a farm scene and decided to try painting something with a barn and animals. Once I got started with the farm scene, it was really fun and I ended up continuing a country theme all the way around the piggy bank. This piggy bank is one of many pieces on which I’ve painted folk art scenes. This piggy bank measures approximately 9 inches long, 5 inches tall and 15 inches round.
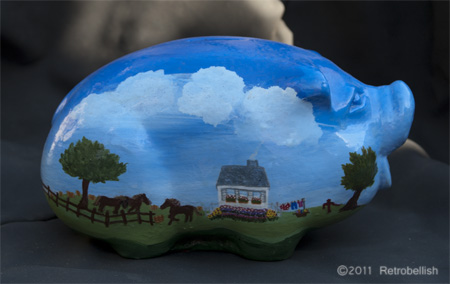
Folk Art On Piggy Bank Right Side
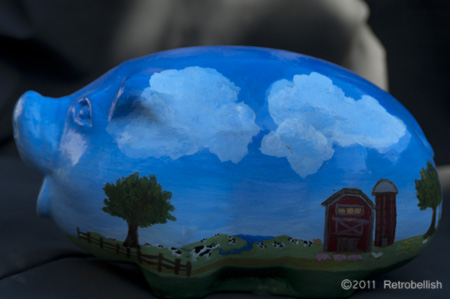
Folk Art On Piggy Bank Left Side
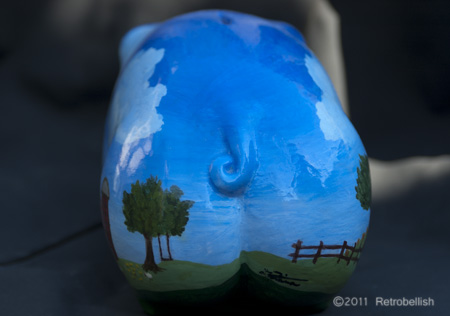
Folk Art On Piggy Bank Back Side
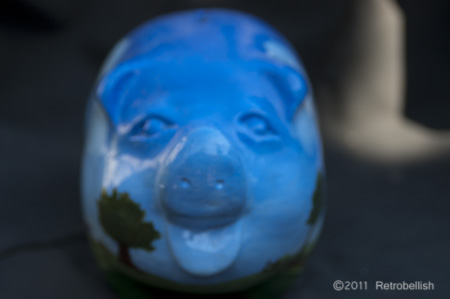
Folk Art On Piggy Bank Face
Paper Mache Fish
This fish is made of old newspapers and a few embellishments I had lying around the house. This is a simple and fun craft to make with children or just for the fun of recycling some old newspapers into your own art piece. I placed several sheets of newspaper on the table to prepare my work area. In a medium container, I made the standard paper mache paste made of flour and water (2 parts flour to one part water–until you get a pancake batter consistency) and added a dash of salt as a preservative. I then tore up several sheets of newspaper into medium sized pieces.
I made the fish core by crumpling some sheets of newspaper (using my hands) and forming them into the fish shape (as close as possible). I then started to dip the torn pieces into the paste mixture and started applying them onto the crumpled sheets to form the shape. At this point you can start shaping your fish to your preferred style. Once the fish shape dried, I used acrylic craft paints to paint the fish. The tail is made from a scrap piece of interfacing that I cut with my pinking shears and scissors, made a slit on the fish tail end and then slid the interface tail piece (with a little glue) into the fish tail end.
I glued on a half round marble for each eye and used fabric paint to draw around the eyes and mouth. I actually made four fish and painted them all in pretty bright colors, but I gave them all away and didn’t photograph them except for this one. Once you get started, it’s a simple and fun project to make. This makes a very lightweight piece which could also be hung with thread or you can make several smaller pieces and hang them as a mobile in a child’s room.
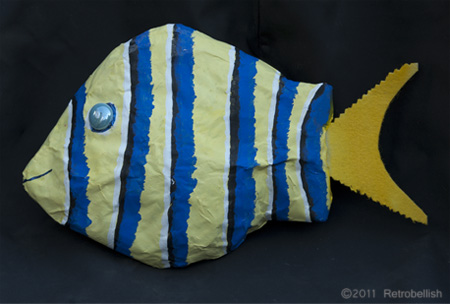
Paper Mache Fish
Fall Holiday Wreath
This wreath started out as a round, green wire bare frame I bought at a craft store. Along with the wreath, I also bought numerous springs of beautiful silk maple leaves and some floral wire. I cut the leaves off of the spring and wired individual leaves onto the wreath. The warm festive fall colors are very cheerful and versatile because they can be displayed from mid-September to Thanksgiving day (US).
Over the years, I’ve added different embellishments to form the wreath featured below. The pieces I added early on were the little scarecrow, little berries and a few fall flowers. Recently, I added the little pumpkin and small gourds. Over the years I’ve had fun adding embellishments to this wreath and although I’ve finished the wreath for now, I know that if I should find fun embellishments I like in the future, I can always swap them out because they are wired on. This is a simple wreath for anyone to make and you can re-use your favorite fall flowers or silk plants, and even some fun embellishments to make your own. A great time to pick up some of these fall items and embellishments is at the end of the holiday seasons.
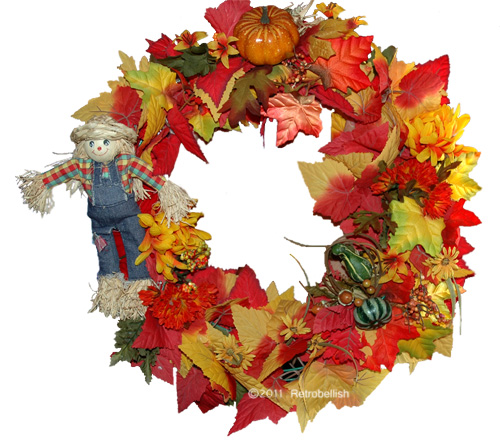
Fall Holiday Wreath