Upcycled Winter Hat, Scarf and Gloves
I started this project with a pretty pink hat I purchased last winter. I really liked the way this hat was made and upon trying the hat on I found out that it didn’t quite reach down over my ears, but I bought it anyway, because I really loved it and knew from the way it was made that I could work with it. I instantly got a bunch of ideas on how I could create a better fit. I then also bought the matching pink scarf and gloves.
I knew I could crochet a band of yarn around the bottom edge of the hat to extend the length and cover my ears. As you may know from my past articles, I am constantly on the hunt for yarn and fabric sales so I have a little collection of each of those. I looked through my skeins of yarns and found several colors that I thought might look great crocheted around the bottom edge of my hat.
When I was ready to start crocheting, some of the yarn colors that I had were in various shades of pink, gray and purple, but when I pulled out a skein of thick black velour yarn, I couldn’t believe how beautiful the thick texture of this velour yarn looked against the knotted texture of the hat’s pink yarn.
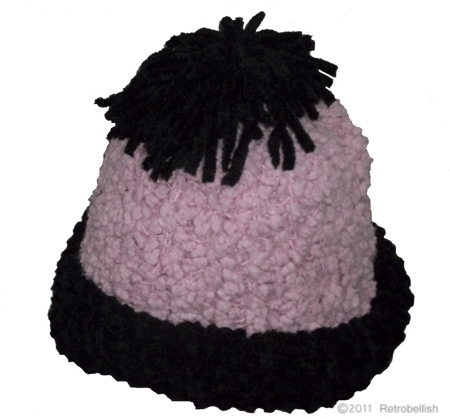
Using a size K crochet needle, I crocheted eleven single chains and then five rows before I laid the band onto the edge of the hat. I then folded a bit of the band’s bottom edge over the bottom edge of the hat. The thick velour band looked very nice and well balanced against the heavy thick texture of the hat’s pink yarn.
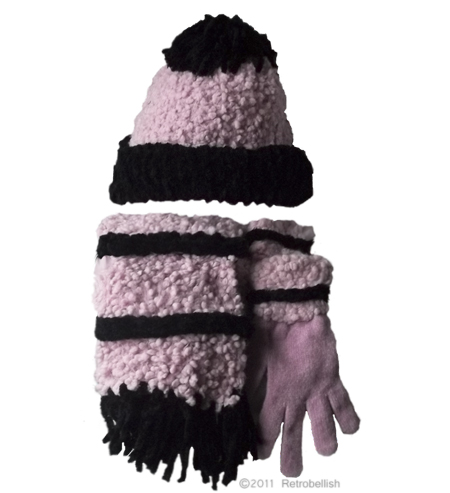
Because I knew how well the velour yarn looked crocheted with the pink yarn, I decided to crochet two additional braids of single chains all the way around the scarf and then laid them separately (about six inches apart) near each end of the pink scarf. I then hand sewed four braids onto the scarf. I then did the same for the gloves, except that I only crocheted one braid for each glove.
Last, I made the fringe, which I cut and measured by eye. I simply cut one strand of the velour yarn (about 3 inches long), measured how long I really wanted the fringe to be by pulling the strand through one stitch of the scarf’s last row. I then trimmed it to the length I liked, cut all strands to the same length.
Using the same size K crochet needle, I pulled through only two velour yarn strands through one scarf stitch, tied the two strands near the top (using a separate velour yarn strand from the skein), tied a double knot and then I cut the strand two ends (from the skein) to the length of the strands I just tied (this makes the fringe thicker). In a similar fashion, I inserted two strands (tied and knotted) through every three scarf stitches (of the scarf’s last row), until I finished each end of the scarf. Even though this project took me a while to complete, it was a very simple project anyone can do and the embellishments you can use to reflect your taste are endless.

Upcycled Knitted Winter Hat

Upcycled Pink Knitted Hat Scarf and Gloves