Fabric Marker Embellishment
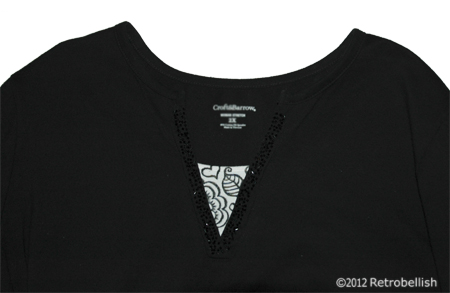
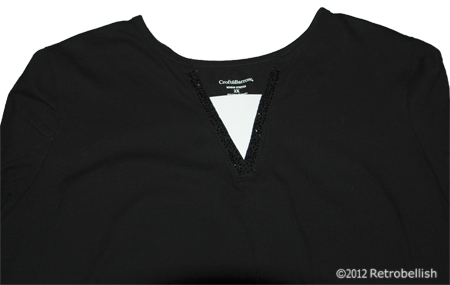
Sometimes simplicity is best, as with the case of this blouse I bought on sale last year. I really loved this blouse, especially the beautiful beading it already had around the neckline. The only thing I didn’t like was the plain white V patch on the front center of the blouse. I thought of sewing a piece of fabric over the patch from some of my beautiful remnants I had laying around from other craft projects, or even cutting the piece out completely, but the crafter in me decided to try my black fabric marker to create some kind of design.
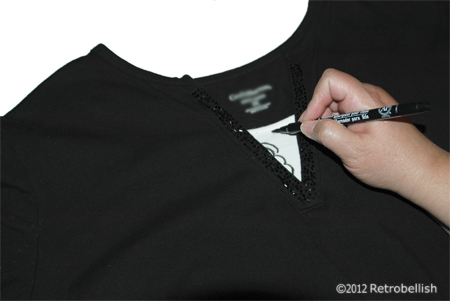
I measured the white V patch on my blouse and traced several similar sized triangles on white paper. I drew many paisley designs on paper until I drew some designs I really loved, which turned out to be a flower, a leaf and some hearts. I then copied those designs onto the triangles until I liked their positions next to each other. I then used a permanent ink black fabric marker to draw them onto my little white V patch on my blouse. I took my time and figured that if I made a mistake, I could always go to plan B and sew a small beautiful fabric piece over the existing V patch. I was very happy with the results and even inspired to try it on one of my other plain white tee shirts (which I will definitely share on a future post).
A Look Back At Retrobellish™
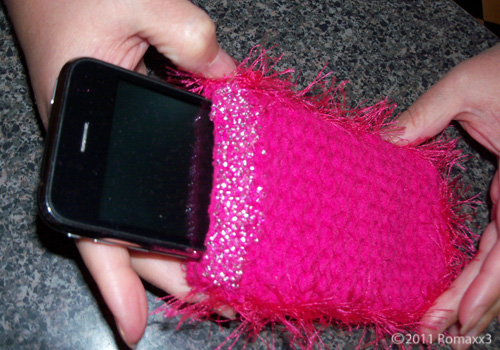
Hello everyone, Retrobellish™ turns ONE and I can’t believe how fast this year has gone by. With my hectic work schedule, making time to post new projects on Retrobellish blog is very challenging. I would like to take this time to thank everyone for all the support you have given Retrobellish™, a simple blog that I started at the request of my husband David. It’s been a fun, challenging and rewarding experience for us. In this post we are featuring our first post from a year ago, How To Make A Knitted Crocheted Fabric Case for Your Cell Phone. So no matter what your passion for crafting may be, always have fun with your creations. Again, Thank You For A Wonderful Year.
Upcycled Blue and White Floral Jacket
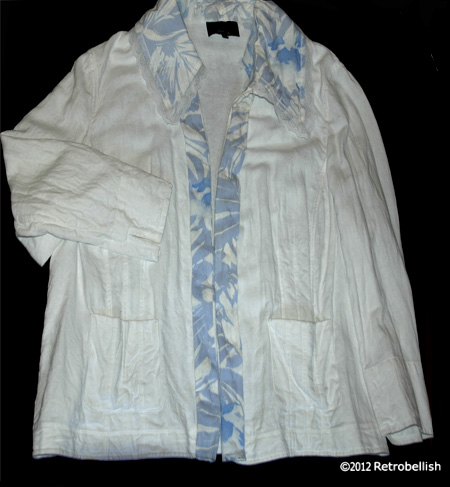
This project started out with two thrift store finds. One was a beautiful blue and white floral cotton dress with a great looking lace edged collar. The other was a plain white cotton jacket. The idea I had was to take the collar from the dress (since it was a size that didn’t fit me), and add it to the jacket. The beautiful floral pattern dress had a lot of potential and lent itself to many other projects because of the extra full fabric bottom.
I started out by carefully cutting out the collar from the dress and leaving about an inch of extra fabric all the way around the collar edge. This would help me position the collar more evenly with the jacket collar and have extra fabric on which to sew it more securely to the jacket. I then started pinning the dress collar to the jacket neckline area and decided to cut away some of the jacket collar to remove bulk. Once the collar was evenly positioned I started pinning it to the jacket so I could begin to sew the two together. This worked out well and looked very nice when completed.
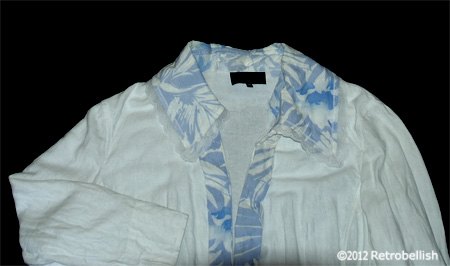
Next, I measured the length of the full skirt-part of the dress (from the waist to the bottom edge) and then measured the jacket from under the left front collar center opening (down the center) to the bottom edge. I then repeated the same process on the right side center jacket opening. I thought that a two inch wide strip of floral fabric would look good adorning each open edge of the jacket. I cut a six inch strip from the dress doing my best (by eye) to pick the same floral pattern on the dress for each side of the jacket. I folded each floral strip (by eye) to a width that looked nicely balanced when placed on the jacket edge, and then I pinned it down. Then I measured the strip and ironed it, which made it so much easier to make the second matching strip for the other jacket edge. I loved how the blue and white floral fabric strips looked on the jacket. It turned out rather well and can be worn with a pair of white shorts, pants, light blue shorts or even jeans.
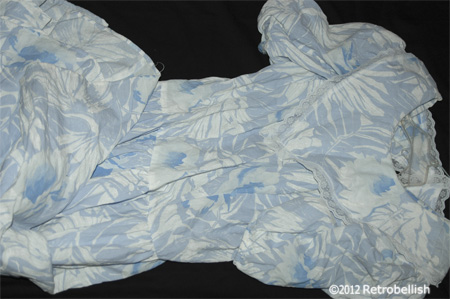
Because I have so much of the blue and white floral fabric left over, I think I will try making a camisole to wear with the jacket. I might even take one of my white camisoles and make a floral strip to add to the top edge of the camisole (definitely a future post). One could also take fabric strips and glue them to a belt to make an accent piece with a jacket. In the past, I’ve even used fabrics I liked on old shoes. So have fun and don’t hesitate to take two of your old pieces and by combining them, see how you can recreate a new piece of your very own. Nothing perfect here, no exact science, just have fun and be yourself.
Blue Beaded Knitted Bracelet
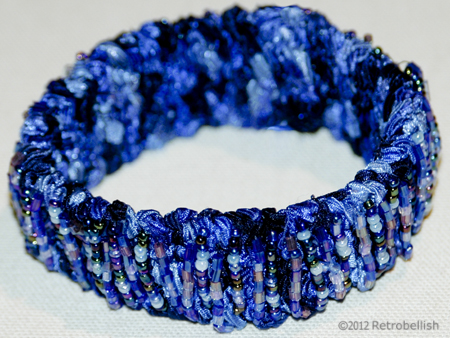
This project started out as a crazy idea I had about making a blue beaded knitted bracelet. While on one of my many trips to the craft store, I came across a great sale on small glass round and hexagon bugle beads that just caught my eye. The beautiful shades of blue and purple really sparked my imagination about making my knitted beaded bracelet. I started out by using my ribbon yarn made especially for knitting and crocheting. I had bought several skeins of this variated blue ribbon yarn because it was beautiful and I thought I could make something nice with it one day–and because it was on clearance.
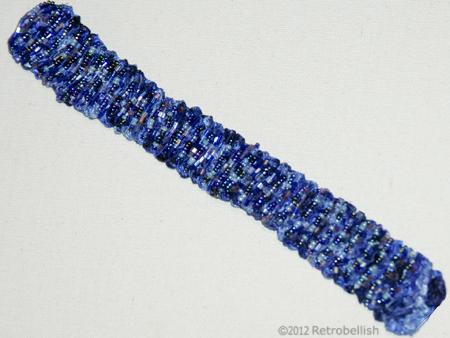
This ribbon yarn lent itself to this project because it was very easy to knit with on size 4 knitting needles, and also had a lot of beautiful texture and sheen once it was knitted. I knitted 7 stitches across and approximately 70 rows, which I arrived at by measuring it on my wrist as I went along. So after knitting many rows, I’d stop and hold it around my wrist until I reached the desired length (about 9 inches in length). I also knew that I would be overlapping the edges a little (one end over the other end) so that I could place Velcro dots (underneath one end and on the top side of the other end) as the bracelet’s closure.
Once I finished knitting the bracelet, I started sewing on the beads using a flat nylon thread made especially for beading on fabric. I used a very thin beading needle to thread the beads on and made sure to knot the end of each row. I then alternated every other row using round beads and hexagon bugle beads to create a simple pattern.
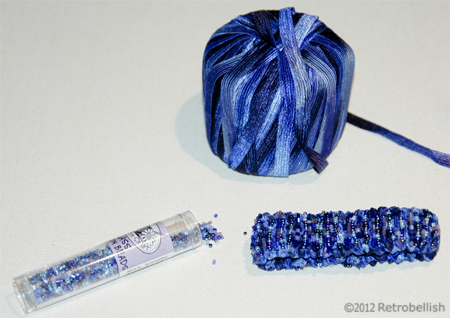
Although I used this beautiful blue ribbon yarn, you can use blue denim, or any leftover fabric you love. I have even used upholstery fabric to create another bracelet project similar to this one. So just have fun and let your imagination create your own little piece of wearable art.
Beading A Deep Pink Blouse
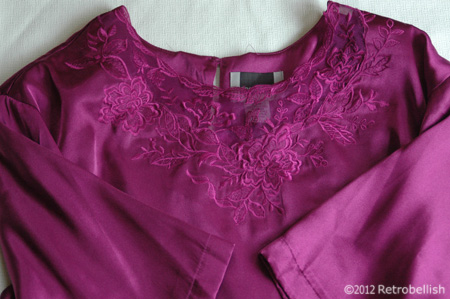
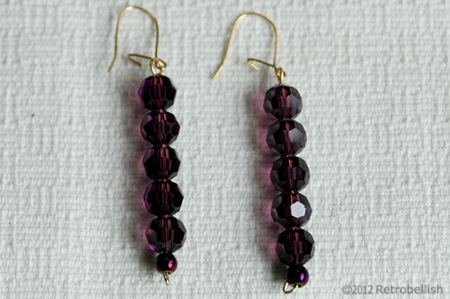
Sometimes we have clothing items that we’ve outgrown or have fallen out of love with or maybe it’s just lacking a little pizazz! Whatever the reason, I’ve found that what always works for me is to take out all of my colorful beads and set them out on a piece of fabric on the dinning room table. I then study all of the beautiful colors of the sparkling beads next to that article of clothing and it’s easy to imagine them already sewn on and make the final decision. The beads I used on this embroidered deep pink blouse are not necessarily the most traditionally used style of beads, but rather what I thought would give the blouse an accent and subtle sparkle without taking away the focus from the beautiful embroidery on this blouse. After I sewed the crystal beads on the blouse, I realized I had leftover quite a few deep pink crystal beads and decided to make a set of matching earrings.
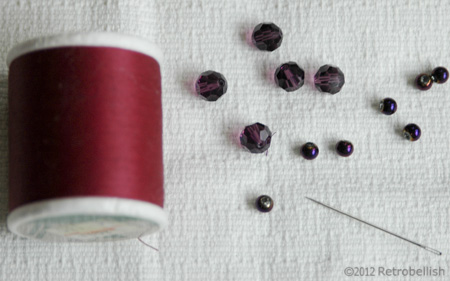
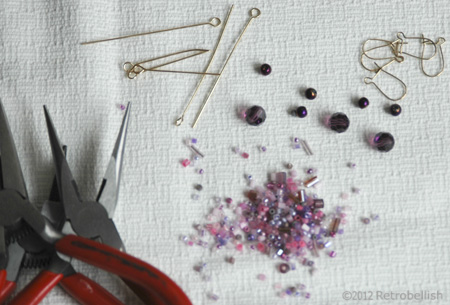
A very long time ago, I had dabbled in making earrings because I couldn’t find the style of drop pearl earrings to match my wedding dress. I had bought earring findings–packets of head pins, eye pins, jump rings, earring hooks, faux pearls and jewelry pliers to make my drop pearl earrings. I was very happy with the outcome of my loop pearl earrings and saved all of the leftover pieces. I dug around and found the small box containing those findings that I needed to make matching earrings for this deep pink blouse.
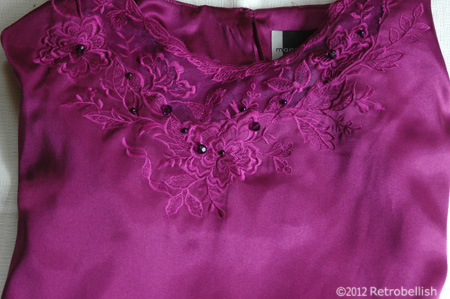
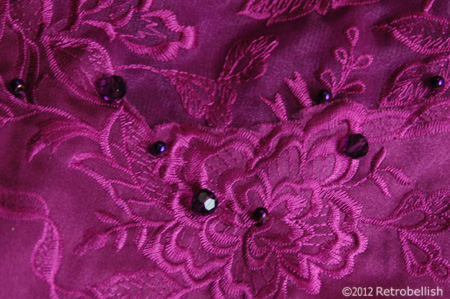
Giving used clothing a beaded look could be very rewarding and depending on the size of the beads, not too tedious. You can use larger special types of beads as an accent on the blouse especially if the article of clothing already has beautiful embroidery or an interesting pattern. Beading can be used as an accent rather than the focus of any piece. So don’t be afraid to try out new projects with items of clothing that could use Just a little of your creative touch. Thank You for your visit!