Cigar Box Folk Art Purse
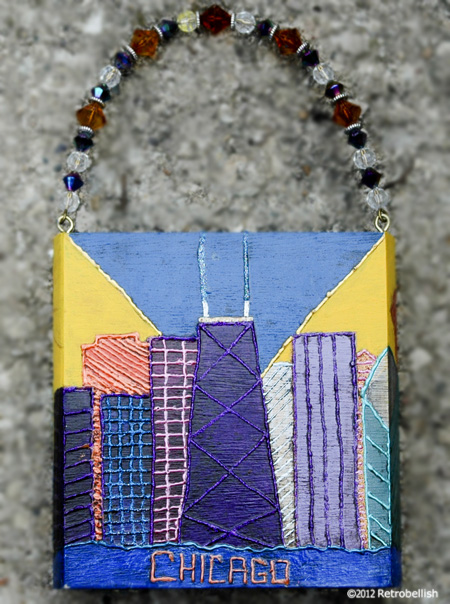
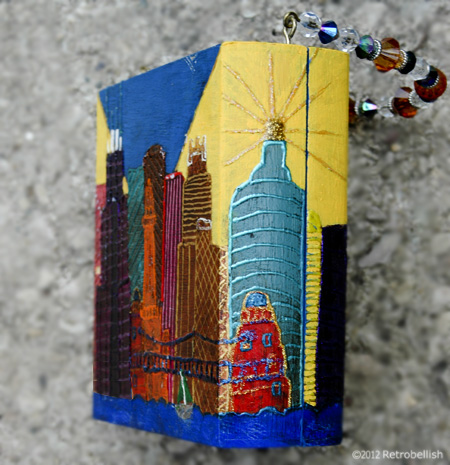
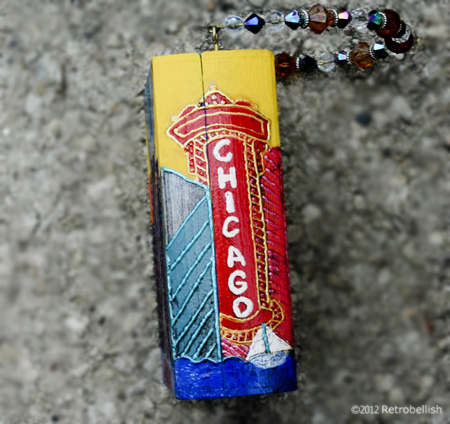
Cigar box purses were once very popular and a great way to reuse these great boxes made out of wood or chipboard that could be used for a multitude of craft projects from jewelery boxes to purses. We used some of these for a lot of our folk art projects where we painted city and farm scenes on the boxes. The box featured here is an abstract rendition of our city of Chicago’s famous landmarks. And although this purse was used as folk art, some of our other pieces were functional purses lined inside with velour fabric and a small mirror.
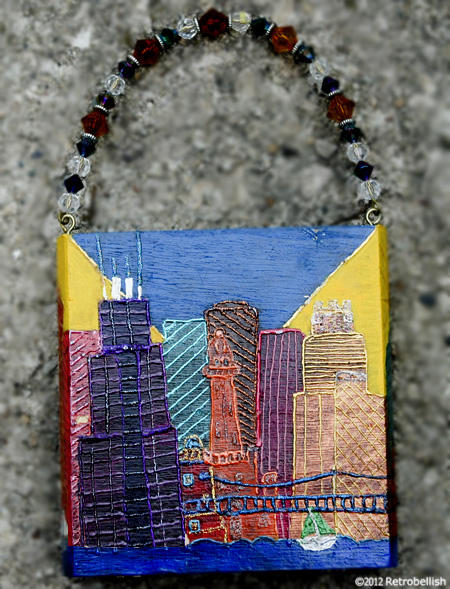
The blue water, and blue and yellow background on this purse were painted with acrylic latex craft paints. Once the paint dried, we used fabric craft paints to paint the abstract Chicago scene. About an hour after everything dried, we used clear latex acrylic sealer to seal it. The purse handle was a pre-made handle reclaimed from a previously scrapped project. Cigar boxes make a great craft project to make at home with children and friends. These boxes could also be found at any big box craft store alongside other shaped boxes and paper mache boxes. So just have fun and create your own piece of art.
Recycled VHS Booklets Art Collage
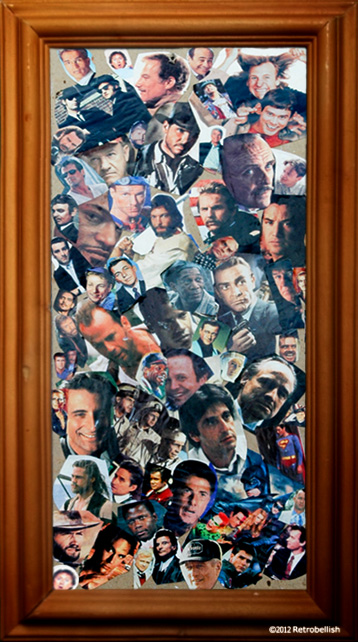
This small collage started out with a shoe box full of ad booklets from a VHS movie club I had joined so many years ago. Every month, the movie club would send me an envelope full of ad booklets that were so beautiful and filled with so many thumbnail photos of popular movies, shows and movie stars. From time to time, I’d cut out my favorite pictures before recycling the rest of the booklets.
A while back, I was going through my shoebox and the picture cutouts still looked so beautiful that I decided to make a collage. I noticed that I had more cutouts of male actors than of any other picture cutouts, so I decided to make the actors my theme. I laid out the pictures on a table and went in search of a board to use as a base. I found a small clean leftover piece of drywall in the basement, which had an interesting rectangular shape so I used the drywall as my base. I used Mod Podge to glue on the picture cutouts and really loved the way the collage started to look as I finished each section. After finishing the collage, I liked it so much that I asked my husband to frame it for me using a frame I had leftover from another project.
It turned out to be a very nice piece and although I made this project a while ago, I wanted to post it here to show how simple and fun it can be to make a project from recycled items. And although I used a wood frame, you can use anything to frame out the collage or even no frame at all by leaving a border around the collage that you can paint using any craft paints.
A fun and great part of the project was collecting the pictures and cutting them out, so this could also be a great family project to do with your children or at school using favorite characters that you and your children love.
Beading A Deep Pink Blouse
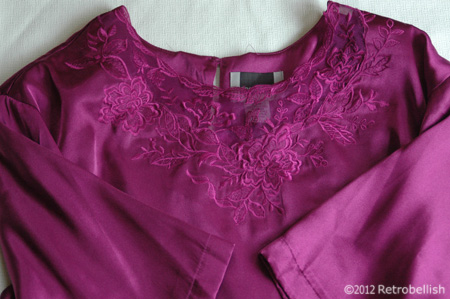
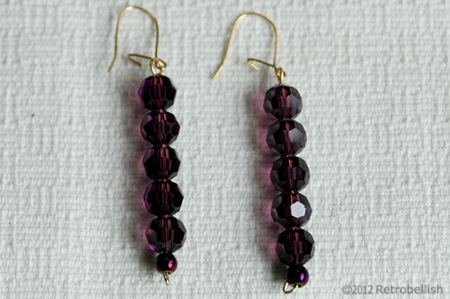
Sometimes we have clothing items that we’ve outgrown or have fallen out of love with or maybe it’s just lacking a little pizazz! Whatever the reason, I’ve found that what always works for me is to take out all of my colorful beads and set them out on a piece of fabric on the dinning room table. I then study all of the beautiful colors of the sparkling beads next to that article of clothing and it’s easy to imagine them already sewn on and make the final decision. The beads I used on this embroidered deep pink blouse are not necessarily the most traditionally used style of beads, but rather what I thought would give the blouse an accent and subtle sparkle without taking away the focus from the beautiful embroidery on this blouse. After I sewed the crystal beads on the blouse, I realized I had leftover quite a few deep pink crystal beads and decided to make a set of matching earrings.
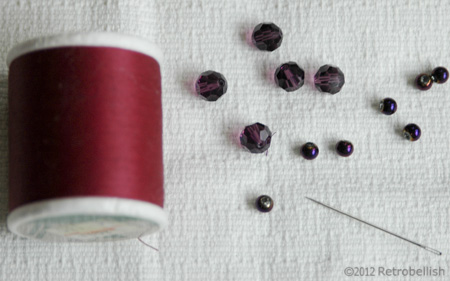
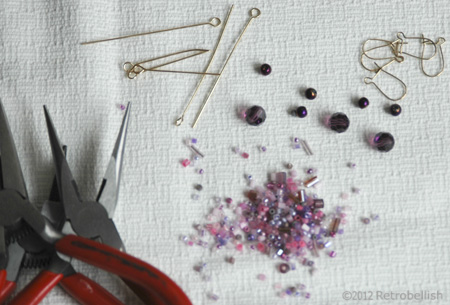
A very long time ago, I had dabbled in making earrings because I couldn’t find the style of drop pearl earrings to match my wedding dress. I had bought earring findings–packets of head pins, eye pins, jump rings, earring hooks, faux pearls and jewelry pliers to make my drop pearl earrings. I was very happy with the outcome of my loop pearl earrings and saved all of the leftover pieces. I dug around and found the small box containing those findings that I needed to make matching earrings for this deep pink blouse.
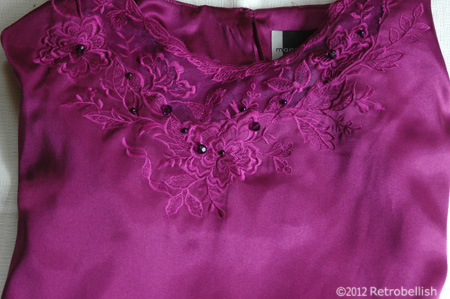
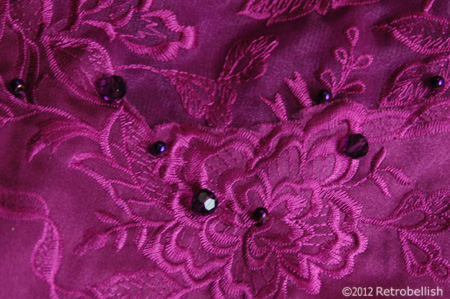
Giving used clothing a beaded look could be very rewarding and depending on the size of the beads, not too tedious. You can use larger special types of beads as an accent on the blouse especially if the article of clothing already has beautiful embroidery or an interesting pattern. Beading can be used as an accent rather than the focus of any piece. So don’t be afraid to try out new projects with items of clothing that could use Just a little of your creative touch. Thank You for your visit!
Reclaimed Fabric Appliques
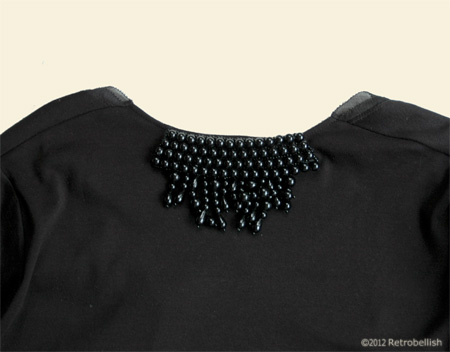
One of the fastest and easiest ways to give a plain piece of clothing a new look is the use of fabric appliques. I’ve been collecting appliques for decades. I’ve bought appliques now and then at good clearance sales, and have even reclaimed some from sweaters, jackets and dresses I’ve bought at garage sales or vintage shops. I tend to buy black appliques more than any other color, but I do have several appliques in white and beige.
Occasionally, I’ve come across an unusual collar, like the large black beaded collar piece pictured here. This beaded collar is from a sweater I bought at a vintage shop. I sewed the beaded collar piece onto a black blouse I have and wear it with a black/brown print jacket. Appliques are very easy to sew and tack onto any piece of clothing. You can use a matching color thread and depending on the thickness of the fabric, use a heavy duty thread for heavy fabrics (like denim), or a lighter thread for delicate fabrics (like silk). Another great advantage of enhancing any article of clothing with an applique is that it’s not permanent, so if you should ever find a more beautiful applique, you can always remove it and sew on the new one in its place.
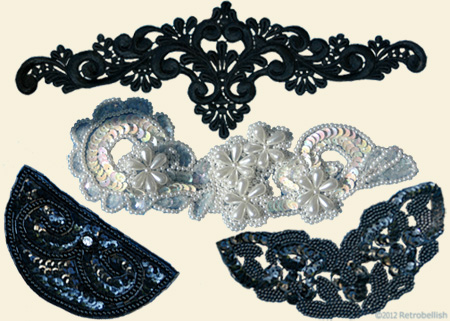
Sometimes you may come across a damaged dress or blouse that is very ornate with beautiful features, but it’s bottom edge is ripped or mangled. Well you can still reclaim the dress or what have you by cutting out the ornate applique features and using those cut pieces as appliques on your own article of clothing. Appliques are easy to sew onto any blouse, sweater, dress, jacket or even a purse because they are already affixed to a sturdy mesh backing. Most appliques are so beautiful that you can also use them in an art project. So the uses for these appliques are limited only to your imagination.
Plastic Bottle Trash Art Flowers
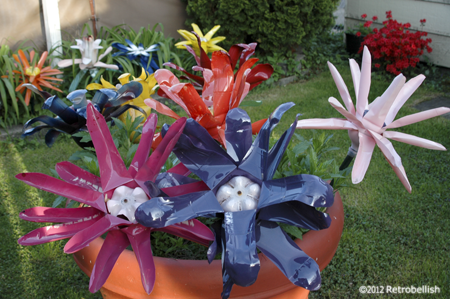
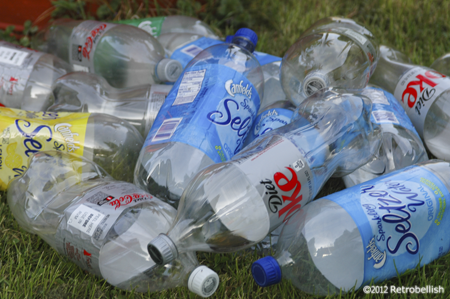
One of the most important elements of crafting for us is to recycle as much as we can. The house is a great place to start recycling projects because it is easy to see what objects we tend to throw out the most in our trash. Whether it’s plastic, paper, glass or metal, it is a challenge to find creative ways to incorporate the trash materials into our arts and crafts. One way we thought of adding color to our yard all year round here in Chicago was to make some kind of art with plastic pieces. And what better medium to reclaim than 50 plastic soda bottles for flowers we had in mind. We started to cut the plastic bottles in different strip cuts to imitate flower pedals.
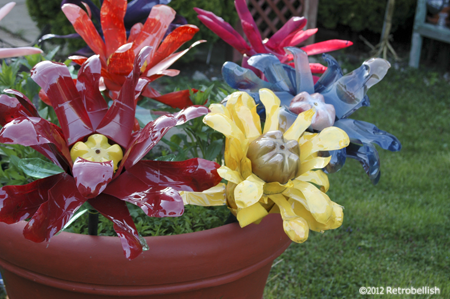
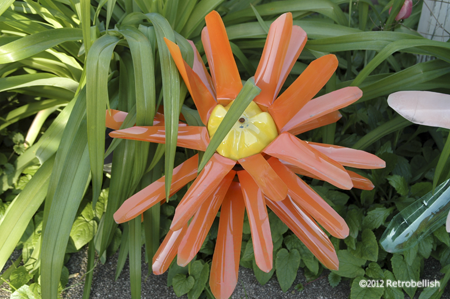
After we cut the pedals in different dimensions to create different style flower pedals, we painted the back of the pedals with vibrant enamel colors. Next, we let them dry and took an 18 inch long dowel rod that we had recycled from old VHS racks we had taken apart. We hand painted the dowel rods with a green indoor- outdoor acrylic paint. When we cut out the initial pedals, we cut out the bottom of the bottles all the way around and these are what make the center of each flower. We next painted the flower centers in complimentary colors to the flower colors. We then placed the painted bottom (used as the center of the flower) over one end of the dowel rod and drilled a screw right in the middle of the center and into the dowel rod.
This creates the middle center of the flower. Next we took three of the bottles we had painted and flipped them upwards. We then took a green bottle to create the leaves and placed this first on the dowel rod. Next we placed one of the flower pedals and pushed it up tightly onto the dowel rod. Then we drilled a screw under the edge of the last bottle/flower pedals to hold them in place. You can rotate each row of bottles/pedals to align the flower pedals to look any way that you’d like. The flower pedals can be painted in any color combination that you’d like. We left our flowers outside throughout the entire winter and they looked beautiful against the white snow. These recycled plastic bottle flowers allow you to have a beautiful colorful garden all year round.
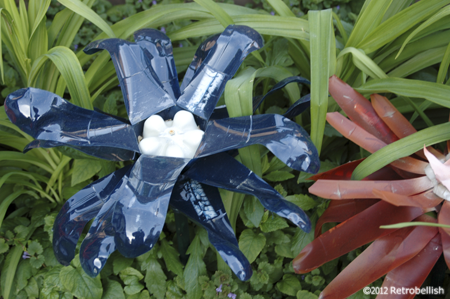
Not only is recycling great for our environment, but it is also a fun way to craft with family and friends.
