Make Your Own Earrings
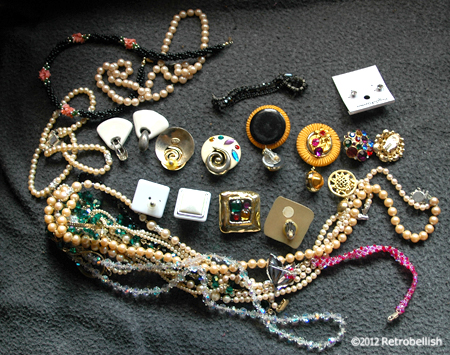
Earrings are one the easiest craft projects to make. I have always had a lot of fun making my own earnings, either from beads I already have on hand or from broken pieces I find at garage sales and thrift stores. Many years ago for my wedding, I wanted a simple pair of pearl earrings fashioned in a loop and preferably with very little sparkle, but could not find anything I really loved. After searching for so long, I decided to buy two different pair of earrings and use the pearls and pieces from the two to make my own.
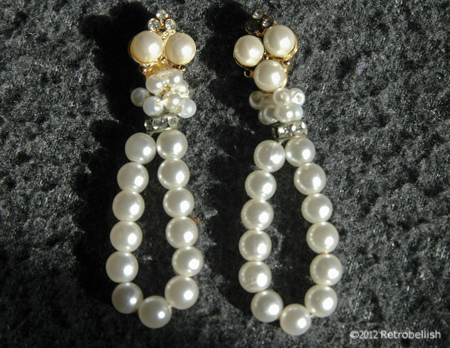
The neckline on my wedding dress was open with a scalloped edge that was decorated with small pearls and very few tiny sequins all the way around to my back. Because the neckline was so decorated, I was not going to wear any necklace and it was important that the earrings I wear have some length, but not be too bulky or sparkly. I wanted the long loops (which reminded me of the scalloped edge) to be made of small pearls matching (as close as possible) the size of the pearls on the scalloped edges of my dress. I really couldn’t find anything that even came close to what I imagined. Finally, I found what I was looking for in two pairs of earrings and knew I would to try and make my dream earrings. I was very satisfied with the results, and even received a few compliments.
Just because a necklace or bracelet is broken or outlived its luster, it doesn’t mean you can’t create your very own creation. So look at what you have on hand and let your imagination go wild, you will be surprised at what you can create. Have Fun!
Repurposed Floral Vase
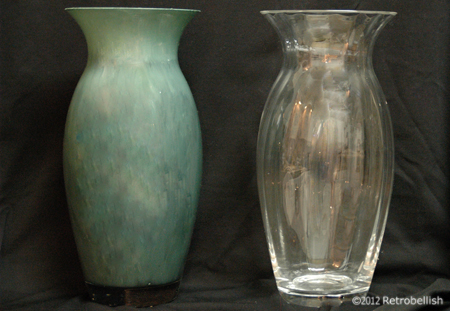
This glass vase started out as a gift from a close friend of ours. She gave us a set of two, but we were on the verge of a home remodeling project and decided not to open the vase boxes for fear of breaking them. When we finally decided to use the vases, we discovered one vase had a cracked rim, and by then too much time had gone by to exchange it.
So I decided to re-purpose the damaged vase as a painted glass vase. I started out by taking a trip to my local home improvement store to get all the items I needed for the project. Since the crack was only about a few inches long (in the shape of a half moon), I decided to just get some fine grade sandpaper to smooth off the broken glass edges. Also, I was able to purchase a small can of forest green acrylic enamel on clearance. I sanded the cracked rim until the sharpness was gone (wear gloves when doing this part) and the glass was smooth. I then painted the inside of the glass vase with the deep forest green paint I had purchased. I then let it dry for about a day. After the vase was completely dry, it looked like green glass and the crack was not as visible any more–perfect for some dry or silk flower arrangement.
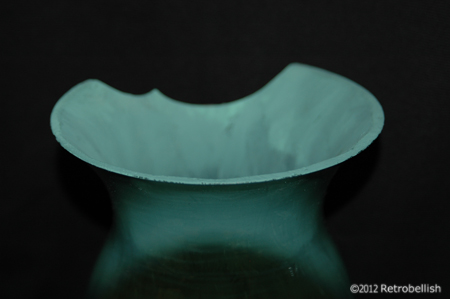
I decided to use some tall silk peonies I had purchased a few months back on one of my weekend trips to a small neighborhood craft store. The craft store mostly has a lot of bridal accessories, but always has great clearance sales on their floral supplies. The flowers I had were big and bulky, perfect for the size of the vase. The other green leafed pieces I had were leftovers from other projects. When I started to play around with the flowers and the greenery, it started to create a very lifelike arrangement that I decided to keep.
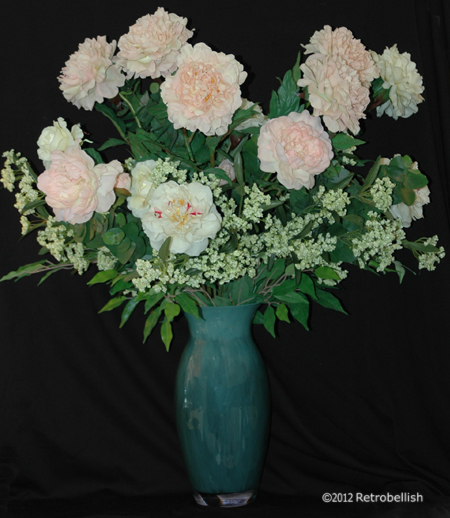
This vase could also have been painted in any color of your choice, even Mod Podged with old magazine cutouts or any art of your choice. This project could also be done on any glass vase to which you may want to give a new look. The beauty is that if you don’t like the color, it could be changed. So just have fun and create your very own one-of-a-kind piece.
Grapevine Holiday Wreath
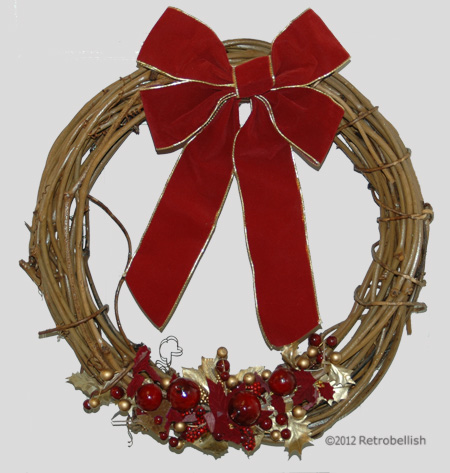
The holiday season is a fun time of the year to get creative with decorations for your home. This grapevine holiday wreath is very simple to make and could easily be updated every year with different ornaments of your choice. I had a very plain grapevine wreath at home that I wanted to decorate with some type of ornaments, but nothing too big that would hide the beauty of the vines.
Right after the holidays last year, I went to a craft store clearance sale and found some beautiful ornamental sprigs that I really loved. One of these sprigs was perfect because it had beautiful deep red berries and gold leaves that looked beautiful when I held them up against the wreath. I loved the look so much that I wired the sprig onto the wreath and decided that a bow at the top would balance out the wreath. I found a beautiful deep red bow with gold edging that complimented the sprig perfectly.
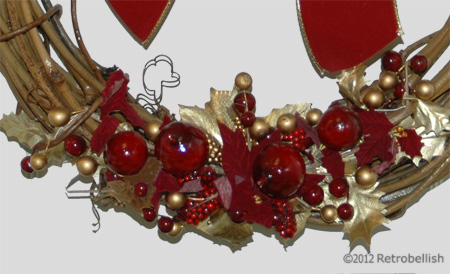
It felt wonderful to hang such a beautiful wreath on the door. These grapevine wreaths are very strong and versatile and lend themselves to many different types of decorating techniques. So just have fun and create your very own one-of-a-kind wreath.
Upcycled Mens Suit
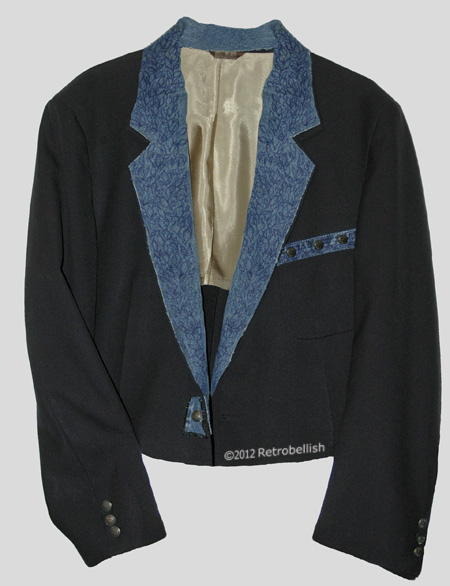
The inspiration for this project came to me while cleaning out David’s closet this fall. We were taking down the summer clothes for the winter when I came across a few of David’s old suit jackets from his younger days which he had outgrown many moons ago. We decided to donate most all the clothes in the closet to the Salvation Army except a few pieces I decided to keep to upcycle. One was this navy-blue suit jacket and the other was an old pair of jeans. I have always loved to embellish the lapels of my jackets and I had an idea to use the jeans to make a hand painted applique for this suit.
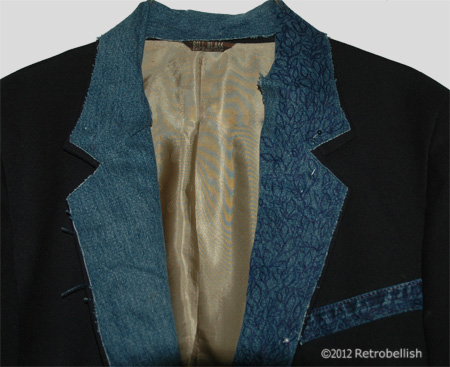
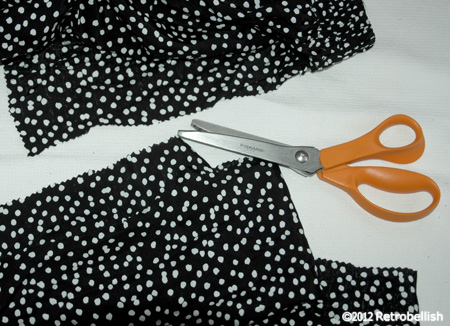
I started out by trying on the jacket, pinning it to a length I liked and cut the suit 14 inches from the bottom edge using pinking shears to prevent the fabric from fraying. To create a smooth bottom edge, I measured a 1/4 inch hem, sewed it, and then used a cool iron. I then used a pencil and plain paper (taping a second piece of paper) to trace each lapel and part of the neckline area. I then carefully cut out a pattern for each side. I took the paper patterns and pinned them onto the denim. Using tailor’s chalk, I added a 1/4″ inch hem all the way around, then cut out the denim shapes. I sewed the denim pieces onto the jacket and carefully sewed on the neckline pieces as well. I also used extra denim pieces and leftover buttons from this jacket project to embellish the pocket. For further embellishment, I used a dark navy-blue permanent fabric marker to draw vines and leaf shapes onto the lapels and neckline.
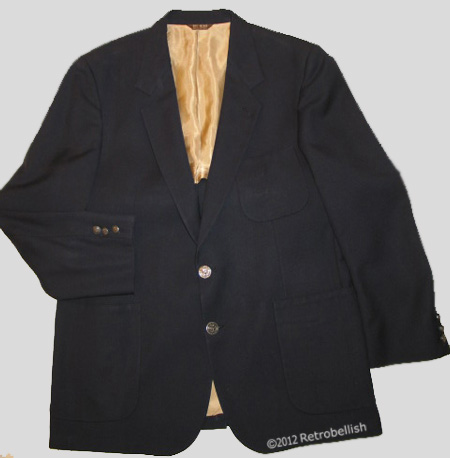
When I had tried on the jacket, I knew the sleeves had to be shortened, so I left these for last. I measured the length that I liked, pinned the sleeves a bit longer for a hem, removed the buttons from each sleeve cuff, and cut the sleeves with my pinking shears. I sewed the hem, ironed and sewed on the buttons. I used what I had available to me at the time, but this project could also be accomplished with an old coat, a woman’s suit jacket or blazer. Thank you for stopping by! Just have fun and create your own.
Upcycled Polka-Dot Scarf
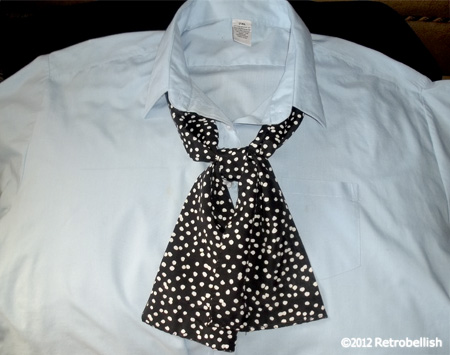
This simple project started out with an old black and white polka-dot pattern skirt that had outlived its used in my closet. I’m a big fan of anything polka-dot so I knew I just had to reuse this wonderful fabric in some of my future projects. I studied the skirt and realized that the fabric was still very silky, vibrant in color and had a great draping quality. These qualities made it the perfect fabric to make a beautiful scarf. The scarf style that I had in mind was a narrow and long scarf that would tie in a simple knot at the chest, or one that could be worn draped with a loose flipped-over knot at the chest.
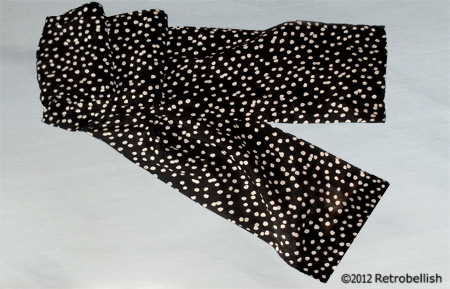
I used one of my favorite scarfs that was similar in style. length and width as a template to see if I had the length and width needed for this project. I laid the old scarf over the longest length of the skirt to see if I had enough fabric to fashion the scarf. Once I determined that I had enough fabric on the skirt to cut out two long rectangles, I knew that sewing the two halves together at the half-mark would make one long beautiful scarf. I figured that the sewn seam at the half-mark would not be very noticeable because of the fabric’s pattern, and also because the scarf would be worn as a tie-style scarf which means the seam would always be (hidden) tucked under the collar of any blouse I’d wear.

I measured, then cut out two long wide rectangles from each edge of the skirt, folded the rectangles in half at the seams, ironed them smooth and sewed the open (opposite side) edges together. Then (wrong sides out) I sewed close one bottom edge and left the edge (at the neckline) open and then turned it inside out (gently pushing out the little corners with a knitting needle). This completed one long rectangle, thus making one-half of the scarf. Then I repeated these entire steps for the second-half of the scarf. I then joined both halves at the center and sewed the two halves together and ironed the whole scarf again. I was very happy with the results and was so glad to see that the fabric did drape beautifully.
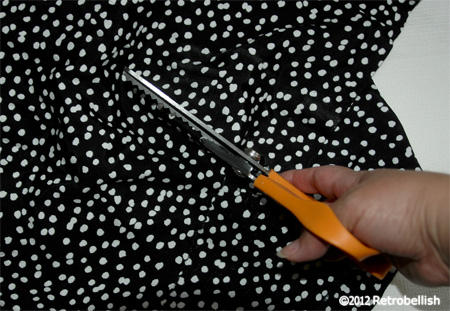
And although I used an old polka-dot skirt from my closet for this project, you could use any fabric or style to make it your own. Another great project is to use fabric with a holiday theme print, they make a great personal gift for family and friends. So just have fun and make your own reclaimed fabric designer scarf.
