Baby Shower Corsage
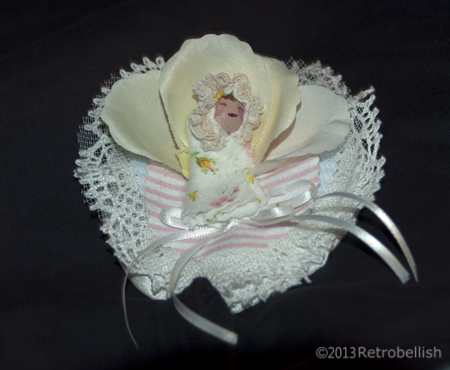
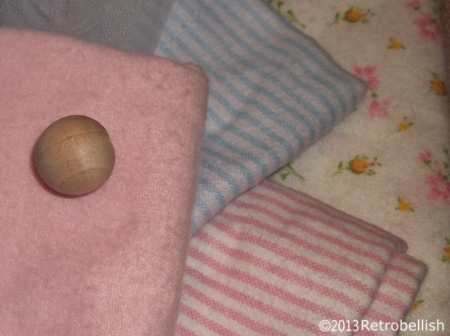
I have always enjoyed making baby shower items such as centerpieces, umbrellas and corsages using reclaimed items. I was inspired to make this baby shower corsage by looking at pictures of beautiful natural flower corsages. Since I didn’t know the baby’s gender, I decided to use neutral light colors in all the materials I chose. I looked in my craft box and found remnants I had left over from other projects. I had a cream colored silk flower, a small piece of lacey trim, a small piece of white tuling, a few swatches of soft flannel fabric, a small pierced wooden bead for the head, leftover piece of interface and a strand of white ribbon.
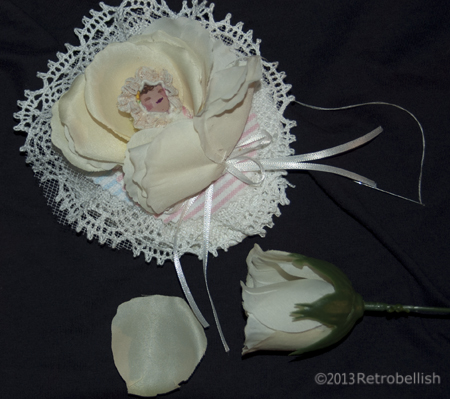
I started by making a base. I cut an oval shape from a sturdy piece of interface, and then cut a slightly larger oval shape from flannel fabric, then repeated and cut out a second oval shape from the remaining flannel swatch. I placed the interface piece in between the two oval flannel pieces and sewed around the edges to seal the interface inside. I then sewed the tuling and lacey trim remnant all the way around the edge of the base, which softened the look of the base. For a little more texture and color, I cut two small round pieces of flannel–one in pink and one in blue and placed these place behind the flower.
I then cut flower petals from a cream colored silk flower, cutting as close to the flower’s base as possible. I assembled the petals in piles according to their size. I placed a large flower petal in the upper center part of the base and hand sewed it onto the base. I then continued sewing the larger petals to either side of the center petal. I continued sewing the next size petals in layers until I formed a pretty floral shape.
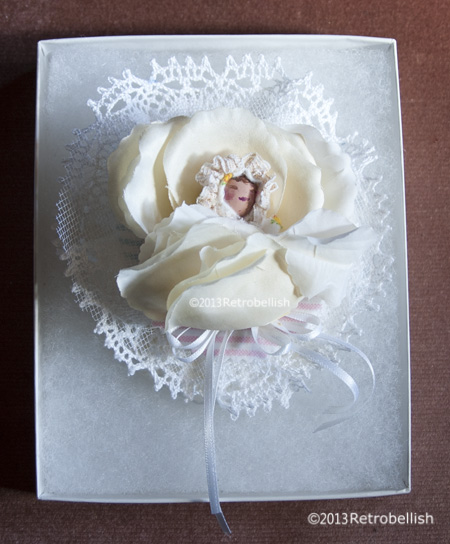
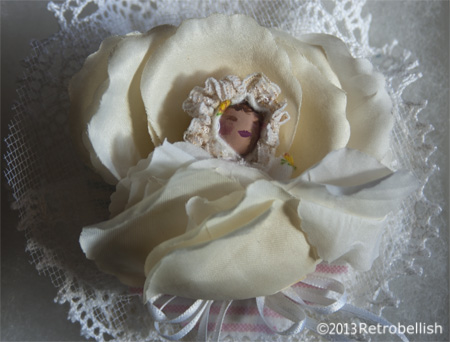
I painted a little face on the wooden bead using craft acrylic paints. While the paint dried, I wrapped a little shape of flannel fabric into a little roll and sewed the edge to seal the tiny bundle. I then took the painted wooden bead and sewed the bead into one end of the little flannel bundle. I sewed a tiny lacey remnant on the flannel around the head. Next I pulled the sewing needle through the center flower petal, through the base, and through the baby bundle several times to anchor the bundle. I then sewed the rest of the flower petals around the baby bundle until it looked like the baby bundle was enclosed inside of the flower. I then made a ribbon bow and sewed it onto the bottom of the corsage. I was very pleased with the outcome and the mother-to-be really enjoyed wearing it. Although I used leftover remnants, you can use your imagination to make your own special piece.
Reclaimed Fabric Gift Wrapping
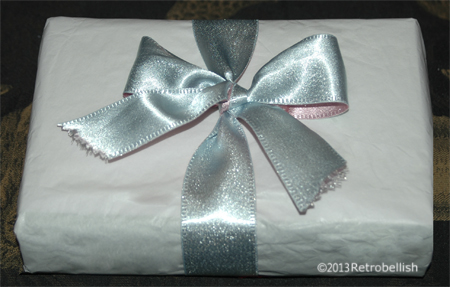
This project is one that I personally have made for many years. The use of reclaimed fabric is one that lends itself for many reclaimed craft projects. In this project I used this soft light flannel as gift wrapping for a Baby Shower, then I used a beautiful pink and blue satin ribbon from a roll that I found in a clearance bin. In the past, I have also used a receiving blanket as wrapping paper around a small gift, making sure that all the ends are gathered on the top center of the gift, then pulled the gathered blanket ends through a rubber band and spread them out through the rubber band to resemble a flower. For even smaller gifts, a cloth diaper or small baby bath towel can be used as well. So just have fun and find some fun fabric to wrap your next baby shower gift.
Pears On Branch Paper Relief
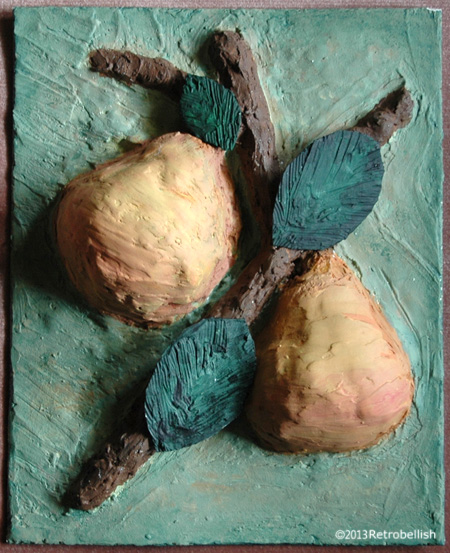
This whimsical relief of pears on a branch is made of scrap paper, recycled cardboard and plaster. About ten years ago, I had bought a similar relief of pears on a branch in solid plaster that I keep on display in my kitchen and which was the inspiration for this project.
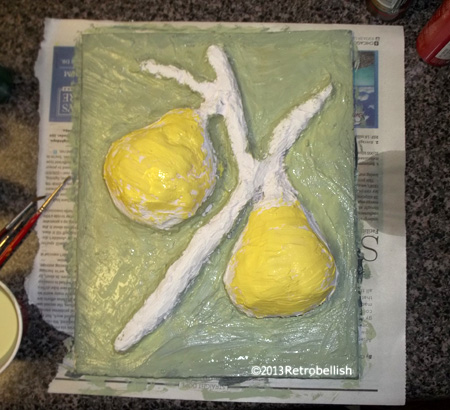
I started out by useing a recycled heavy piece of cardboard as a base. To make the pear shapes, I crumbled paper scraps into tight pear-shape balls and glued them to the cardboard shape. I then rolled more paper scraps into long narrow shapes to form the branches and glued them around the pear shapes.
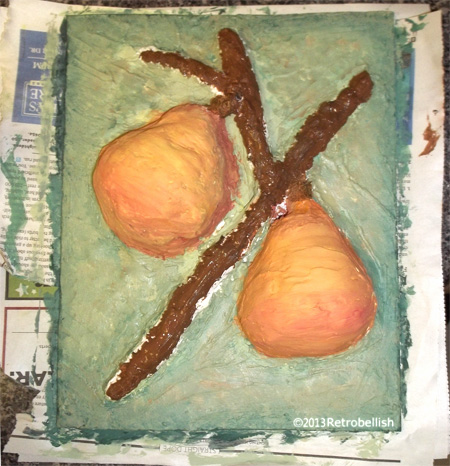
Once all of the paper shapes were glued in place, I used a plastic knife to apply a thin coat of plaster over all of the paper shapes and the cardboard base. Once the first plaster layer dried, I smoothed out a few rough spots with sandpaper, then applied another layer of plaster. Once the plaster completely dried, I started painting the relief with acrylic paints.
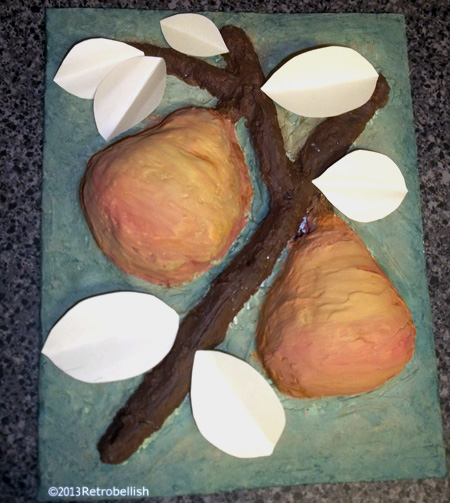
Last but not least, I cut leaf shapes from thin cardboard and applied a thin coat of plaster over each leaf. Once the light coat of plaster completely dried, I painted each leaf using the same acrylic paints.
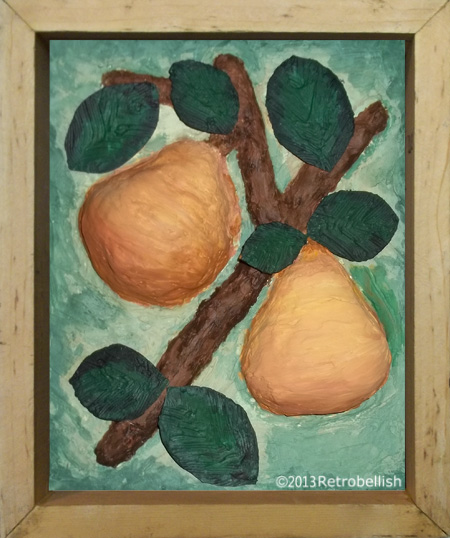
I used a wood frame for the relief that we made from scrap wood pieces that we cut and mitered to the size of the Pears On Branch Paper Relief. And although I used pears as a subject on this relief one could make one out of your favorite fruits or vegetables. So just have fun and create your very own piece of art.
Reclaimed Grill Top Planter
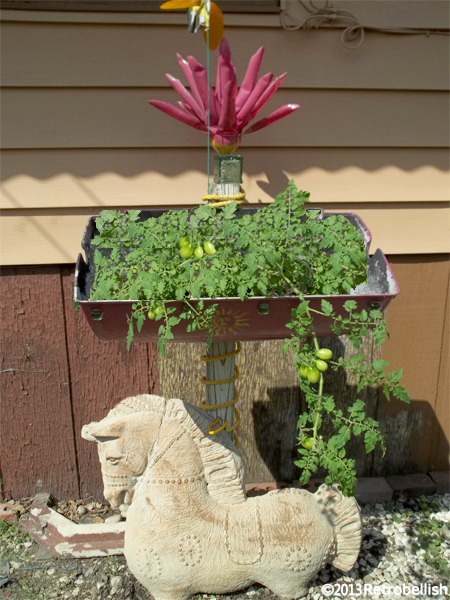
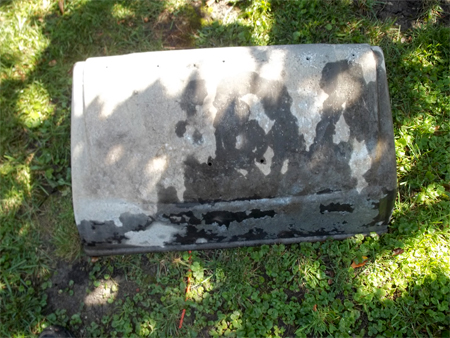
This reclaimed grill top planter was the second part to another grill project. The grill top was from another grill project. In that project we used the bottom of the grill
We first cleaned the grill top inside and out with a steel brush. Then we drilled four drain holes directly into the bottom for drainage. We drilled two holes on the higher part of the lid to mount onto the wood post using two galvanized screws (before the grill top was mounted, we painted the outside of it with a purple paint). Glass embellishments were glued around the front and sides of the grill. Our favorite sun design was painted on the front of the grill top using a stencil. The large wood base was a piece reclaimed from an old wood fence. The nylon roping around the wood post was reclaimed from a construction project done on our local street. We added some rocks to the bottom for easier drainage, then added two bags of organic potting soil. We then planted a Roma tomato plant that we purchased this year, and we’ll use some of these tomato seeds to plant next year. So always have fun recycling and reclaiming things that you can use to create whimsical and functional pieces for your yard.
The plastic soda bottle flower on top is made from a previous project Found Here The little green glass square vase used was chipped, but worked perfectly for this project as it has a sun face design on all four sides. We decided to place this cement horse underneath the planter to complete the piece. The cement horse had a broken head that we repaired many years ago and is still holding up perfectly.
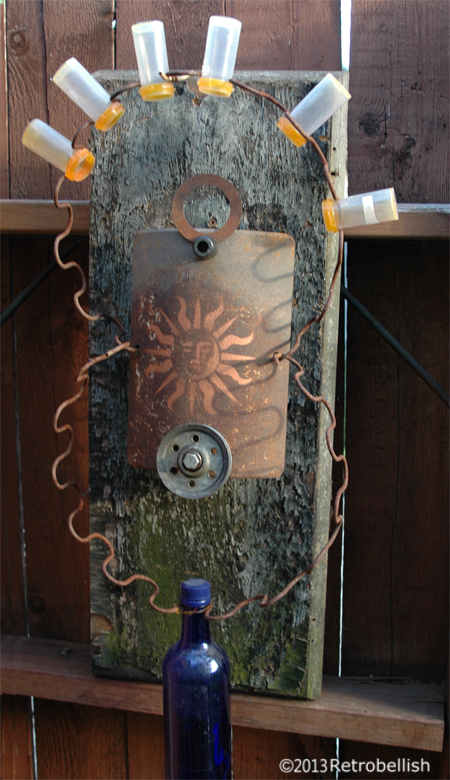
Trash Art Collage
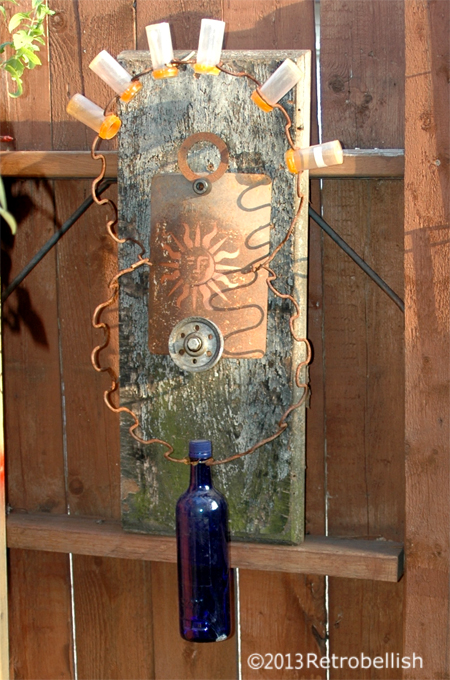
This Trash Art Collage is the work of artist David Romaxx. The piece started out with a rounded steel remnant found on the street (and had four bored holes). A stencil of a sun was painted on the steel piece. The steel piece was mounted onto an old weathered wood cabinet door by a screw through one end of a rubber bushing (from a patio table). The open end of a sofa spring was affixed to the steel piece through the center side holes and bottom sofa spring was then looped through the ends of the top sofa spring leaving it loose to swing freely.
The steel piece was then anchored at the bottom with a bolt through the center of a pulley (from a garage door repair). Plastic little bottles (recycled medicine containers) were inserted through the rings of the sofa spring loops to symbolize the rays of the sun. A beautiful blue glass bottle was also inserted into one of the loops of the bottom sofa spring, which hangs loosely and moves when the wind blows. Natural movement is one of the artist’s favorite features in all of his trash art pieces.
It’s amazing what you can make from the smallest of trash items we tend to throw away.