Recycled Cardboard Plaster Reliefs
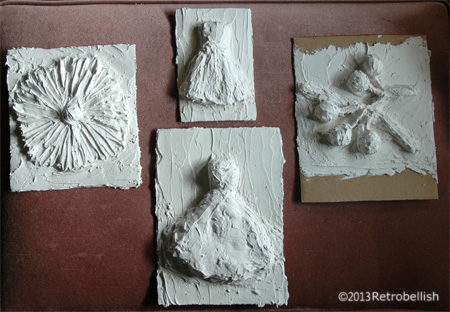
These small plaster reliefs started out from a cardboard and paper recycling project. I had saved several boxes from our favorite wheat crackers because they’re made of a very nice grade of cardboard that was sturdy yet flexible. I had fun thinking of different mediums I could try on these cardboard pieces and remembered a past project where I had used plaster on Styrofoam and wood. I wondered if I could try making a similar craft using these recycled cardboard pieces.

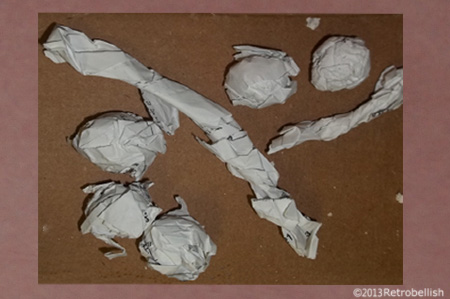
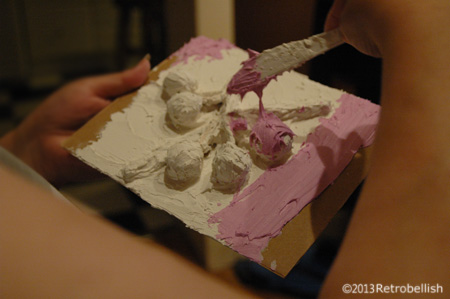
I decided to make a few little abstract dresses and other pieces. I took some newspapers we were recycling, tore some pages into medium sized pieces, crumpled and twisted them up into medium chunky pieces. I used several of the 4″ x 6″ cardboard pieces as the base for the dresses. I dabbed a little fabric glue onto the center areas and placed the bulky crumpled pieces of newspaper onto these dabs of glue so they could remain stationary for the next step. I decided to use a wall repair plaster that is pink and soft (like frosting) in it’s original form, but hardens and dries white in color. Once the chunky paper dried on the glue, I used a plastic knife to spread the plaster over the paper and smoothed it over the chunky paper.
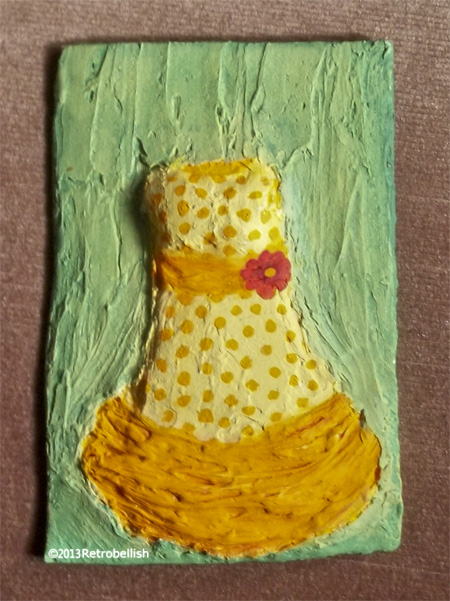
It takes a little while to get used to this medium, but its easier to work with if you let the first layer dry overnight. It is then easier to work the plaster, shape it into a simple dress form and smooth out uneven areas. Once the entire piece was thoroughly dry, I painted it with gesso and let that thoroughly dry. I then painted the dress using yellow and orange acrylic craft paints. Once the paint dried, I spread plaster mixture onto the background to give it texture as well. When the background dried, I repeated with gesso and painted it a light green.
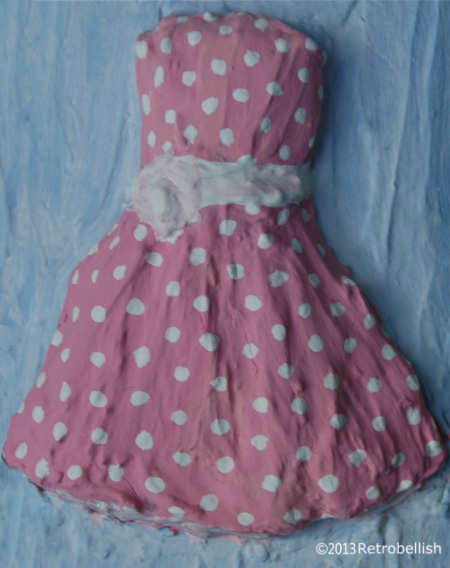
When I made the second dress (pink polka-dot dress), I made sure to use plaster mixture on the background after the dress form dried (something I didn’t do with the first yellow and orange polka-dot dress). After the second dress dried, I painted the entire piece with gesso and let it dry. I next painted the dress, and then painted the background. I painted the polka-dots on each of the dresses after their base solid colors were completely dry.
And again, although I had fun making these abstract pieces you see here (dresses, fruit, and flowers) don’t be afraid to try your hand at anything theme you like. Just have fun creating your own pieces of art.
Lawnmower Wheel Decor
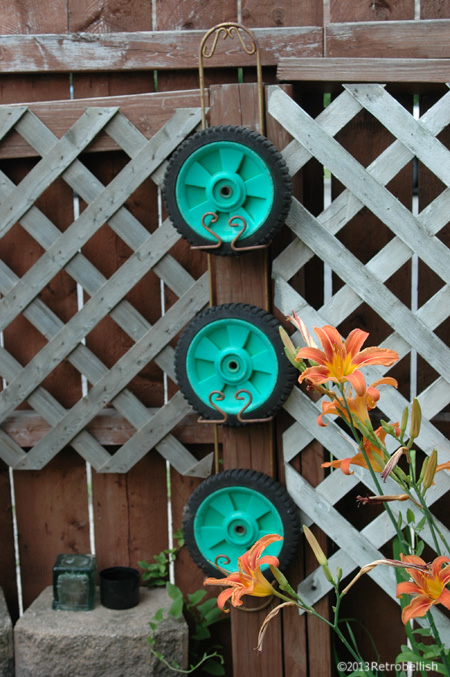
This piece was made from three wheels from an old lawnmower and a old decorative plate holder. It adds color and charm to the yard. This time around we could only reclaim a few items from this old lawn mower.
Recycled Lamp Planter
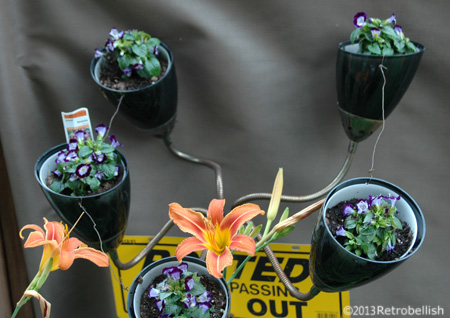
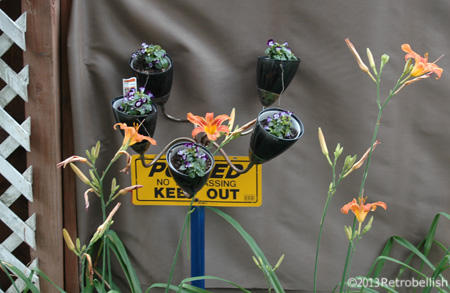
This recycled lamp planter was a trash find. We removed the stand from the top of the lamp and used it as a stand for my clothing projects. We then used the top of the lamp as a planter for small plants. The blue tube base is from a recycled piece of chain link fencing. The no trespassing sign we had lying around for many years. All combined, this piece adds a little whimsy to our yard.
Reclaimed Plastic Frame Art
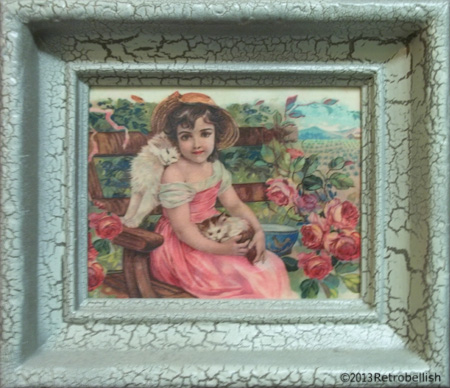
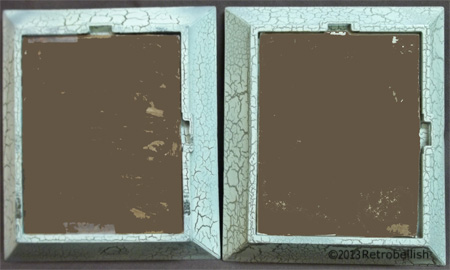
About ten years ago, we bought about eight plastic frames at a local surplus science store. These hard plastic frames were perfect in size to hold a 5″ x 7″ picture or other projects that I could use them in when crafting. We used some of them to hold some family pictures and had some left for crafting. This Project started from a CD we had purchased of vintage Victorian labels that we could print out for various craft projects.
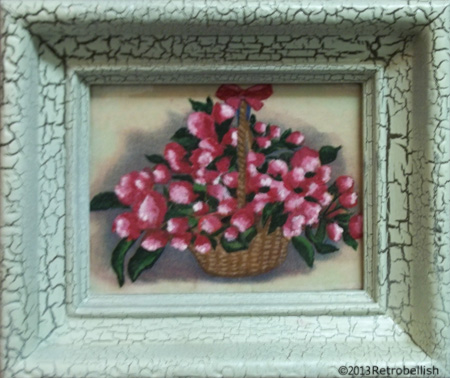
We painted the frames in three different colors, black, cream and gray with a crackle finish. The two featured here were crackled with a kit from a craft store. I printed out a few labels that I really loved. But since they are from a vintage collection the colors were very faded, so I decided to paint in some of the highlights in the prints to brighten the colors and enhance the overall look. I used craft acrylic paints and the results were amazing on the first one, so I decided to enhance the second one the same way. After the prints were dry, I used Mod Podge on them to protect and preserve the colors. I used the gloss Mod Podge to give the pieces a more vibrant look.
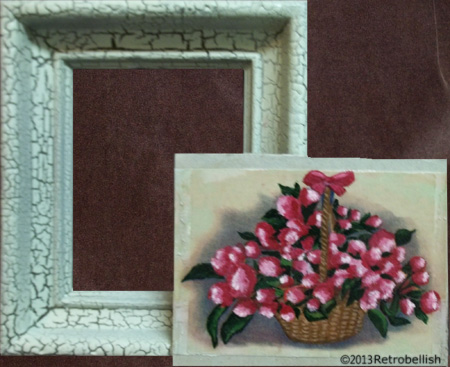
I had some pieces of museum art boards (sturdy cardboard) that I had bought in a frame shop. The shop would sell their leftover art board remnants in many shapes and sizes in plastic bags. I decided to glue these prints onto the museum art boards by using Mod Podge on the backside of these prints, but you can use any kind of sturdy cardboard that you may have handy.
Although we used this type of frame and medium for this project, there are so many fun prints you can use. Just have fun and create your own.
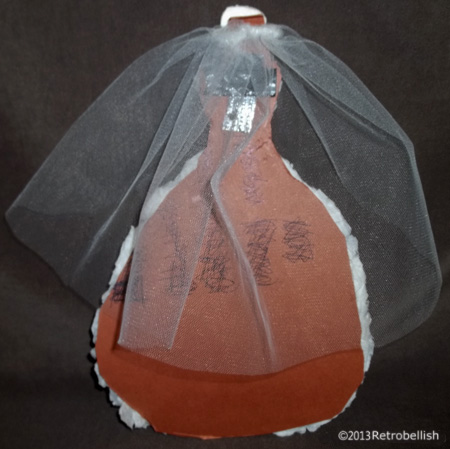
Reclaimed Paper Wedding Dress
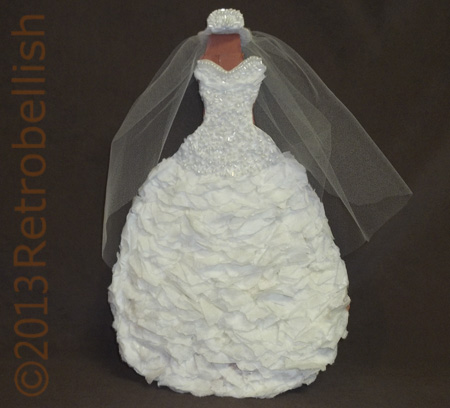
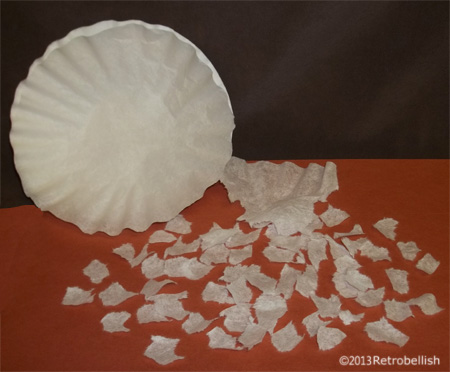
This was a very simple and fun project that started out with some coffee filters that had gotten wet in soapy water. Not wanting to throw away the filters, I set them out to dry and then stored them for a future project. Although this happened a few years ago, I saved them and they were still in good shape. I have been crafting with recycled manila folders for a long time because this sturdy cardboard lends itself to a lot of recycled craft projects. While cutting out a doll form for another project, I got the crazy idea to use the coffee filters as a combination of collage and paper mache.
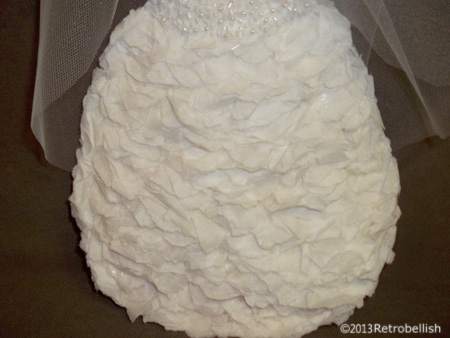
The soft fluffy feel of the coffee filter gave me an idea. I decided to tear up little thumb-nail size pieces, gluing only a tiny edge of the torn piece to the cardboard dress form, and leaving the rest of the torn fluffy piece hanging freely on the cardboard. When gluing the torn rough-edged pieces very close together, the overall look of the rows started to look like light fabric ruffles on a dress.
I then decided to stop at a certain point and glue beads to the top part of the dress. I traced the top part of the cardboard form onto plain paper and cut out that paper shape. I drew different designs and held them up against the top row of ruffles until I found one I really liked. I then glued bigger filter pieces to the top part and all the way down to the dress hip area as a base on which to glue on the white beads. I glued the white beads following the drawn design and was happy to see the beads were staying in place, and better yet, I didn’t have to sew on each bead, (although I love hand sewing ) .
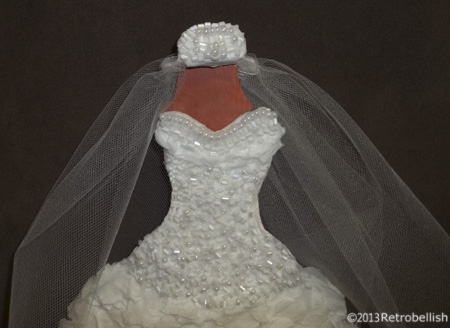
The simple veil was made from two small pieces cut from the same cardboard manila folder. I cut out a one inch oval shape, poked a hole in the center of the oval shape and cut out an opening leaving a 1/4 inch ring. I then folded one (shorter) edge of the oval shape forming it into an L shape. I then cut out a smaller oval shape from the cardboard and cut (about 1/8 inch) from the bottom edge (of the longer side of the oval shape). I then glued the smaller oval shape (straight edge down) to the larger oval shape making sure the flat side of the L shape was lined up against the straight edge of the smaller oval shape. I cut small coffee filter pieces and glued them entirely over the brown of the cardboard veil. I then glued on the same white beads to the front of the veil in a pretty pattern. I cut out a piece of white tuling I had in my remnants box, basted one edge and trimmed a complimentary shape by placing it near the dress, and then sewed the basted edge around the back opening of the cardboard veil. For picture purposes, I displayed the veil near the dress by taping a small piece of cardboard behind the dress neckline.
The frame we used for this project was made from recycled pieces of wood leftover from other projects and stained with a dark brown latex stain. Although I reused coffee filters, recycled manila folders and embellishments, one can make this project using any kind of paper and cardboard. This also makes a great project to work on with family and friends. So always remember to just have fun and create your very own piece of art.
