Recycled Magazine Glass Plate Collage
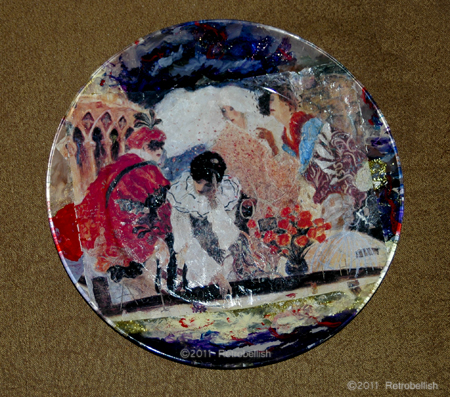
Recycled Magazine Collage On Glass Plate
It is very ironic how some of the things we take for granted, like throwing away magazines, can help you create your own very little treasured pieces of art. About 20 years ago, my husband used to collect depression glass pieces and I used to pick up a lot of clear plates at garage sales, estate sales, and thrift stores. I didn’t know what I was going to do with them, but I accumulated quite a few of these clear glass plates. I’ve always loved the art and paintings in magazines, especially some of the landscapes, florals and nature scenes. Even some of the ads were so beautiful that I would keep the magazines around for a while.
While recycling our paper one year, I got an idea that since I loved some of the art in these magazines so much, I would create a collage of some kind. I started by cutting some pages out, tearing pieces from others that I liked and placing them side by side to create scenes until I found the right combinations to create these collage plates. On one plate I created some Tuscan scenes, on others I created a stormy sky with some angels, and on another there was an abstract garden scene. The following plate is one of my favorite collage plates — it’s a painting of four persons dressed in Carnival costumes by a fountain. I carefully ripped multiple pieces from magazines to create a scene.
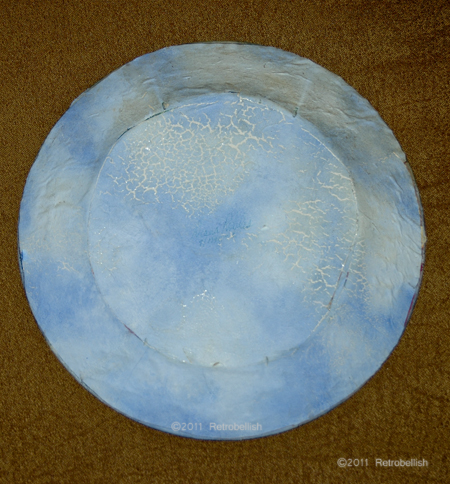
Recycled Magazine Collage On Glass Plate--Back Side
The clear glass plate is 9″ in diameter and the torn scene did not quite fit to the edges of the plate, so I Mod Podged it onto the center of the plate anyway. Once the piece on the plate was dry, I thought I’d use acrylic paints to paint in the clear parts of the plate by just matching the colors on the edges of the piece. I couldn’t believe how the plate began to look as I extended the edge colors to the end of the plate edges. Up close you could clearly see where the piece ended and the painting began, but from a distance, the plate actually looked like it was all one piece.
For strength and to protect the piece, I thought I’d Mod Podge some thick white art paper to the back of the entire plate. The paper was so plain and even though no one would see it on the back of the plate, I wanted to paint something pretty on it. I decided to paint a light blue sky with soft white clouds. Once the paint dried, I Mod Podged it to the back of the plate and as you can see, after all these years it has a little cracking on it, but it still sealed the plate beautifully. I love the brilliant colors of this beautiful piece and to this day it still hangs on my kitchen wall high above the cabinets.
Paper Mache Fish
This fish is made of old newspapers and a few embellishments I had lying around the house. This is a simple and fun craft to make with children or just for the fun of recycling some old newspapers into your own art piece. I placed several sheets of newspaper on the table to prepare my work area. In a medium container, I made the standard paper mache paste made of flour and water (2 parts flour to one part water–until you get a pancake batter consistency) and added a dash of salt as a preservative. I then tore up several sheets of newspaper into medium sized pieces.
I made the fish core by crumpling some sheets of newspaper (using my hands) and forming them into the fish shape (as close as possible). I then started to dip the torn pieces into the paste mixture and started applying them onto the crumpled sheets to form the shape. At this point you can start shaping your fish to your preferred style. Once the fish shape dried, I used acrylic craft paints to paint the fish. The tail is made from a scrap piece of interfacing that I cut with my pinking shears and scissors, made a slit on the fish tail end and then slid the interface tail piece (with a little glue) into the fish tail end.
I glued on a half round marble for each eye and used fabric paint to draw around the eyes and mouth. I actually made four fish and painted them all in pretty bright colors, but I gave them all away and didn’t photograph them except for this one. Once you get started, it’s a simple and fun project to make. This makes a very lightweight piece which could also be hung with thread or you can make several smaller pieces and hang them as a mobile in a child’s room.
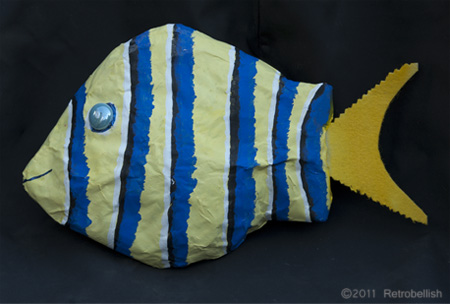
Paper Mache Fish
Scrap Wood Abstract Fish
This fish was made from leftover scraps of wood that we had saved from a book-shelf we had built a few years ago. The fish was drawn out on the wood freehand and then cut with a scroll-saw. The fish was sanded around the edges just enough to smooth it out. We then drilled a hole big enough to insert a small dowel-rod into the fish body and two holes were also drilled for the glass eyes at this time. The bottom fins were hand cut from fine cuts of the 2×4. To create the base, we used a piece of 2×4 and mitered the edge to give it a rounded cut around the top of it. We then aligned the fish with the base to find the balance point to drill a hole into the base to insert the bottom part of the dowel-rod from the fish body. Wood glue was used to glue the pieces together. The whole thing was then primed with gesso to assure even paint absorption. Then the fun part for me was painting and embellishing the fish.
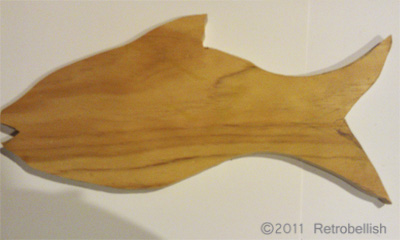
Abstract Wood Fish Cutout
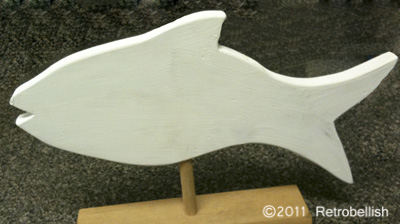
Abstract Wood Fish Primed
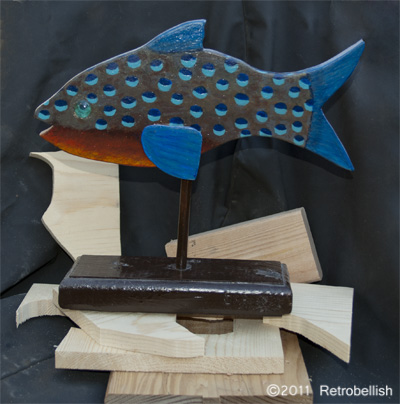
Abstract Wood Fish Left Side
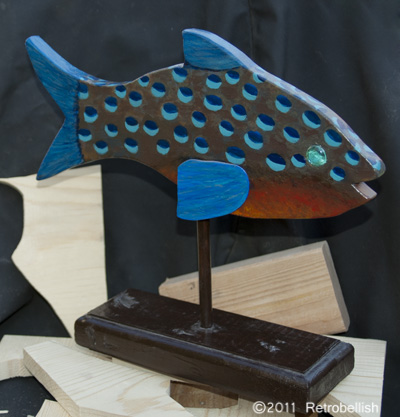
Abstract Wood Fish Right Side
Retrobellish Beaded Fabric Cuff
Recently, I was looking through a fashion magazine and saw several jeweled cuffs that I really liked. Out of curiosity, I thought I’d try to make one of my own. It was a learning experience, because it took a longer time for me to choose the beads than the fabric. I had some interesting black and rustic gold striped fabric and then chose some beads that I thought would look nice against the fabric.
I lined up the beads and moved them around until I chose a pattern that I really liked. Then, instead of individually sewing each bead to the cuff, I decided that for flexibility I’d string about four beads and then tack them down (hand sewing a few stitches at the end through the cuff) before continuing with stringing the next four beads in the pattern I had chosen.
The finished cuff measured approximately 2 inches wide by 10 inches long. For fabric support, I used a 1/8 inch thick interfacing about a ¼ inch smaller than the fabric’s measurements. I wrapped the fabric around the interfacing and hand sewed the fabric with the seam in the back. I also sewed a small piece of solid black fabric over the seam in the back of the cuff to hide the seam and used a small black snap for the cuff’s closure.
Once I completed sewing the beads on the cuff, I felt that the cuff could use a little more embellishment around the edges, so I decided to crochet a small black trim. I used a size 3 crochet thread and size E/4 crochet needle. My simple pattern consisted of 60 chains in the first row. In the second row, I crocheted five chains and single crocheted into the third chain (of the first row). Then I repeated crocheting five chains and single crocheted through the third chain again, creating little loops. I repeated this crochet pattern for the other side of the cuff and then hand sewed both trims onto the cuff. I was really happy with the results.
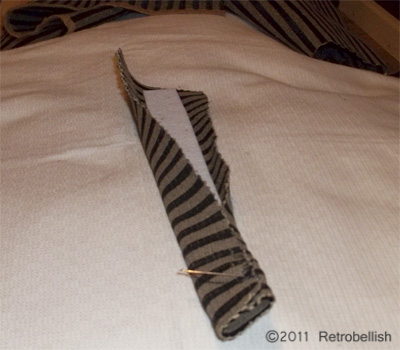
Starting The Beaded Fabric Cuff
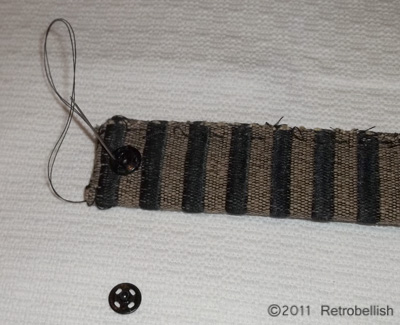
Sewing the Snap On Retrobellish Fabric Cuff
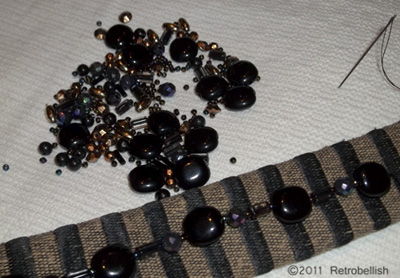
Making the Beaded Fabric Cuff
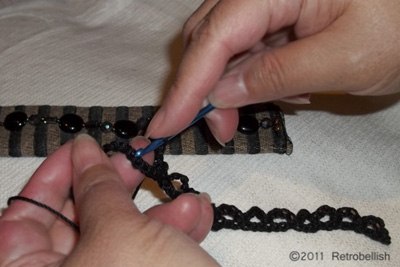
Crocheting the Trim for Beaded Fabric Cuff
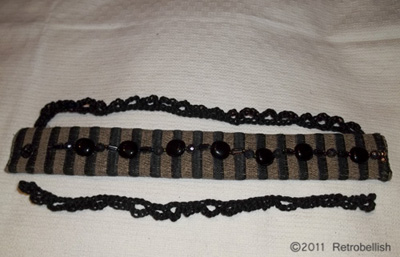
Ready to Sew On the Finished Trims
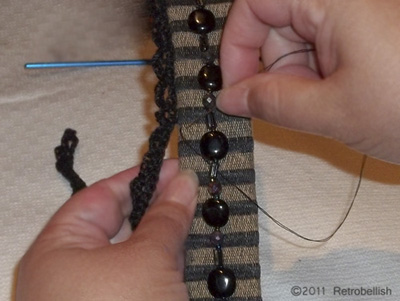
Attaching the Trim to the Finished Cuff
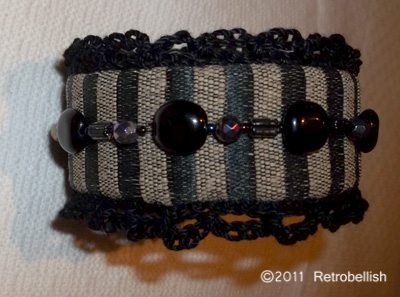
The Finished Beaded Fabric Cuff
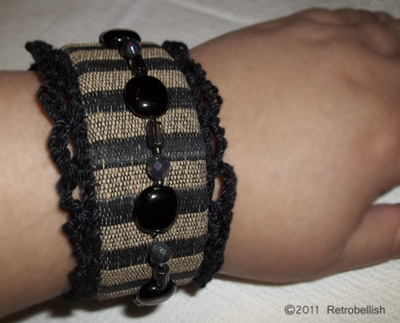
Wearing Finished Beaded Fabric Cuff
Recycling Trash Items
One of the most important craft projects for us is to recycle as much as we can. The house is a great place to start your recycling projects. What objects do you tend to throw out the most in your trash? Is it plastic, paper, glass or metal? In our case it’s paper from all the junk mail we still receive. Since we shred all of our paper scraps we end up with a lot of confetti style shredded paper by the bag full. So we have tried a few creative ways to incorporate this shredded paper into our arts and crafts instead of the recycle trash. In a previous article we talked about using paper mache instead of plaster in your plaster-craft molds. And in future articles we will be using the different kinds paper items you could recycle at home. Not only is recycling great for our environment, but it’s also a fun way to craft with family or friends. This summer we had a very bad start to the spring season in Chicago.

Cola Bottle Flowers by Diana & David Romaxx
We lost a lot of our plants we had kept inside for the winter. One such plant was a daisy tree we had for over four years. It started out fine, but by mid-June we lost it. But around our house my husband and I are always creating something out of throw-away items. Shown are photos of two of the recycling projects we created for our yard. My husband removed the daisy tree from the large center pot and cleaned the dry roots out very thoroughly and let it dry outside for about one month. He then painted the roots purple and the trunk gold. He added two wine bottle caps to the front side of the roots and a ruby round half glass bead over each bottle cap to complete the eyes. He then added an old waterbottle and an old telephone cord. It looked like some strange creature from outer space. He put a metal rod into the base that holds the piece yet allows movement with the wind. The flowers in the planter were all made from forty recycled liters of cola and one-inch recycled dowel rods. They really added a lot of charm to our yard and we can reuse them for many, many years. Re-embellish, reinvent, recycle.

Root Man by David Romaxx