Reclaimed Styrofoam Copper Mirror
This Reclaimed Styrofoam Mirror started out as two pieces of insulation boards used for insulating homes. The pieces were thrown away from a construction job in our neighborhood and we thought it would be a great idea to use them for one of our craft projects. The Styrofoam boards were both the same size and rectangular in shape. I painted both boards with flat black acrylic paint. I had a mirror that was chipped at the top, so I used a glass cutter to cut away the chipped area and straighten the mirror edge. I then placed the mirror against one of the Styrofoam boards, measured and centered it, then with a marker, traced the mirror onto the Styrofoam board. With a small serrated kitchen knife, I cut the Styrofoam board on the drawn line all the way through. I then took white glue and glued the cut out Styrofoam onto the other Styrofoam board.
After the glue dried, I painted the front of the Styrofoam board with a faux copper finish. After the paint dried, I put the mirror into the cutout groove of the Styrofoam boards which fit right in. I then lifted the mirror and used white glue at the corners of the mirror to adhere the mirror onto the Styrofoam board. I then used fabric paint to embellish the mirror and outline it. We also used another small piece of Styrofoam to make an embellishment for the top center of the mirror. Before putting the mirror into the Styrofoam, I put a hook in the back of the Styrofoam, but you can omit the hook and push the Styrofoam onto a small nail on the wall instead. The framed mirror looks very nice on the wall, and it’s also very light. According to how you make your mirror, you can also display it on a stand vertically or horizontally.

Reclaimed Styrofoam Mirror
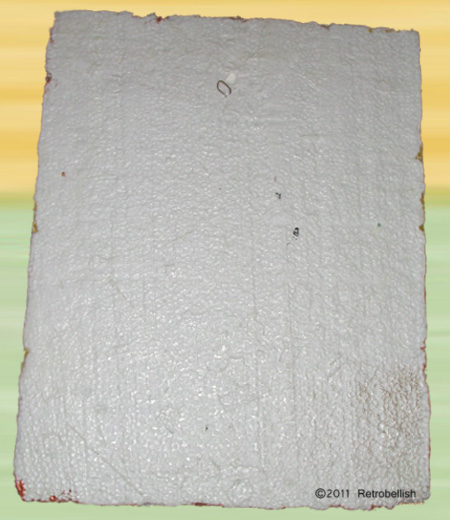
Reclaimed Styrofoam Mirror Backside
Scrap Wood Abstract Fish
This fish was made from leftover scraps of wood that we had saved from a book-shelf we had built a few years ago. The fish was drawn out on the wood freehand and then cut with a scroll-saw. The fish was sanded around the edges just enough to smooth it out. We then drilled a hole big enough to insert a small dowel-rod into the fish body and two holes were also drilled for the glass eyes at this time. The bottom fins were hand cut from fine cuts of the 2×4. To create the base, we used a piece of 2×4 and mitered the edge to give it a rounded cut around the top of it. We then aligned the fish with the base to find the balance point to drill a hole into the base to insert the bottom part of the dowel-rod from the fish body. Wood glue was used to glue the pieces together. The whole thing was then primed with gesso to assure even paint absorption. Then the fun part for me was painting and embellishing the fish.
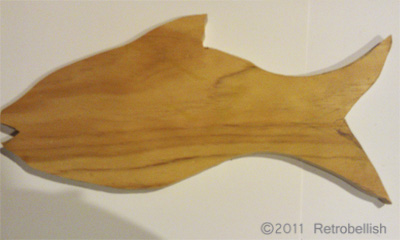
Abstract Wood Fish Cutout
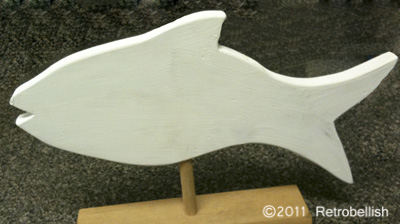
Abstract Wood Fish Primed
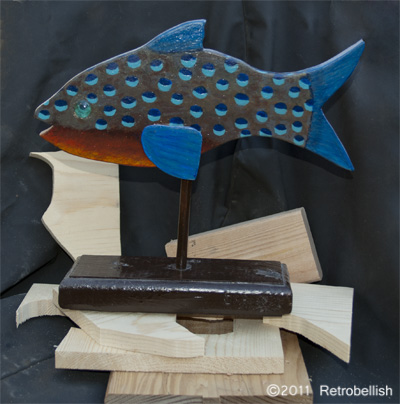
Abstract Wood Fish Left Side
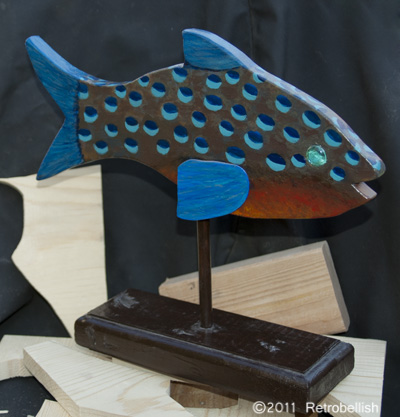
Abstract Wood Fish Right Side
Recycled Gas Grill Planter
This tomato planter started out as a gas grill. It was going to be scrapped before David decided to give it a second chance by cleaning it thoroughly then painting the grill bright red. The side shelves were painted orange and he added some glass embellishments on the front. The grill is used to plant two different types of tomatoes and also doubles as a plant holder. The lid and tank from this grill were also recycled. This grill still has the original wheels so it can be moved around the yard easily.
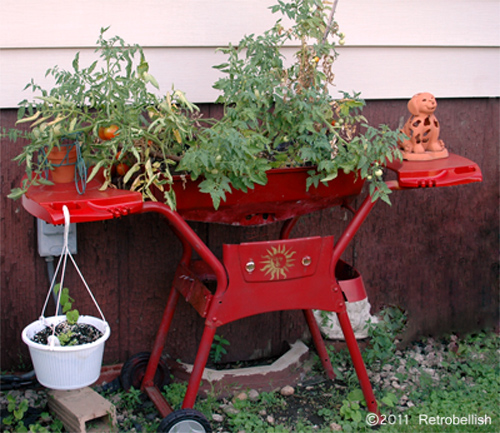
Recycled Gas Grill Planter
Recycled Junk Mail Folk Art
One of the ways we have reclaimed some of the advertising brochures and junk mail around our home is to make paper-mache items. One of our favorite items we make are masks and wall plaques. This lion head which measures about 13″ x 8″ was made using some of the shredded junk mail and brochures that we receive at home during the week. We just used a traditional paper-mache paste that you might remember using in school made of flour and water and a little salt as a preservative. We made the paste in a bucket and then combined the paste and shredded paper together.
We then take this mixture and press it into the cement mold allowing it to dry before removing it from the mold. The lion head mold we used was for a cement lion head used in garden statuary. We then painted the lion head casting with multiple latex acrylic paints to create a faux iron patina for a rustic folk art look. Previously, we have also made this lion out of newspaper instead of the shredded material. This technique can also be made freehand allowing you to express your artistic creativity.
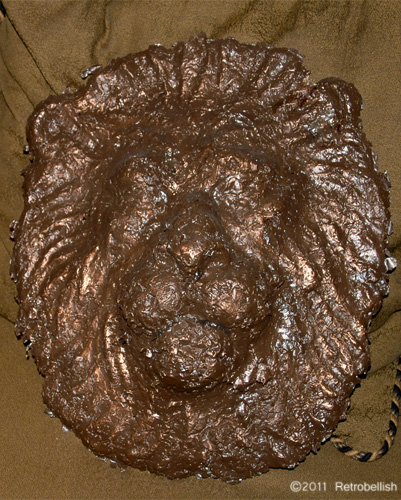
Reclaimed Paper Lion Face
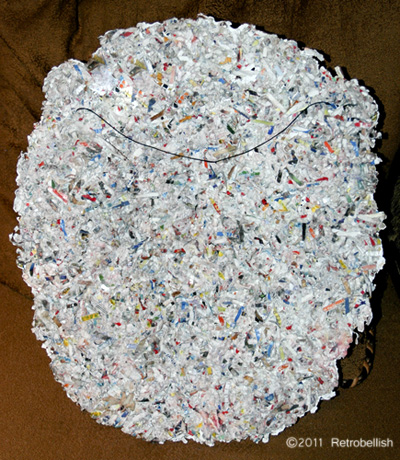
Reclaimed Paper Lion Back Showing Shredded Paper.
