Blouse to Embellished Sequin Jacket
Earlier this year, I bought a beautiful black sequin trim at a clearance sale. And although at the time I had no idea how I would use this trim, I knew that someday a project would come along. The black sequin trim was two inches wide by three yards long.
Later this summer, I bought a black blouse with a beautiful open lace pattern. When I first saw the blouse I immediately thought of my black sequin trim and how great it might look sewn onto certain areas of this blouse. I started this project by removing the buttons from the blouse, cutting and sewing the collar and lapels down to the fabric of the blouse so that the trim would lay flat around the neckline.
I laid the blouse down flat on a table and rolled out the trim. I placed the beginning of the trim at the bottom edge of the left side of the blouse, pinning about a half inch of the trim over the edge (onto the wrong side) and then onto the front of the blouse. I carefully pinned the trim along the edge over the area where the button holes used to be and continued rolling out the trim all the way around the neckline. Once I completely pinned down the trim around the neckline, I continued rolling out the trim down the right side of the blouse over the area where the buttons used to be until I reached the bottom edge of the blouse (and a little over that edge as well so the cut end was on the wrong side). After measuring the leftover trim, I was glad to find out that I had enough to also embellish both cuffs.
Once I completed the embellishments, it was amazing to see how easy it was for a simple blouse to be transformed into a beautiful jacket by just using store bought trim.
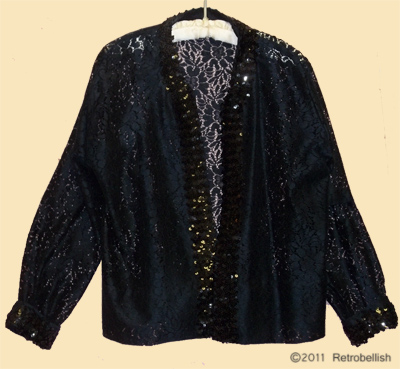
Embellished Sequin Jacket
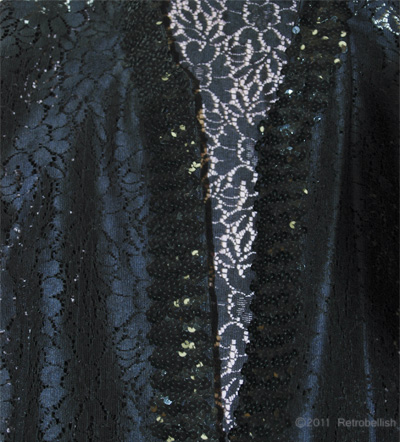
Sequin-Jacket-Trim
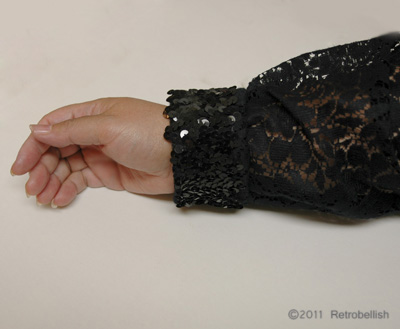
Sequin Cuff Closeup
Recycled Junk Mail Folk Art
One of the ways we have reclaimed some of the advertising brochures and junk mail around our home is to make paper-mache items. One of our favorite items we make are masks and wall plaques. This lion head which measures about 13″ x 8″ was made using some of the shredded junk mail and brochures that we receive at home during the week. We just used a traditional paper-mache paste that you might remember using in school made of flour and water and a little salt as a preservative. We made the paste in a bucket and then combined the paste and shredded paper together.
We then take this mixture and press it into the cement mold allowing it to dry before removing it from the mold. The lion head mold we used was for a cement lion head used in garden statuary. We then painted the lion head casting with multiple latex acrylic paints to create a faux iron patina for a rustic folk art look. Previously, we have also made this lion out of newspaper instead of the shredded material. This technique can also be made freehand allowing you to express your artistic creativity.
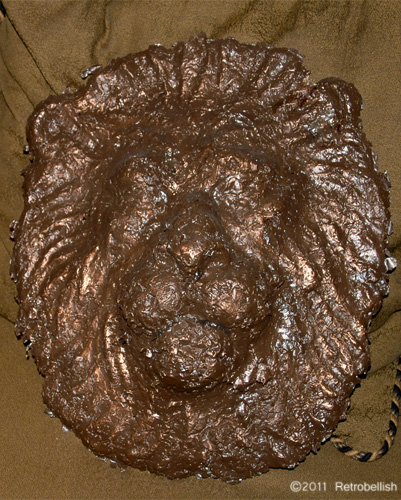
Reclaimed Paper Lion Face
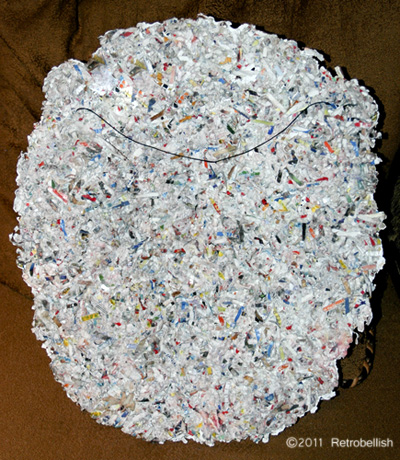
Reclaimed Paper Lion Back Showing Shredded Paper.
Reclaimed Car Tire Trash Art
This flower planter is made from a reclaimed car tire on the rim. The hanging circle is a tire spacer from a semi-truck, the chrome piece is a cap from a semi-truck exhaust pipe, and the north south center is from an old yard decoration. The orange semi tire spacer is suspended by a metal bar shaped from a tru-link fence which is held by an old dog leash, which gives it the freedom to rotate with the wind. The mirror is an old broken store plastic convex mirror and the orange wire in front is also a piece from a tru-link fence. A blue glass bottle embellishes the tire planter. All items used to make this piece were garbage.
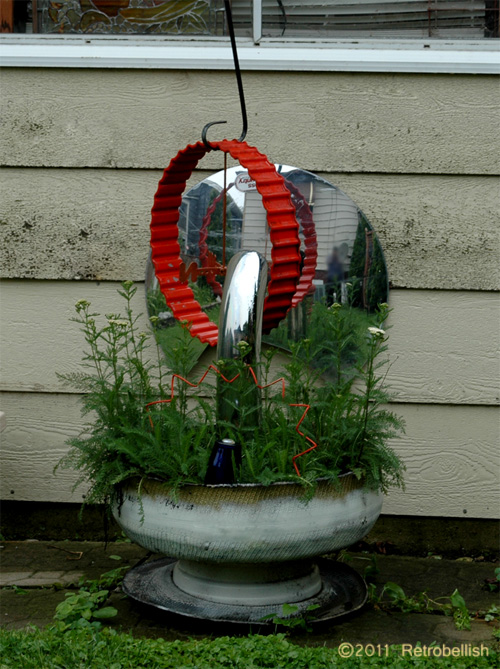
Reclaimed Car Tire Trash Art
Mayo Jar Windmill Trash Art
This whimsical mayo jar windmill is made from reused trash pieces. It consists of a plastic mayo jar, windmill from an old broken lawn ornament, a plastic cap from a one shot stain remover container (orange piece), an old broomstick painted blue, a tail from a lid of a 5 gallon pail of wall plaster. The yard ornament had one broken blade so David removed two more blades to even-out the windmill. He then painted the inside of the mayo jar white and left the cap blue.
After cutting out the appropriate size tail for the piece, the mayo jar cap was cut enough to insert the tail into the lid and then glued. The lid was then screwed back onto the mayo jar. For a stand, he used an old broomstick painted blue and capped it off with a cap from a small one shot stain remover container. The broomstick was then loosely screwed on from the inside of the mayo jar so it could rotate when the wind hits it. David makes his pieces to interact with nature as much as possible.
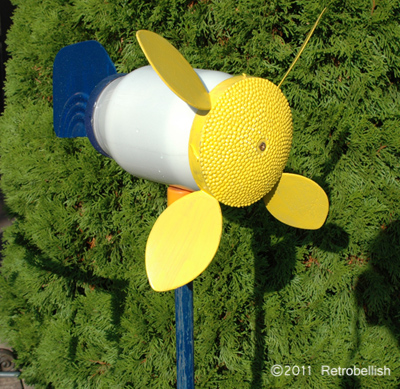
Mayo Jar Trash Art Right Side
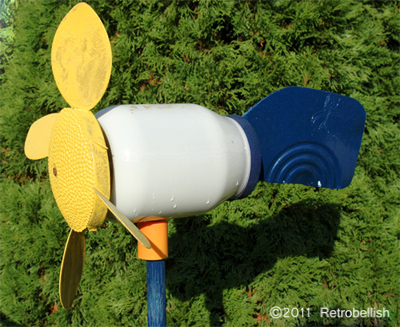
Mayo Jar Trash Art Left Side
