Whimsical Wood Stools
These three wood stools were a great find at a clearance sale and a perfect fit for my kitchen counter. Although the stools were a little beat up, they were still very solid and I knew I could work with them. I knew I had some leftover upholstery fabric and foam pieces I had saved from a previous project that were just enough to cover the tops of all three stools. The stool tops were plain wood with white legs. Because my kitchen has a fruit theme and the fabric has a very colorful fruit theme, I wanted to give the stool legs a very colorful and lively look. So instead of painting the same designs on all three stools, I decided to just paint different whimsical designs on each of them. The designs I painted on the stools were red cherries against a light green background, purple grapes against a golden background, and a lively black-and-white checkered pattern. And although the stools are beginning to show some wear and tear, they look even more whimsical and rustic with age.
So if you have some old chairs around the house that just don’t match the decor of your home, with a little craft paint and a little time, you could recreate them into your very own work of art.
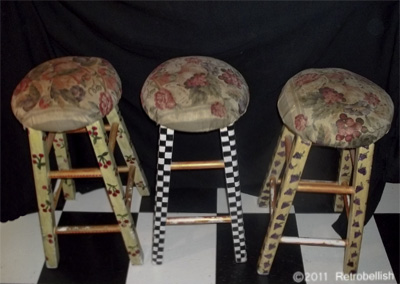
Three Painted Wood Stools
Retrobellish Beaded Fabric Cuff
Recently, I was looking through a fashion magazine and saw several jeweled cuffs that I really liked. Out of curiosity, I thought I’d try to make one of my own. It was a learning experience, because it took a longer time for me to choose the beads than the fabric. I had some interesting black and rustic gold striped fabric and then chose some beads that I thought would look nice against the fabric.
I lined up the beads and moved them around until I chose a pattern that I really liked. Then, instead of individually sewing each bead to the cuff, I decided that for flexibility I’d string about four beads and then tack them down (hand sewing a few stitches at the end through the cuff) before continuing with stringing the next four beads in the pattern I had chosen.
The finished cuff measured approximately 2 inches wide by 10 inches long. For fabric support, I used a 1/8 inch thick interfacing about a ¼ inch smaller than the fabric’s measurements. I wrapped the fabric around the interfacing and hand sewed the fabric with the seam in the back. I also sewed a small piece of solid black fabric over the seam in the back of the cuff to hide the seam and used a small black snap for the cuff’s closure.
Once I completed sewing the beads on the cuff, I felt that the cuff could use a little more embellishment around the edges, so I decided to crochet a small black trim. I used a size 3 crochet thread and size E/4 crochet needle. My simple pattern consisted of 60 chains in the first row. In the second row, I crocheted five chains and single crocheted into the third chain (of the first row). Then I repeated crocheting five chains and single crocheted through the third chain again, creating little loops. I repeated this crochet pattern for the other side of the cuff and then hand sewed both trims onto the cuff. I was really happy with the results.
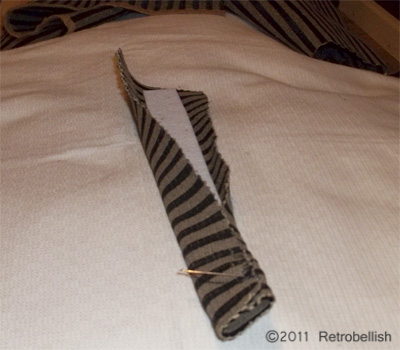
Starting The Beaded Fabric Cuff
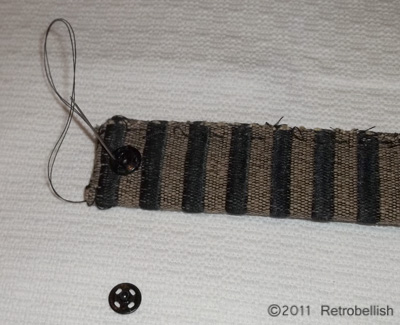
Sewing the Snap On Retrobellish Fabric Cuff
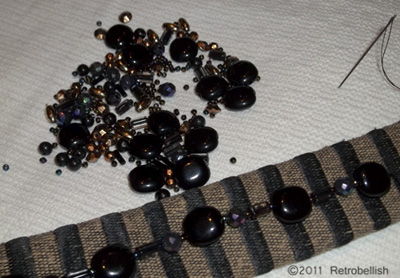
Making the Beaded Fabric Cuff
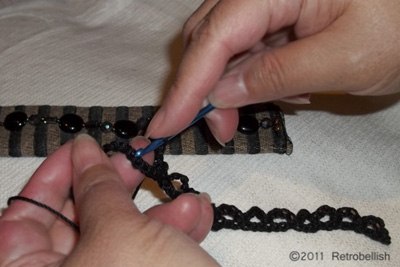
Crocheting the Trim for Beaded Fabric Cuff
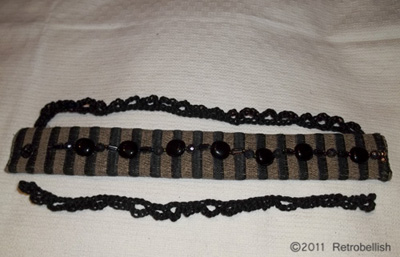
Ready to Sew On the Finished Trims
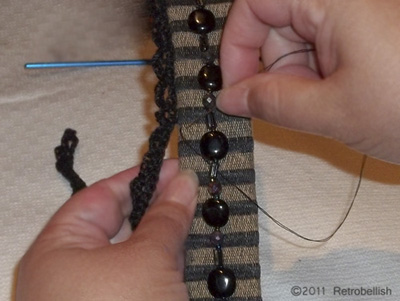
Attaching the Trim to the Finished Cuff
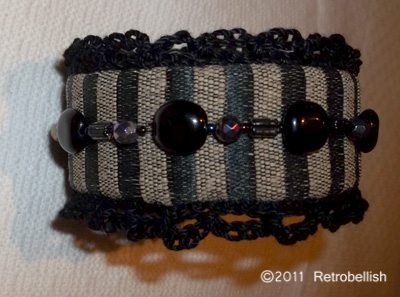
The Finished Beaded Fabric Cuff
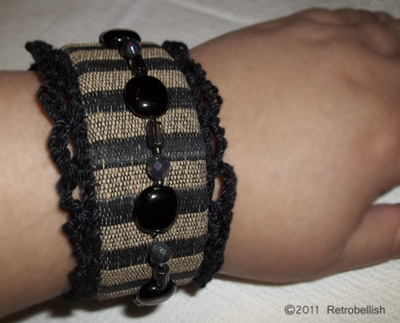
Wearing Finished Beaded Fabric Cuff
Recycled Gas Grill Planter
This tomato planter started out as a gas grill. It was going to be scrapped before David decided to give it a second chance by cleaning it thoroughly then painting the grill bright red. The side shelves were painted orange and he added some glass embellishments on the front. The grill is used to plant two different types of tomatoes and also doubles as a plant holder. The lid and tank from this grill were also recycled. This grill still has the original wheels so it can be moved around the yard easily.
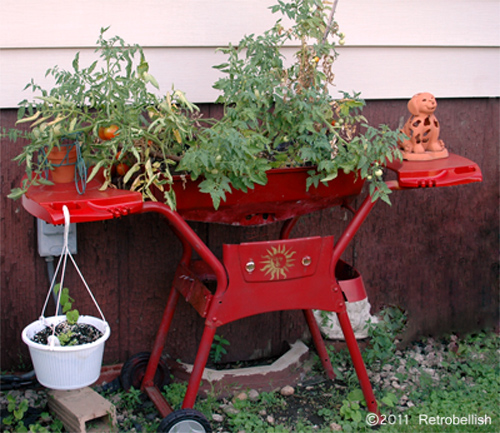
Recycled Gas Grill Planter
Blouse to Embellished Sequin Jacket
Earlier this year, I bought a beautiful black sequin trim at a clearance sale. And although at the time I had no idea how I would use this trim, I knew that someday a project would come along. The black sequin trim was two inches wide by three yards long.
Later this summer, I bought a black blouse with a beautiful open lace pattern. When I first saw the blouse I immediately thought of my black sequin trim and how great it might look sewn onto certain areas of this blouse. I started this project by removing the buttons from the blouse, cutting and sewing the collar and lapels down to the fabric of the blouse so that the trim would lay flat around the neckline.
I laid the blouse down flat on a table and rolled out the trim. I placed the beginning of the trim at the bottom edge of the left side of the blouse, pinning about a half inch of the trim over the edge (onto the wrong side) and then onto the front of the blouse. I carefully pinned the trim along the edge over the area where the button holes used to be and continued rolling out the trim all the way around the neckline. Once I completely pinned down the trim around the neckline, I continued rolling out the trim down the right side of the blouse over the area where the buttons used to be until I reached the bottom edge of the blouse (and a little over that edge as well so the cut end was on the wrong side). After measuring the leftover trim, I was glad to find out that I had enough to also embellish both cuffs.
Once I completed the embellishments, it was amazing to see how easy it was for a simple blouse to be transformed into a beautiful jacket by just using store bought trim.
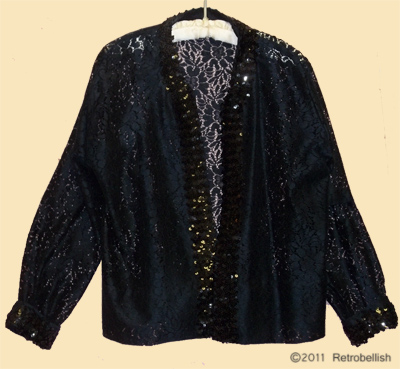
Embellished Sequin Jacket
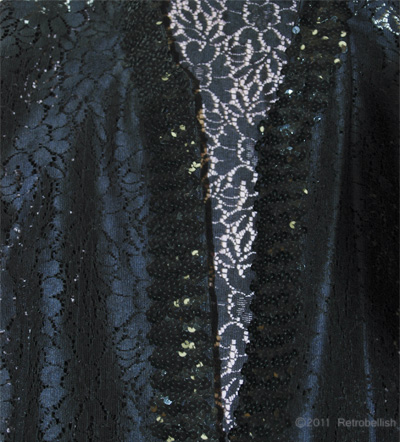
Sequin-Jacket-Trim
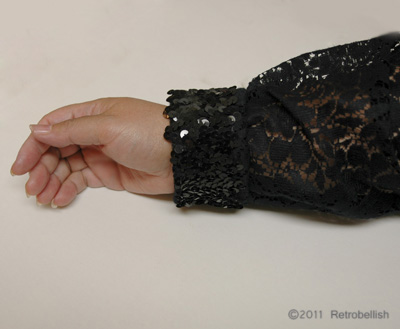
Sequin Cuff Closeup
