Recycled Fleece Leopard Gloves
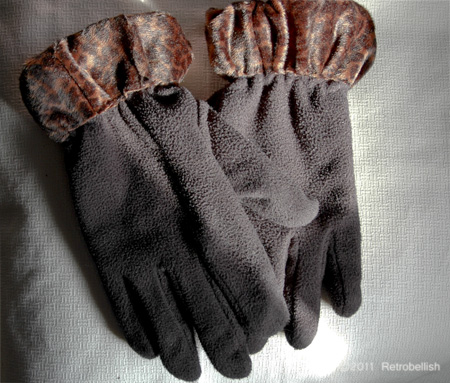
Another way to give an old pair of gloves a fresh new look is by adding some type of embellishment, especially when the gloves have a two inch extended cuff. I thought the gloves would look very nice embellished with some beautiful fabric. I looked through my fabric remnants and found an old leopard print that I thought would look very nice sewn onto the cuffs of my gloves. I measured the cuffs, the fabric, and then cut enough fabric for both cuffs.
I sewed the fabric onto each cuff and started by placing the fabric edge near the elastic edge part of the cuff. I then made sure to slightly gather the fabric every inch or so and sewed that gathered fabric firmly to the glove. This would ensure that the fabric would have enough elasticity to stretch with the glove’s elastic edge.
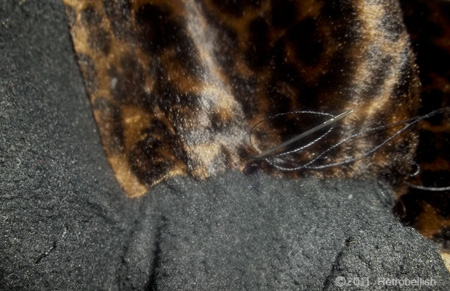
Next I folded the rest of the fabric over the cuff edge and sewed the other end to the inside part of the glove. I really loved the way the newly embellished gloves turned out. They have a totally different look and with only a little less than a quarter yard of fabric. You don’t have to embellish a cuff with fabric, you can easily change the look of gloves with simple and colorful buttons, bows, or other embellishments. There are so many wonderful and fun fabrics for children and many that can be found on sale in the remnants section of a fabric store.
Reclaimed Pillow Covers
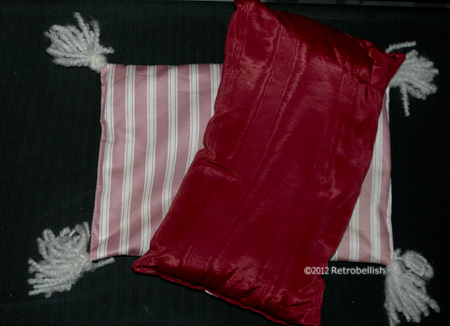
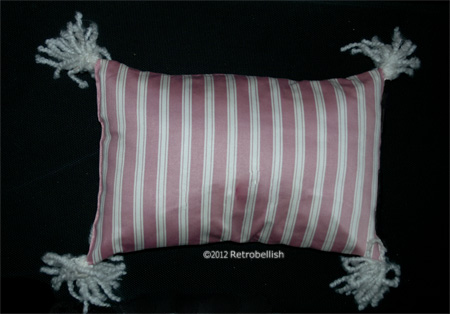
Pillows make great accents in our homes. Sometimes, pillows that may have looked great a few years ago may have lost their luster due to everyday wear and tear and some fabrics may just go out of style, but one could always make covers to give those pillows a fresh look. I had such a dilemma with some pillows that I bought at a clearance sale at a store in our area that was going out of business. I liked the size and shape of the pillows, but not the color. I had some striped pink fabric I loved and had enough to cover the two small pillows.
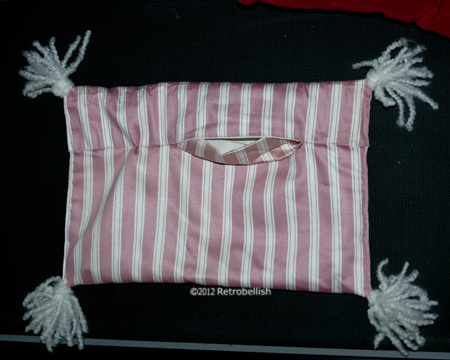
I placed one of the pillows in the center of the fabric and folded one end of the fabric over half way over the pillow and then the folded the bottom of the fabric up towards the middle of the pillow. I measured and pinned near the places where I would cut making sure to pin a 1/4″ seam allowance. I then cut the fabric making sure to keep the stripes lined up and sewed the sides. I also sewed across the middle, but made sure I left an opening large enough to slip the pillow inside the opening. It turned out very well and I had enough fabric to make one more pillow cover. The pillows look very nice on my chair. In the past, I’ve also used leftover fabric that I reclaimed from old drapes to cover a chair and made a small matching pillow cover. I’ve even used denim from some old jeans to embellish other small pillows to give them a more interesting look, so you can reclaim fabric from just about anything you’d like.
Lost Earring Crochet Pin
I was looking for a pair of earrings to wear and couldn’t help notice the sparkle from some earrings at the back of my jewelry box. I have several lone earrings that don’t have a matching earring because I’ve lost them over the years. Each time I’d lose one, I’d put it in what became the lost earring section of my jewelry box with the hopes of soon finding the lost one. As time passed, I couldn’t throw them out and thought they might one day become a nice future craft project.
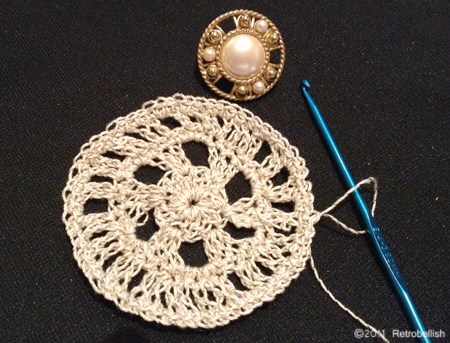
This crocheted pin is one such project that was inspired from browsing through several craft magazines. The old pierced earring I chose measures 1 inch in diameter and the crocheted part measures 2-1/2 inches in diameter. I used a fine beige crochet thread that is intertwined with gold metallic thread and used a size E-4 MM crochet hook. I looked at the earring for design inspiration and by trial and error came up with a very simple pattern.
I started by crocheting five single chains and joined them with a slip stitch. Next, I crocheted four single chains and double-crocheted 12 stitches into the center and then ended that row by joining with a slip stitch. Next, I chained four (to match the length of a double crochet) and double crocheted into each of the next two stitches, then crocheted four single chains and repeated double-crocheting into each of the next three stitches, repeating to the end and joined that row with a slip stitch.
In the next row, I single crocheted into every stitch all the way around. Next, I made four single chains, then double-crocheted into the next stitch, crocheted two single chains and then double-crocheted into each of the next two stitches and repeated all the way around and ended that row with a slip stitch. In the last row, I single crocheted into every stitch all the way around and finished with a knot.
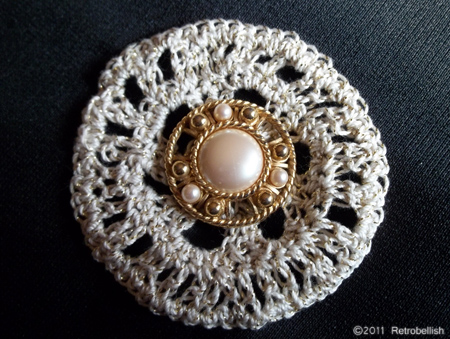
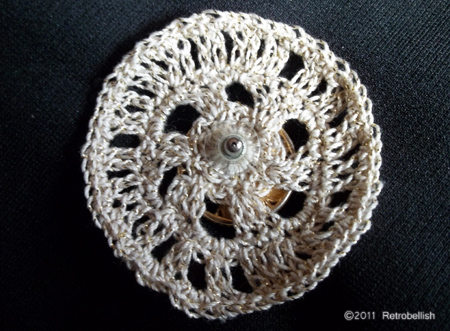
I placed the pierced earring post through the crocheted center, and the post is sharp enough to go through a sweater. The earring back holds the earring in place very well. I’m happy with the results and have worn the pin on a few of my sweaters. Instead of an earring in the center, you can also use a small pin in the center of any crocheted design you create.
Embellished Blue Faux Suede Gloves
Sometimes just a little crocheting could give a plain pair of gloves that little pizazz that can change the look for very little money. I used a size K crochet needle and started with 5 chains to cover the length of the folded cuff on the glove. I then single crocheted in each row making sure to stop and measure the crocheted piece against the glove until it met the other end. Using a matching thread, I hand sewed the crocheted trim in a few areas near the edges of the cuff. I then repeated this process for the second glove.
Embellished gloves make a great gift for someone special. You can use any style gloves or mittens, any type of trim or yarn and even buttons or jewelry as embellishments to create a different look.
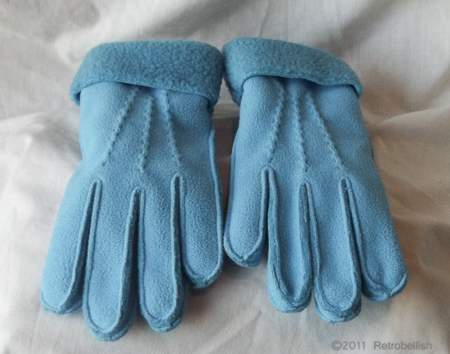
Plain Faux Suede Gloves Ready for Embellishing
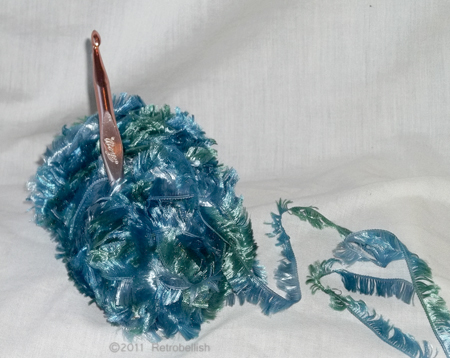
Feather Trim I Used To Crochet on the Faux Suede Gloves
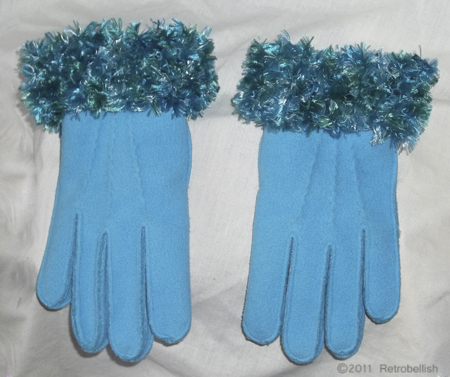
Finished Embellished Faux Suede Gloves
Upcycled Winter Hat, Scarf and Gloves
I started this project with a pretty pink hat I purchased last winter. I really liked the way this hat was made and upon trying the hat on I found out that it didn’t quite reach down over my ears, but I bought it anyway, because I really loved it and knew from the way it was made that I could work with it. I instantly got a bunch of ideas on how I could create a better fit. I then also bought the matching pink scarf and gloves.
I knew I could crochet a band of yarn around the bottom edge of the hat to extend the length and cover my ears. As you may know from my past articles, I am constantly on the hunt for yarn and fabric sales so I have a little collection of each of those. I looked through my skeins of yarns and found several colors that I thought might look great crocheted around the bottom edge of my hat.
When I was ready to start crocheting, some of the yarn colors that I had were in various shades of pink, gray and purple, but when I pulled out a skein of thick black velour yarn, I couldn’t believe how beautiful the thick texture of this velour yarn looked against the knotted texture of the hat’s pink yarn.
Using a size K crochet needle, I crocheted eleven single chains and then five rows before I laid the band onto the edge of the hat. I then folded a bit of the band’s bottom edge over the bottom edge of the hat. The thick velour band looked very nice and well balanced against the heavy thick texture of the hat’s pink yarn.
Because I knew how well the velour yarn looked crocheted with the pink yarn, I decided to crochet two additional braids of single chains all the way around the scarf and then laid them separately (about six inches apart) near each end of the pink scarf. I then hand sewed four braids onto the scarf. I then did the same for the gloves, except that I only crocheted one braid for each glove.
Last, I made the fringe, which I cut and measured by eye. I simply cut one strand of the velour yarn (about 3 inches long), measured how long I really wanted the fringe to be by pulling the strand through one stitch of the scarf’s last row. I then trimmed it to the length I liked, cut all strands to the same length.
Using the same size K crochet needle, I pulled through only two velour yarn strands through one scarf stitch, tied the two strands near the top (using a separate velour yarn strand from the skein), tied a double knot and then I cut the strand two ends (from the skein) to the length of the strands I just tied (this makes the fringe thicker). In a similar fashion, I inserted two strands (tied and knotted) through every three scarf stitches (of the scarf’s last row), until I finished each end of the scarf. Even though this project took me a while to complete, it was a very simple project anyone can do and the embellishments you can use to reflect your taste are endless.
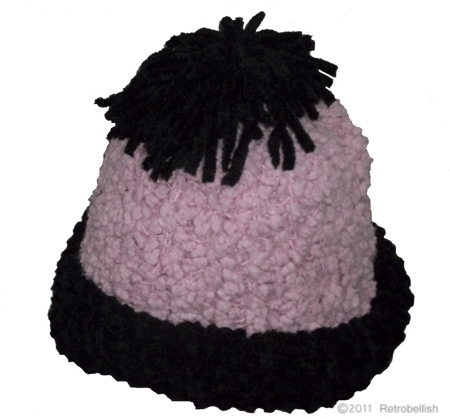
Upcycled Knitted Winter Hat
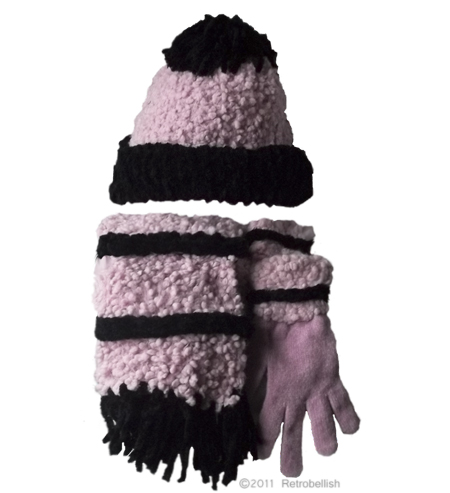
Upcycled Pink Knitted Hat Scarf and Gloves