Fabric Marker Embellishment
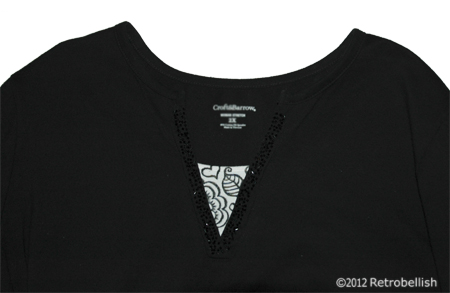
Sometimes simplicity is best, as with the case of this blouse I bought on sale last year. I really loved this blouse, especially the beautiful beading it already had around the neckline. The only thing I didn’t like was the plain white V patch on the front center of the blouse. I thought of sewing a piece of fabric over the patch from some of my beautiful remnants I had laying around from other craft projects, or even cutting the piece out completely, but the crafter in me decided to try my black fabric marker to create some kind of design.
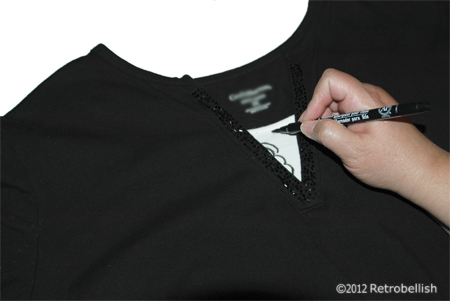
I measured the white V patch on my blouse and traced several similar sized triangles on white paper. I drew many paisley designs on paper until I drew some designs I really loved, which turned out to be a flower, a leaf and some hearts. I then copied those designs onto the triangles until I liked their positions next to each other. I then used a permanent ink black fabric marker to draw them onto my little white V patch on my blouse. I took my time and figured that if I made a mistake, I could always go to plan B and sew a small beautiful fabric piece over the existing V patch. I was very happy with the results and even inspired to try it on one of my other plain white tee shirts (which I will definitely share on a future post).
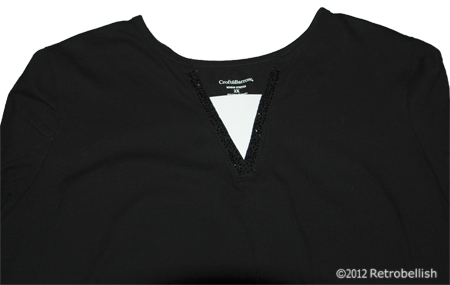
Fabric Pen Embellishing
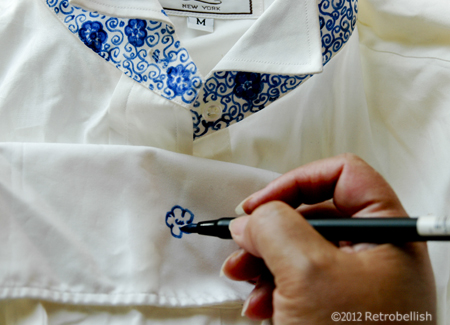
Using Blue Fabric Pen to Embellish Lapel
A fast and inexpensive way to give an outdated or worn blouse a fresh look is to embellish it with whatever color and design you’d like. Fabric paint pens are a great way to create your own designs on reclaimed or new clothing. I loved this white blouse, but I’ve always enjoyed wearing it mostly with blue jeans or navy blue pants. So when the blouse got a little worn in the collar and cuffs, I decided to give it an updated look with a pretty dark blue hand-printed design on the collar and cuffs.
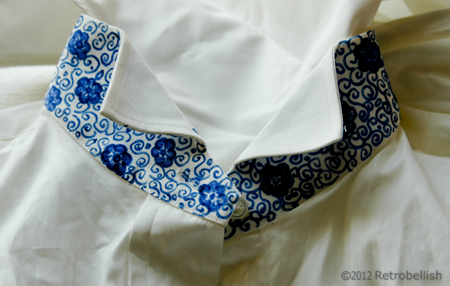
Blue Fabric Pen Embellished Collar
I first practiced drawing a simple design on paper using a regular pen. Once I found a simple design pattern I liked, I used the actual fabric marker on an old plain cotton tee shirt to test the ink and feel of the pen on fabric. I practiced the design on that tee shirt and shortly thereafter started drawing the design onto the white blouse. The dark blue paint line drawn with the fabric marker does not spread at all like a regular marker does on paper, so take your time and practice until you feel comfortable.
There are several fabric marker brands on the market, most of which are available in many beautiful colors, resist fading, machine washable, and are surprisingly very inexpensive. The brand I bought is sold separately (not in a set), inexpensive, and available in about 15 different colors. For the best results, just follow your manufacturer’s instructions.
I had a lot of fun with this project and I may change the blouse buttons from white to blue, but that definitely will be a project for another day (another blog post). Although I used a white cotton blouse for this project you can use any color clothing and definitely any article of clothing from jeans to scarves, so just have fun creating your own designs.
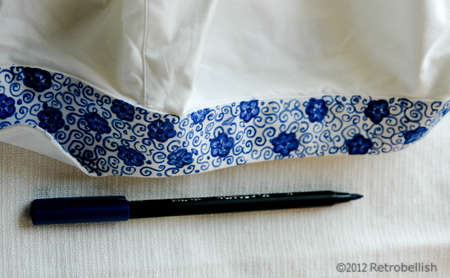
Blue Fabric Pen Embellished Sleeve Cuff
Cigar Box Folk Art Purse
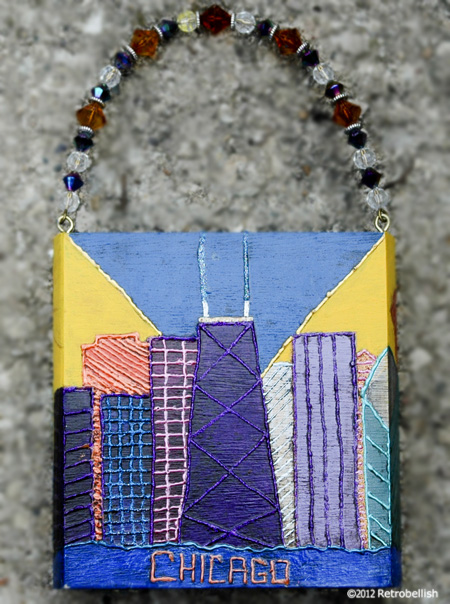
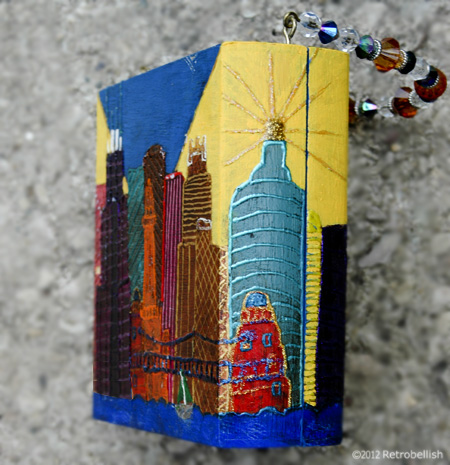
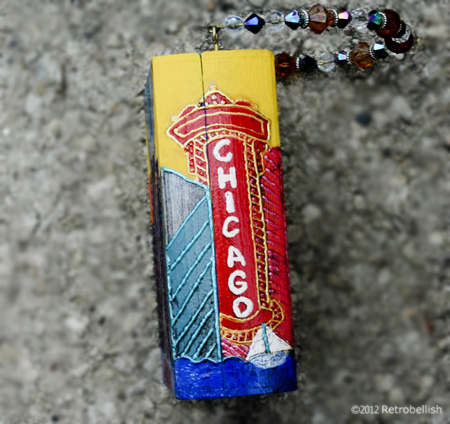
Cigar box purses were once very popular and a great way to reuse these great boxes made out of wood or chipboard that could be used for a multitude of craft projects from jewelery boxes to purses. We used some of these for a lot of our folk art projects where we painted city and farm scenes on the boxes. The box featured here is an abstract rendition of our city of Chicago’s famous landmarks. And although this purse was used as folk art, some of our other pieces were functional purses lined inside with velour fabric and a small mirror.
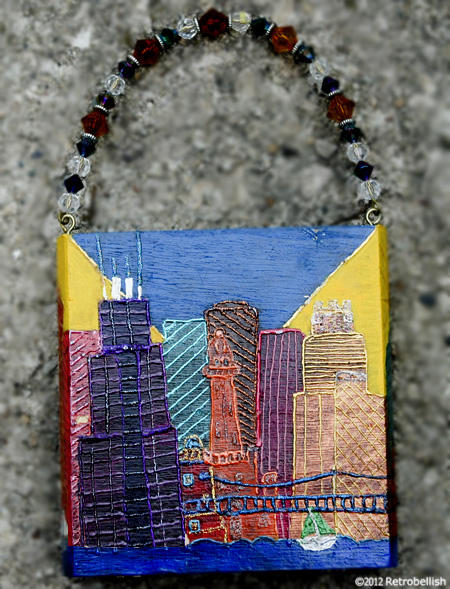
The blue water, and blue and yellow background on this purse were painted with acrylic latex craft paints. Once the paint dried, we used fabric craft paints to paint the abstract Chicago scene. About an hour after everything dried, we used clear latex acrylic sealer to seal it. The purse handle was a pre-made handle reclaimed from a previously scrapped project. Cigar boxes make a great craft project to make at home with children and friends. These boxes could also be found at any big box craft store alongside other shaped boxes and paper mache boxes. So just have fun and create your own piece of art.
Scrap Wood Flower Box
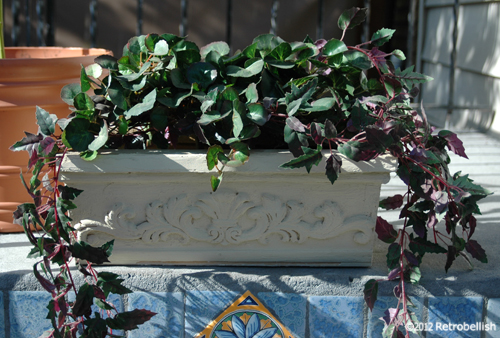
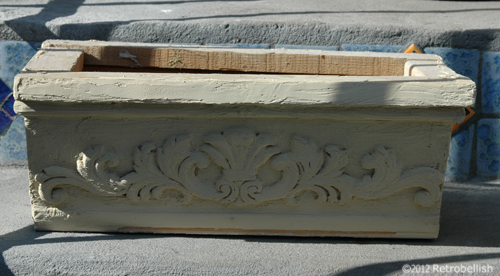
This wood flower box started out as pieces of scrap wood that we had left over after one of our rehab projects. I originally wanted save the scrap wood pieces to paint folk art farm scenes. I painted on the smaller scrap wood pieces, which at the time I was selling at our local craft shows. My husband reused some of the drywall screws that were left over to put the box together. He also used some pieces of scrap moldings and an old wood applique we had reclaimed. We then spread drywall compound on the outside of the box with an old dried out paint brush to give it a rustic look we were looking for and once the drywall compound thoroughly dried, we painted the box with a cream colored latex paint. I added some silk vines I had lying around in my basement, and the final project turned out exceptionally well. Although I decided to use silk vines in mine, if one wanted to use a real plant, you could use any plastic bag or liner in the box and drill two holes at the bottom for drainage. So don’t hesitate to play around with scrap wood pieces. See what you can create and just have fun.
Manila Folder Abstract Collage
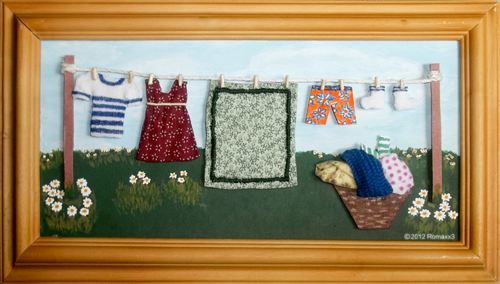
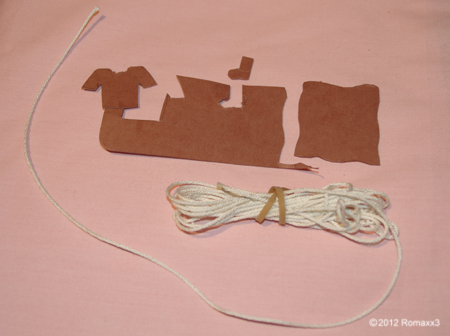
This clothes line abstract collage started out as trashed manilla folders that were being thrown away. I really liked the thickness of these expandable folders and their chipboard-like quality gave me the idea to cut them into sections and store them in my scrap folder for future craft projects. The wood frame was one of several frames bought on sale a while back, which were also saved for future craft projects.
I was inspired with the idea for this art collage when I saw a movie which featured a little house in the countryside. In one yard scene, there was a line full of very colorful clothes billowing in the breeze and it was interesting that you could surmise there was a baby and children of different ages living in the house just by the variety of clothes hanging on the line. I thought, what a beautiful picture this would make, and then thought of this idea to have different types of clothes hanging from a line. The frame (on the outside edges) measures 6-1/2 inches in length by 11-1/2 inches in width.
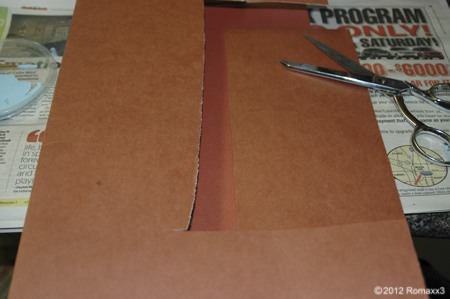
I measured the back inset of the frame, drew these measurements onto a large piece of the reclaimed cardboard and then cut out the rectangular cardboard which served as a background to support the art pieces. One side of this reclaimed cardboard was a cream color, which was perfect for me to paint the country scene. I used regular acrylic craft paints for the sky and the clouds. Much later, I decided to paint some daisies throughout the scene.
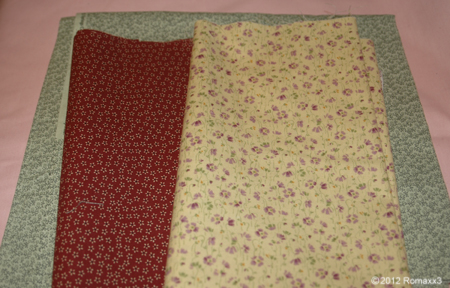
To make the scale of the clothing seem as realistic as possible, I looked through my old fabric remnants for the smallest prints I could find. I then placed the little cardboard shapes onto their respective fabrics and by eye traced each shape onto the fabric (leaving about a 1/4 inch margin all the way around the shape), and then cut out the traced shapes. Next, I used a toothpick to dot a little bit of hot glue (from my hot glue gun) onto each tiny cardboard edge, glued the fabric edge onto the dot of hot glue. Once the cut out fabrics were hot glued to the cardboard cutouts, I let them dry thoroughly. In the meantime, the tiny white striped shirt, white socks, and polka-dot towel were made from plain white cotton, but I used different colored fabric markers to paint on the little stripes and polka-dots. I also used the reclaimed cardboard to make the laundry basket and a brown fabric marker to draw a weave-like pattern on the basket. I used round toothpicks and wire cutters to make the tiny wooden clothes pins, which were carefully hot glued on the string and clothing item by using a toothpick and tiny dot of hot glue.
I used more scrap pieces of cardboard and cut two long strips to make the wood posts. I hot glued some white string near the top of each post to use as the clothes line. I cut out many more small pieces of the thick reclaimed cardboard scraps and hot glued many tiny sets of three little squares together to glue behind each item and make them stand out from the background and give each piece more depth.
I had so much fun making these pieces from reclaimed cardboard and since I cut up many more expandable folders that were thrown away, I will definitely be making another similar project in the near future — stay tuned.
