Strawberry Snow Sundae Planter
This giant snow sundae was made by David while shoveling some snow from our back yard. We normally grow flowers or a small tree in this cement planter in the summer months, but in the winter it just sits there empty and drab. While shoveling after one of our snow storms, David decided to pile some of the snow on the planter, then he packed it down with a snow shovel and shaped it with his hands. He then made a snow ball big enough to represent a cherry on top of the snow cap and then added a green plastic tie to the top of the cherry to represent the stem. He then mixed the colors with food coloring and put them in a reused plastic spray bottle and sprayed the snow to look like a strawberry hot fudge sundae. The red swirl straw is made from an old scrap piece of 1 x 2 wood covered with some emergency tape. The ice piece is from an icicle that formed down our gutter. The planter lasted for a few weeks before it started to melt down. Happy Holidays to all from Retrobellish.com!
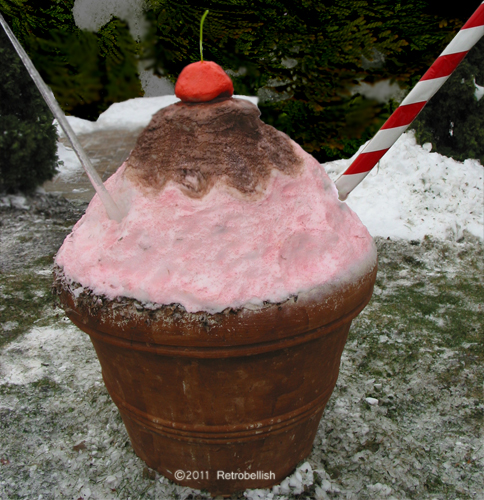
Snow Strawberry and Chocolate Sundae
Recycled Magazine Glass Plate Collage
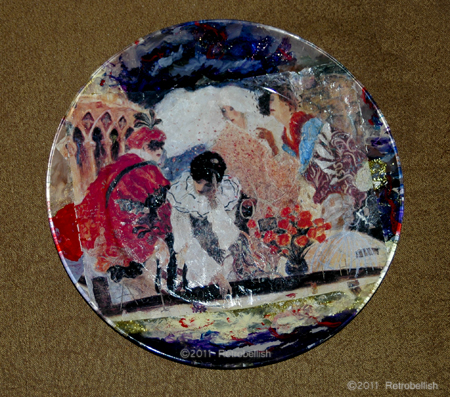
Recycled Magazine Collage On Glass Plate
It is very ironic how some of the things we take for granted, like throwing away magazines, can help you create your own very little treasured pieces of art. About 20 years ago, my husband used to collect depression glass pieces and I used to pick up a lot of clear plates at garage sales, estate sales, and thrift stores. I didn’t know what I was going to do with them, but I accumulated quite a few of these clear glass plates. I’ve always loved the art and paintings in magazines, especially some of the landscapes, florals and nature scenes. Even some of the ads were so beautiful that I would keep the magazines around for a while.
While recycling our paper one year, I got an idea that since I loved some of the art in these magazines so much, I would create a collage of some kind. I started by cutting some pages out, tearing pieces from others that I liked and placing them side by side to create scenes until I found the right combinations to create these collage plates. On one plate I created some Tuscan scenes, on others I created a stormy sky with some angels, and on another there was an abstract garden scene. The following plate is one of my favorite collage plates — it’s a painting of four persons dressed in Carnival costumes by a fountain. I carefully ripped multiple pieces from magazines to create a scene.
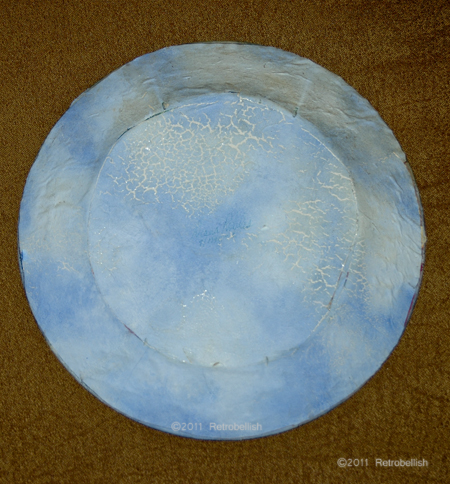
Recycled Magazine Collage On Glass Plate--Back Side
The clear glass plate is 9″ in diameter and the torn scene did not quite fit to the edges of the plate, so I Mod Podged it onto the center of the plate anyway. Once the piece on the plate was dry, I thought I’d use acrylic paints to paint in the clear parts of the plate by just matching the colors on the edges of the piece. I couldn’t believe how the plate began to look as I extended the edge colors to the end of the plate edges. Up close you could clearly see where the piece ended and the painting began, but from a distance, the plate actually looked like it was all one piece.
For strength and to protect the piece, I thought I’d Mod Podge some thick white art paper to the back of the entire plate. The paper was so plain and even though no one would see it on the back of the plate, I wanted to paint something pretty on it. I decided to paint a light blue sky with soft white clouds. Once the paint dried, I Mod Podged it to the back of the plate and as you can see, after all these years it has a little cracking on it, but it still sealed the plate beautifully. I love the brilliant colors of this beautiful piece and to this day it still hangs on my kitchen wall high above the cabinets.
Folk Art on Plaster Piggy Bank
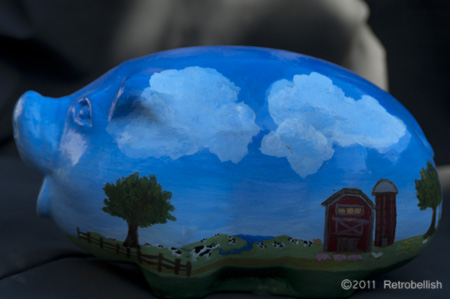
This plaster piggy bank was very popular in the seventies and eighties and sold at plaster-craft shops throughout the states. This one had been painted with tempera paint and was looking a bit faded and dull. Before I painted it, I wiped it with a damp cloth and painted the whole piggy bank with a fresh coat of gesso.
Once the gesso was dry, I thought of a farm scene and decided to try painting something with a barn and animals. Once I got started with the farm scene, it was really fun and I ended up continuing a country theme all the way around the piggy bank. This piggy bank is one of many pieces on which I’ve painted folk art scenes. This piggy bank measures approximately 9 inches long, 5 inches tall and 15 inches round.
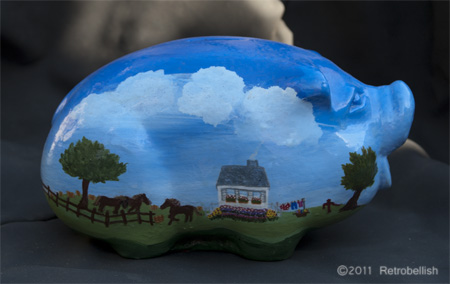
Folk Art On Piggy Bank Right Side
Folk Art On Piggy Bank Left Side
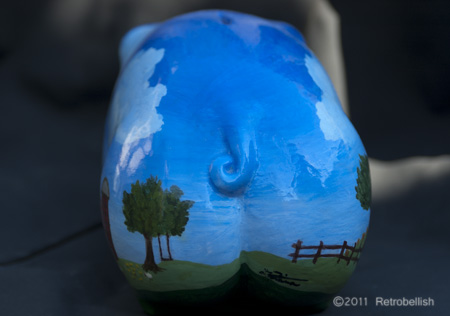
Folk Art On Piggy Bank Back Side
Folk Art On Piggy Bank Face
Paper Mache Fish
This fish is made of old newspapers and a few embellishments I had lying around the house. This is a simple and fun craft to make with children or just for the fun of recycling some old newspapers into your own art piece. I placed several sheets of newspaper on the table to prepare my work area. In a medium container, I made the standard paper mache paste made of flour and water (2 parts flour to one part water–until you get a pancake batter consistency) and added a dash of salt as a preservative. I then tore up several sheets of newspaper into medium sized pieces.
I made the fish core by crumpling some sheets of newspaper (using my hands) and forming them into the fish shape (as close as possible). I then started to dip the torn pieces into the paste mixture and started applying them onto the crumpled sheets to form the shape. At this point you can start shaping your fish to your preferred style. Once the fish shape dried, I used acrylic craft paints to paint the fish. The tail is made from a scrap piece of interfacing that I cut with my pinking shears and scissors, made a slit on the fish tail end and then slid the interface tail piece (with a little glue) into the fish tail end.
I glued on a half round marble for each eye and used fabric paint to draw around the eyes and mouth. I actually made four fish and painted them all in pretty bright colors, but I gave them all away and didn’t photograph them except for this one. Once you get started, it’s a simple and fun project to make. This makes a very lightweight piece which could also be hung with thread or you can make several smaller pieces and hang them as a mobile in a child’s room.
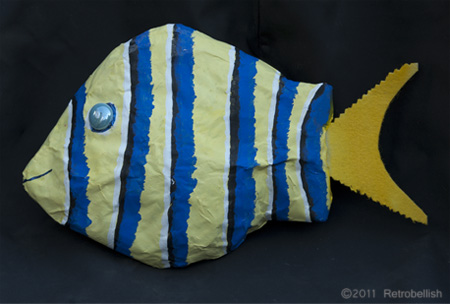
Paper Mache Fish
Painting On Reclaimed Wood Frame
Last year I had the opportunity to make a painting for my niece’s wedding. She had the idea to use a framed picture big enough to set on a table with all the seating tags adhered to the face of the painting so guests could find their names and table number right from the picture. I told her I could draw some abstract examples for her on a smaller scale to see how she would like the different scenes. Because the wedding date was set for October, she told us that her wedding color theme would be right from the rich beautiful colors of fall. She chose gorgeous deep reds, warm browns and deep golds. She then described the setting of where the reception was to be held and the beautiful warm colors of the brick walls near the entrance. The entrance area had a long tall table upon which the painting would be set so I was immediately inspired to paint a warm subtle scene of a beautiful sky at dawn, the horizon and soft warm earth colors. I also pictured a large deep brown tree on the left with beautiful maple leaves in an array of bright fall colors. This would leave the entire space to the right of the tree to adhere the lists of names and table numbers.
My husband almost always prefers to use reclaimed wood to make his own frames for his paintings and likes then to be more rustic than perfect. Among the pieces of wood he used, he also used a small piece of wood from an old shelf on which we kept family pictures including some of when our niece was very young. When he completed the frame, he painted it in a deep brown color that complimented and beautifully set off the colors in the painting. Because the name and seating lists were to be taped to the painting, a glass was added to prevent damage. The painting measures 36″ x 40.” Our niece and her husband loved the painting so much, that the painting now hangs in their living room.
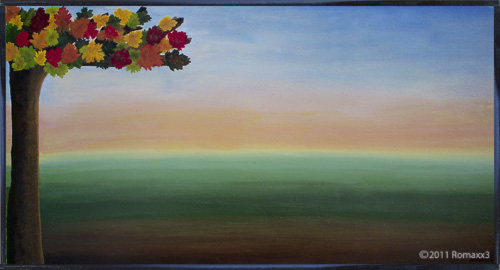
I Named The Painting New Beginnings
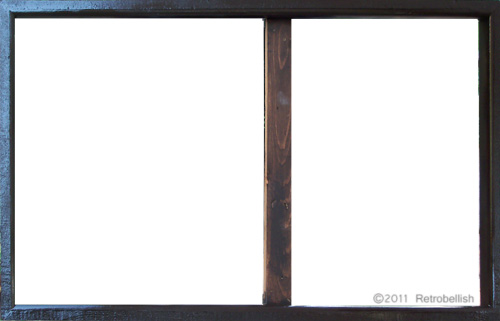
Reclaimed Wood Frame For The Painting New Beginnings