Grapevine Holiday Wreath
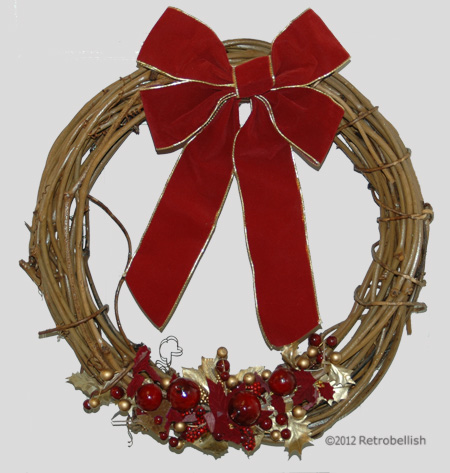
The holiday season is a fun time of the year to get creative with decorations for your home. This grapevine holiday wreath is very simple to make and could easily be updated every year with different ornaments of your choice. I had a very plain grapevine wreath at home that I wanted to decorate with some type of ornaments, but nothing too big that would hide the beauty of the vines.
Right after the holidays last year, I went to a craft store clearance sale and found some beautiful ornamental sprigs that I really loved. One of these sprigs was perfect because it had beautiful deep red berries and gold leaves that looked beautiful when I held them up against the wreath. I loved the look so much that I wired the sprig onto the wreath and decided that a bow at the top would balance out the wreath. I found a beautiful deep red bow with gold edging that complimented the sprig perfectly.
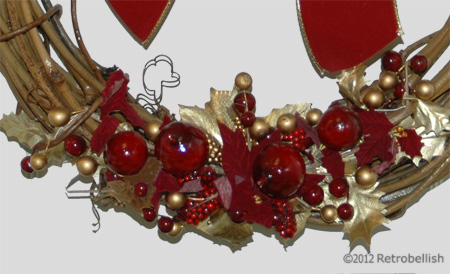
It felt wonderful to hang such a beautiful wreath on the door. These grapevine wreaths are very strong and versatile and lend themselves to many different types of decorating techniques. So just have fun and create your very own one-of-a-kind wreath.
Upcycled Mens Suit
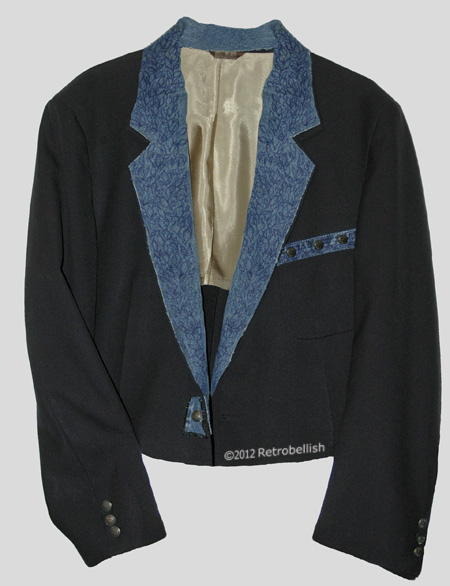
The inspiration for this project came to me while cleaning out David’s closet this fall. We were taking down the summer clothes for the winter when I came across a few of David’s old suit jackets from his younger days which he had outgrown many moons ago. We decided to donate most all the clothes in the closet to the Salvation Army except a few pieces I decided to keep to upcycle. One was this navy-blue suit jacket and the other was an old pair of jeans. I have always loved to embellish the lapels of my jackets and I had an idea to use the jeans to make a hand painted applique for this suit.
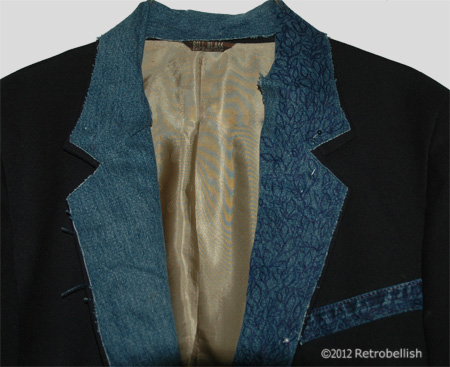
I started out by trying on the jacket, pinning it to a length I liked and cut the suit 14 inches from the bottom edge using pinking shears to prevent the fabric from fraying. To create a smooth bottom edge, I measured a 1/4 inch hem, sewed it, and then used a cool iron. I then used a pencil and plain paper (taping a second piece of paper) to trace each lapel and part of the neckline area. I then carefully cut out a pattern for each side. I took the paper patterns and pinned them onto the denim. Using tailor’s chalk, I added a 1/4″ inch hem all the way around, then cut out the denim shapes. I sewed the denim pieces onto the jacket and carefully sewed on the neckline pieces as well. I also used extra denim pieces and leftover buttons from this jacket project to embellish the pocket. For further embellishment, I used a dark navy-blue permanent fabric marker to draw vines and leaf shapes onto the lapels and neckline.
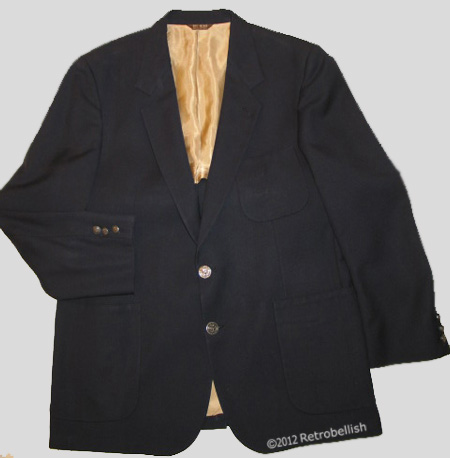
When I had tried on the jacket, I knew the sleeves had to be shortened, so I left these for last. I measured the length that I liked, pinned the sleeves a bit longer for a hem, removed the buttons from each sleeve cuff, and cut the sleeves with my pinking shears. I sewed the hem, ironed and sewed on the buttons. I used what I had available to me at the time, but this project could also be accomplished with an old coat, a woman’s suit jacket or blazer. Thank you for stopping by! Just have fun and create your own.
Reclaimed Silk Flower Topiary
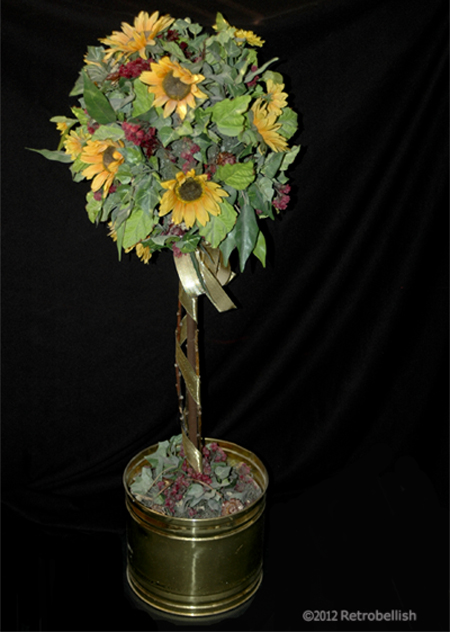
This reclaimed silk flower topiary started out as an idea I had after making some miniature topiary center pieces for a bridal shower. For the miniature topiary base I used some shot glasses that I purchased at a local thrift store. As I looked through my craft box, I found I had all the materials needed to make a big topiary from leftover craft materials I had collected over the years. I found a large shabby Styrofoam ball, a dowel rod, a variety of silk flowers and leaves left over from my many previous floral craft projects. I had an old planter in the basement that I cleaned up and decided to use for the base.
I first painted the dowel rod with a brown craft acrylic paint so that it would resemble a tree branch. Once the painted dried, I inserted the brown dowel rod into the center of the Styrofoam ball. The Styrofoam ball was kind of beat up, but it didn’t matter because it was going to be covered with the flowers and leaves.
I had many large yellow sunflowers, purple little blossoms, and many leaves in various shapes, sizes and shades of green, so I decided these were the materials I would use to make the topiary. I then separated all of the leaf varieties and chose the ones I would use to cover the background surface of the Styrofoam ball. I started by cutting the flower stems and leafy branches to a uniform length, leaving the stems long enough to insert into the Styrofoam ball. On a table, I laid out the flowers and leaves to get an idea of how to evenly distribute them over the surface of the Styrofoam ball. I then started inserting the flowers and leaves in a small area, and continued until I found a very nice pattern, which I continued until I covered the entire surface of the Styrofoam ball.
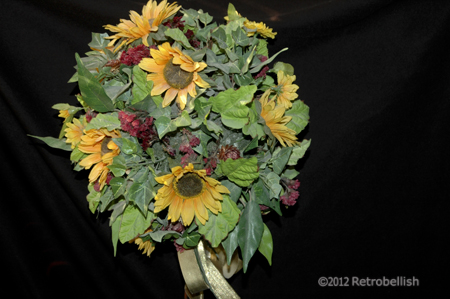
Once I finished covering the surface with the flowers and leaves, the topiary looked very nice and full, but then the dowel rod looked kind of thin in comparison to the volume of the topiary, so I went to my backyard and found a couple of small tree branches that I thought might look good tied to the dowel rod for extra dimension. It worked, because after using some gold ribbon to tie the branches to the dowel rod, the branches definitely added more bulk, but also made the dowel rod look like a branch as well.
For weight, I mixed some Plaster of Paris and poured it into the planter and held the dowel rod in the center until the plaster dried enough to let go. I let the plaster dry for a few hours before touching up the flowers. I added a few remnant leaves and flowers at the base of the topiary to hide the smoothness and white color of the plaster base. And although I used Plaster of Paris, other items such as rocks, dirt, cement and reused Styrofoam can also be used to weigh down the topiary. So have fun looking through your craft supplies and maybe you’ll be surprised to find that you have a lot of fun materials to make your own topiary in any size, shape and color.
Reclaimed Styrofoam Floral Painting
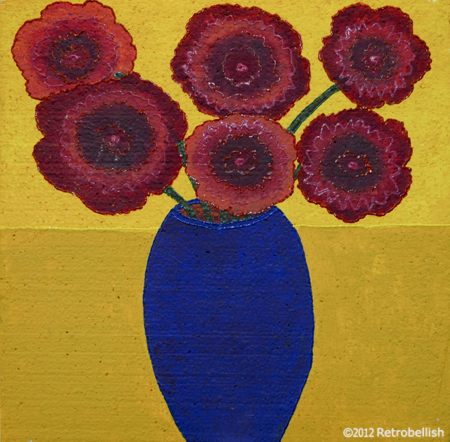
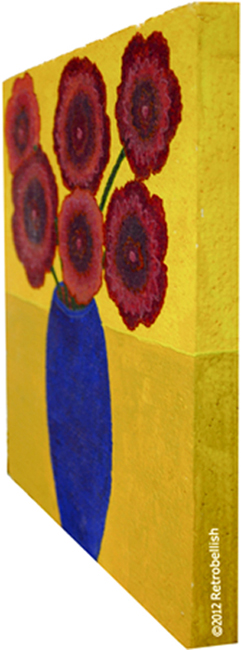
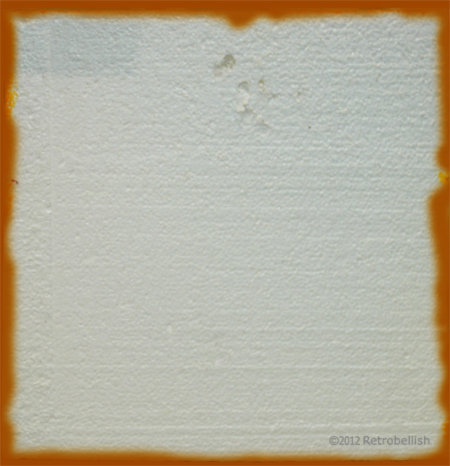
This Styrofoam Floral Painting started with a reclaimed piece of broken insulation. One of the aspects that caught my eye about this Styrofoam was that it was a very thick piece and when painted could easily resemble a wrapped canvas. We first trimmed the Styrofoam piece to square it off and ended up with a piece that measured approximately 16″ x 16″ x 1-1/2″ in depth. I painted the piece with gesso to seal it and give it a canvas-like texture. I used latex acrylic paints to paint the background, vase and flowers. After the flowers were thoroughly dry, I used fabric paint in slightly contrasting colors to edge out the flowers and vase, which added yet more texture and dimension.
Painting on Styrofoam was an experiment and using gesso gave the Styrofoam a more interesting texture. After the background was dry, painting the vase and flowers adhered to the surface so firmly that I didn’t even need a second coat of paint. It has been quite a few years since I painted this piece and the surface has remained in excellent condition, and the colors have not faded or flaked off at all. Another wonderful advantage of painting on thick Styrofoam is how very light this large piece is and how we were able to hang it up by merely pressing it against a tiny nail on the wall.
Although I used Styrofoam for this project, one could also use Masonite, wood or even a wood frame wrapped in old fabric and painted with gesso. Styrofoam is a very versatile and fun medium to work with and lends itself to many craft projects. Challenge yourself to be crafty and help keep it out of the trash. Also, see another one of our Styrofoam art pieces posted here titled Scrap Styrofoam Relic below.
Cigar Box Folk Art Purse
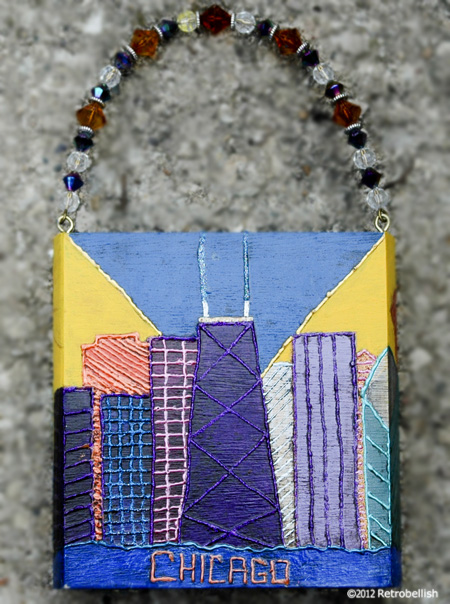
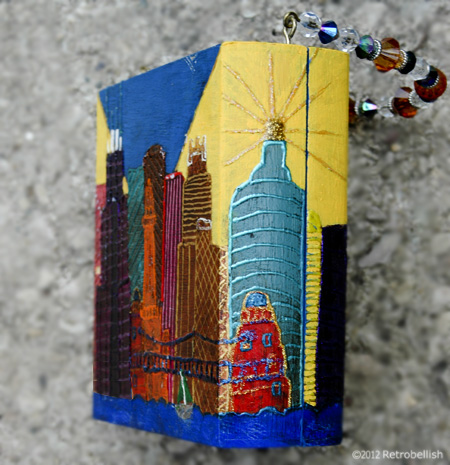
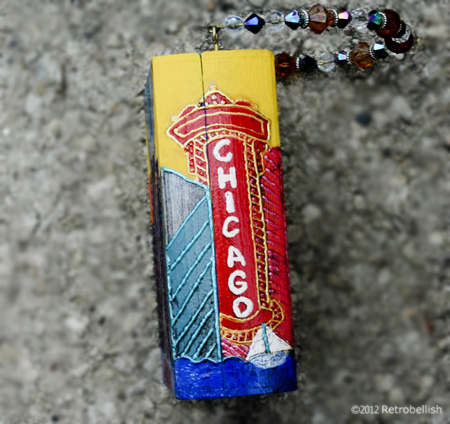
Cigar box purses were once very popular and a great way to reuse these great boxes made out of wood or chipboard that could be used for a multitude of craft projects from jewelery boxes to purses. We used some of these for a lot of our folk art projects where we painted city and farm scenes on the boxes. The box featured here is an abstract rendition of our city of Chicago’s famous landmarks. And although this purse was used as folk art, some of our other pieces were functional purses lined inside with velour fabric and a small mirror.
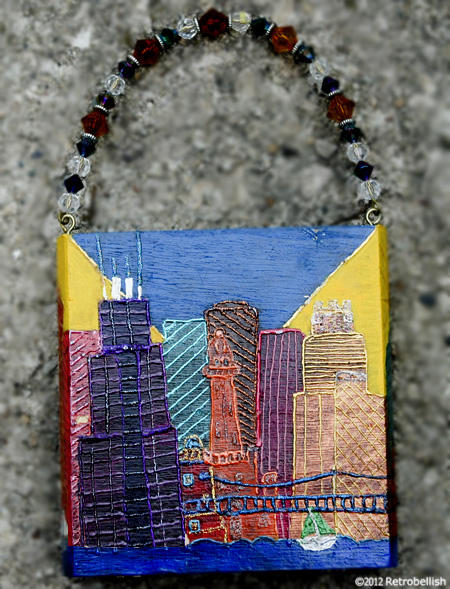
The blue water, and blue and yellow background on this purse were painted with acrylic latex craft paints. Once the paint dried, we used fabric craft paints to paint the abstract Chicago scene. About an hour after everything dried, we used clear latex acrylic sealer to seal it. The purse handle was a pre-made handle reclaimed from a previously scrapped project. Cigar boxes make a great craft project to make at home with children and friends. These boxes could also be found at any big box craft store alongside other shaped boxes and paper mache boxes. So just have fun and create your own piece of art.
