Abstract Autumn Leaf Pin
Autumn is a fun time of the year for crafting seasonal pieces from fall color pieces to nature inspired embellishments. This leaf pin was inspired by all of the beautiful fall colors of the leaves all around us. I recently made a fall wreath from silk maple leaves and had a few sprigs left over. I cut the most colorful leaf from the sprig, which was a beautiful red orange color. I had some sheer brown organza which I intended to use over the leaf to blend with the bright red color, but not cover its brightness completely. I also thought I might try sewing on some sparkly copper and brass toned beads over the surface of the leaf.
I took my pinking shears and cut out two squares of brown sheer organza, which measured 4-1/2″ X 4-1/2″ (slightly larger than the leaf). The leaf measured 4″ X 4″ at its widest points. I centered the silk maple leaf on the two cut pieces of organza and with pinking shears started cutting the organza loosely following the shape of the maple leaf (leaving that slightly larger margin of organza). Once I finished cutting out the leaf shaped organza pieces, holding the leaf and organza pieces together, I hand sewed a few copper colored beads through the organza pieces and the leaf, which helped to anchor everything together. I then used larger brass toned beads near the base of the leaf. I then sewed on a pin closure on the back, but if you’d prefer, you can also use glue on the pin closure. I then took some gold glitter fabric paint and outlined the organza shaped leaf and made a few little vein designs on the leaf for a little more sparkle. I was very pleased with the way the pin turned out and will enjoy wearing it on my jacket and sweaters.
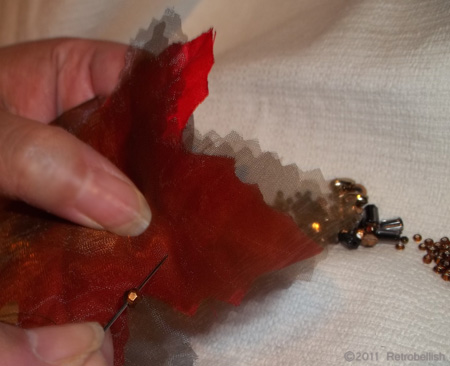
Making Autumn Leaf Pin
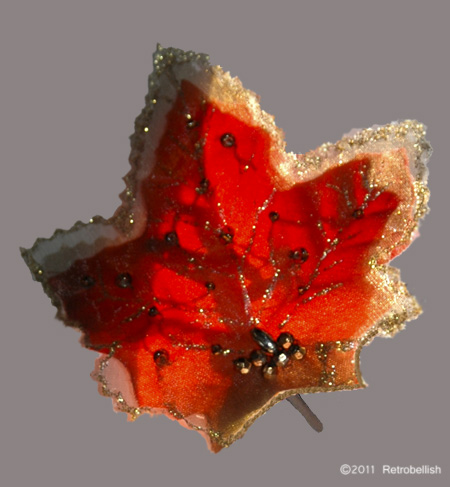
Autumn Leaf Pin
Small Dress In Reused Frame
This small dress is framed in an old plastic frame. We picked up these frames from our local science surplus store. We painted a few of them and gave two of them a crackle finish. I decided to use one of these frames for a small dress project I thought of making. The frame measures 6″ x 7″ and the dress measures approximately 3″ long by 1-3/4″ wide. I first drew a small plain dress outline on thin cardboard. Once I had a simple shape I liked, I cut out the traced cardboard shape. I then placed the cardboard cutout onto a small remnant piece of pink cotton fabric and with pinking shears cut fabric about 1/4″ larger on all sides. I then hot glued the fabric only onto the back of the cardboard.
I took some white tuling and measured a square a few inches wide, folded it in half, held it against the dress and trimmed the length to the same length of the dress. I then threaded a sewing needle with white thread and sewed in and out of the tuling’s folded edge every 1/8″ inch. When I reached the end, I pulled on the thread and gathered the tuling and when I had the gathered look I liked, I made a knot. I placed the tuling about waist high and used a small dot of hot glue on the back left side of the dress to adhere the tuling and the same on the right back side.
I had a small white remnant piece of soft cotton I cut with pinking shears to the shape of a cute rounded collar, and also found some very pretty embellishments to decorate the dress. I carefully hot glued little beaded strands around the collar and two strands at the waist. I also glued a small pink flower onto the dress. With colored pencils I drew a striped wall paper design on plain paper and placed a piece of velum in front of the paper to soften the look. This was a fun project to make using a lot of remnant pieces.
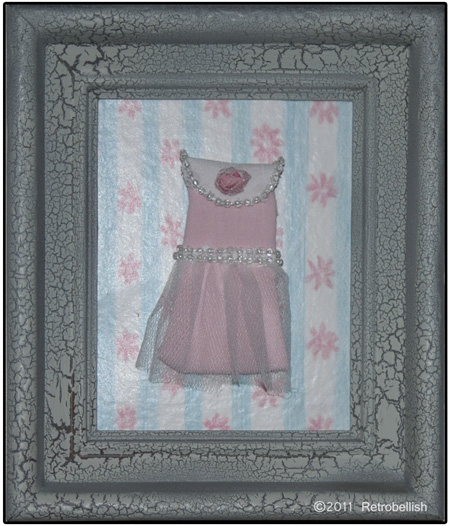
Framed Small Dress
Reclaimed Styrofoam Copper Mirror
This Reclaimed Styrofoam Mirror started out as two pieces of insulation boards used for insulating homes. The pieces were thrown away from a construction job in our neighborhood and we thought it would be a great idea to use them for one of our craft projects. The Styrofoam boards were both the same size and rectangular in shape. I painted both boards with flat black acrylic paint. I had a mirror that was chipped at the top, so I used a glass cutter to cut away the chipped area and straighten the mirror edge. I then placed the mirror against one of the Styrofoam boards, measured and centered it, then with a marker, traced the mirror onto the Styrofoam board. With a small serrated kitchen knife, I cut the Styrofoam board on the drawn line all the way through. I then took white glue and glued the cut out Styrofoam onto the other Styrofoam board.
After the glue dried, I painted the front of the Styrofoam board with a faux copper finish. After the paint dried, I put the mirror into the cutout groove of the Styrofoam boards which fit right in. I then lifted the mirror and used white glue at the corners of the mirror to adhere the mirror onto the Styrofoam board. I then used fabric paint to embellish the mirror and outline it. We also used another small piece of Styrofoam to make an embellishment for the top center of the mirror. Before putting the mirror into the Styrofoam, I put a hook in the back of the Styrofoam, but you can omit the hook and push the Styrofoam onto a small nail on the wall instead. The framed mirror looks very nice on the wall, and it’s also very light. According to how you make your mirror, you can also display it on a stand vertically or horizontally.

Reclaimed Styrofoam Mirror
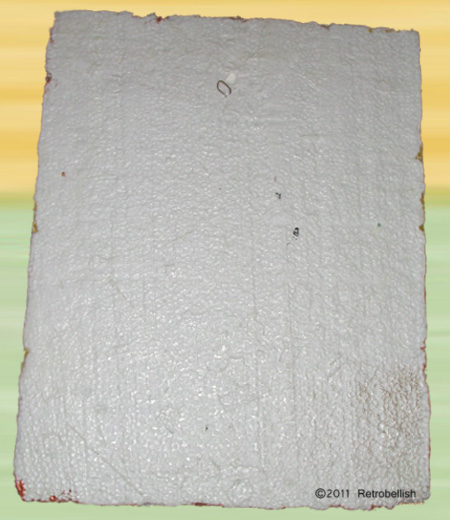
Reclaimed Styrofoam Mirror Backside
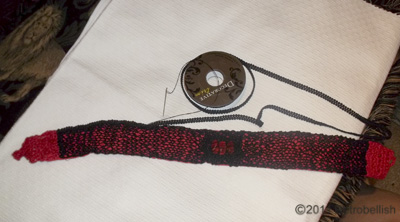
Reclaimed Fabric Red & Black Choker
The choker was made from a leftover red fabric strip of soft thick cotton and a stretchy black netting that I knitted. I knitted the two pieces (using size 8 knitting needles and size 3 crochet thread–12 stitches wide by 36 rows). Next I hand sewed the edges of the finished knitted piece at the edges stretching it as I sewed it across the face of the red fabric to make the stitches wider and show off more of the red fabric. I then sewed on a trim all the way across on both edges.
Separately, I sewed the same trim in little loops around the center so it looked like a flower. I then sewed three little red and black ceramic beads in the center of the flower. I then crocheted (using size E/4 crochet needle) two little squares as closures (using size 3 red crochet thread) and sewed a black button to one end and a little crocheted loop on the other end. I then sewed each red crocheted piece at each end of the choker.
Recently, I had made a black and gold striped cuff in a previous article and thought it would be a great idea to make a choker with other leftover fabric pieces and embellishments I already had.
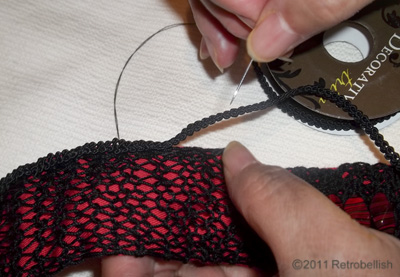
Sewing The Black Trim On the Finished Choker.
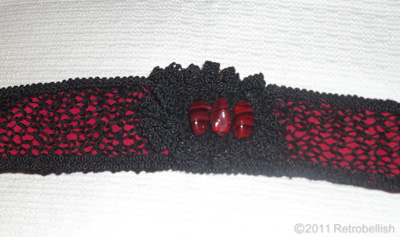
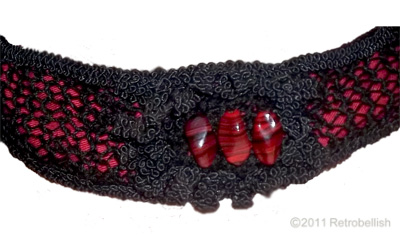
Reclaimed Fabric Red & Black Choker
