Upcycled Mens Suit
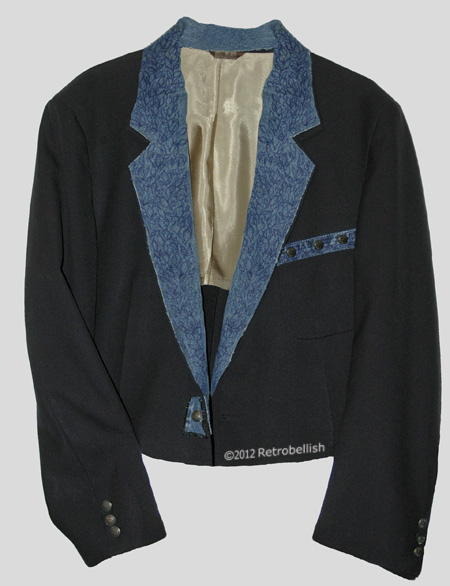
The inspiration for this project came to me while cleaning out David’s closet this fall. We were taking down the summer clothes for the winter when I came across a few of David’s old suit jackets from his younger days which he had outgrown many moons ago. We decided to donate most all the clothes in the closet to the Salvation Army except a few pieces I decided to keep to upcycle. One was this navy-blue suit jacket and the other was an old pair of jeans. I have always loved to embellish the lapels of my jackets and I had an idea to use the jeans to make a hand painted applique for this suit.
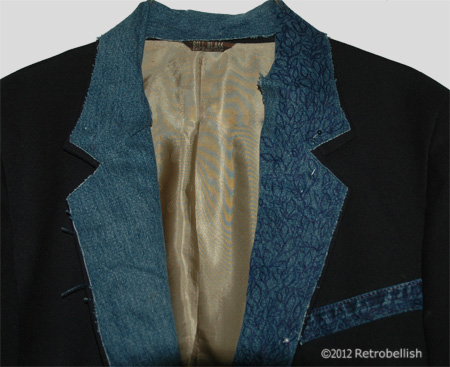
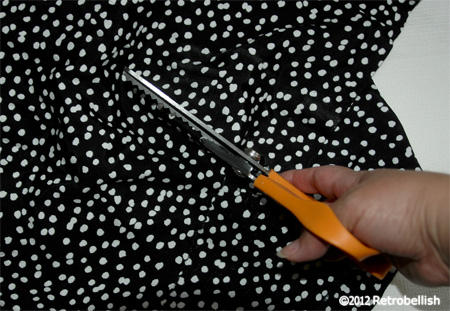
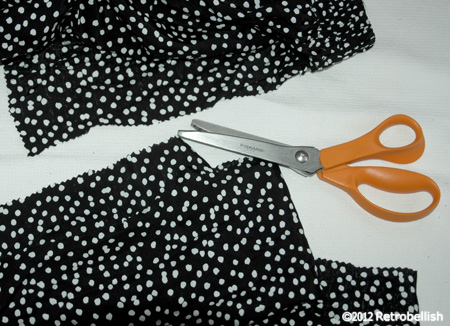
I started out by trying on the jacket, pinning it to a length I liked and cut the suit 14 inches from the bottom edge using pinking shears to prevent the fabric from fraying. To create a smooth bottom edge, I measured a 1/4 inch hem, sewed it, and then used a cool iron. I then used a pencil and plain paper (taping a second piece of paper) to trace each lapel and part of the neckline area. I then carefully cut out a pattern for each side. I took the paper patterns and pinned them onto the denim. Using tailor’s chalk, I added a 1/4″ inch hem all the way around, then cut out the denim shapes. I sewed the denim pieces onto the jacket and carefully sewed on the neckline pieces as well. I also used extra denim pieces and leftover buttons from this jacket project to embellish the pocket. For further embellishment, I used a dark navy-blue permanent fabric marker to draw vines and leaf shapes onto the lapels and neckline.
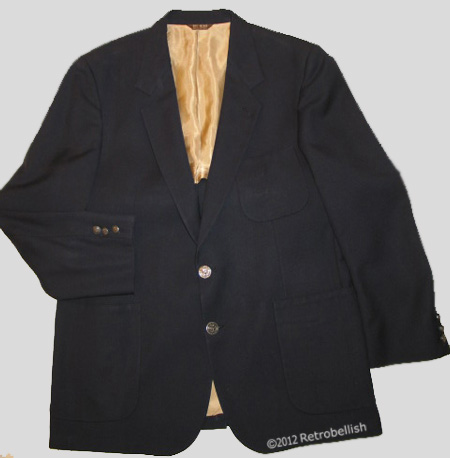
When I had tried on the jacket, I knew the sleeves had to be shortened, so I left these for last. I measured the length that I liked, pinned the sleeves a bit longer for a hem, removed the buttons from each sleeve cuff, and cut the sleeves with my pinking shears. I sewed the hem, ironed and sewed on the buttons. I used what I had available to me at the time, but this project could also be accomplished with an old coat, a woman’s suit jacket or blazer. Thank you for stopping by! Just have fun and create your own.
Upcycled Polka-Dot Scarf
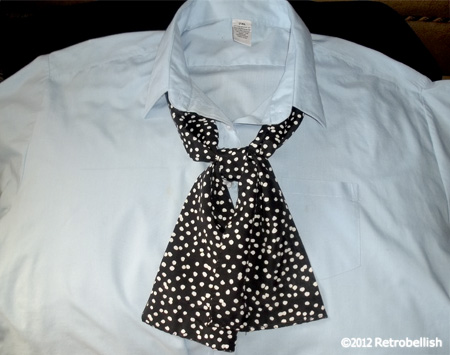
This simple project started out with an old black and white polka-dot pattern skirt that had outlived its used in my closet. I’m a big fan of anything polka-dot so I knew I just had to reuse this wonderful fabric in some of my future projects. I studied the skirt and realized that the fabric was still very silky, vibrant in color and had a great draping quality. These qualities made it the perfect fabric to make a beautiful scarf. The scarf style that I had in mind was a narrow and long scarf that would tie in a simple knot at the chest, or one that could be worn draped with a loose flipped-over knot at the chest.
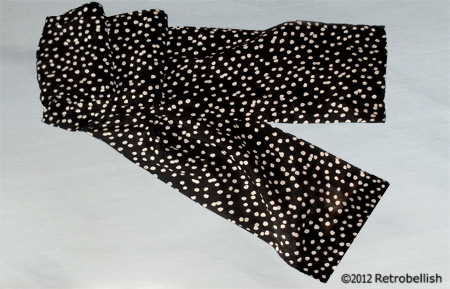
I used one of my favorite scarfs that was similar in style. length and width as a template to see if I had the length and width needed for this project. I laid the old scarf over the longest length of the skirt to see if I had enough fabric to fashion the scarf. Once I determined that I had enough fabric on the skirt to cut out two long rectangles, I knew that sewing the two halves together at the half-mark would make one long beautiful scarf. I figured that the sewn seam at the half-mark would not be very noticeable because of the fabric’s pattern, and also because the scarf would be worn as a tie-style scarf which means the seam would always be (hidden) tucked under the collar of any blouse I’d wear.

I measured, then cut out two long wide rectangles from each edge of the skirt, folded the rectangles in half at the seams, ironed them smooth and sewed the open (opposite side) edges together. Then (wrong sides out) I sewed close one bottom edge and left the edge (at the neckline) open and then turned it inside out (gently pushing out the little corners with a knitting needle). This completed one long rectangle, thus making one-half of the scarf. Then I repeated these entire steps for the second-half of the scarf. I then joined both halves at the center and sewed the two halves together and ironed the whole scarf again. I was very happy with the results and was so glad to see that the fabric did drape beautifully.
And although I used an old polka-dot skirt from my closet for this project, you could use any fabric or style to make it your own. Another great project is to use fabric with a holiday theme print, they make a great personal gift for family and friends. So just have fun and make your own reclaimed fabric designer scarf.
Fabric Marker Embellishment
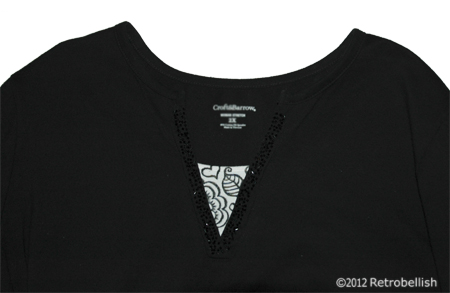
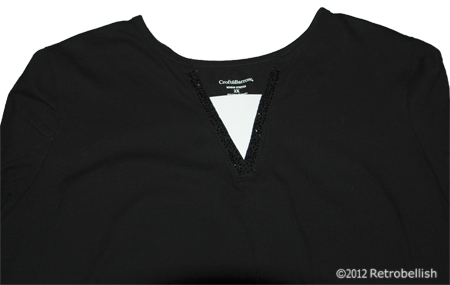
Sometimes simplicity is best, as with the case of this blouse I bought on sale last year. I really loved this blouse, especially the beautiful beading it already had around the neckline. The only thing I didn’t like was the plain white V patch on the front center of the blouse. I thought of sewing a piece of fabric over the patch from some of my beautiful remnants I had laying around from other craft projects, or even cutting the piece out completely, but the crafter in me decided to try my black fabric marker to create some kind of design.
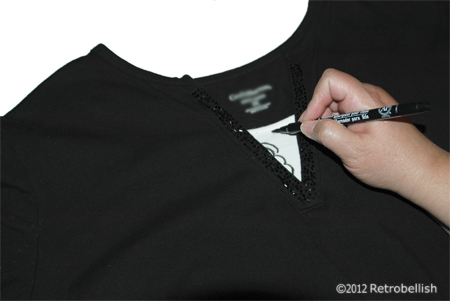
I measured the white V patch on my blouse and traced several similar sized triangles on white paper. I drew many paisley designs on paper until I drew some designs I really loved, which turned out to be a flower, a leaf and some hearts. I then copied those designs onto the triangles until I liked their positions next to each other. I then used a permanent ink black fabric marker to draw them onto my little white V patch on my blouse. I took my time and figured that if I made a mistake, I could always go to plan B and sew a small beautiful fabric piece over the existing V patch. I was very happy with the results and even inspired to try it on one of my other plain white tee shirts (which I will definitely share on a future post).
A Look Back At Retrobellish™
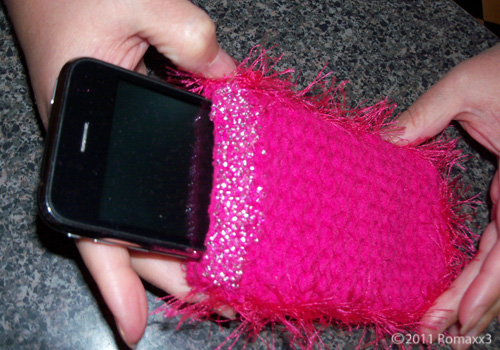
Hello everyone, Retrobellish™ turns ONE and I can’t believe how fast this year has gone by. With my hectic work schedule, making time to post new projects on Retrobellish blog is very challenging. I would like to take this time to thank everyone for all the support you have given Retrobellish™, a simple blog that I started at the request of my husband David. It’s been a fun, challenging and rewarding experience for us. In this post we are featuring our first post from a year ago, How To Make A Knitted Crocheted Fabric Case for Your Cell Phone. So no matter what your passion for crafting may be, always have fun with your creations. Again, Thank You For A Wonderful Year.
Upcycled Blue and White Floral Jacket
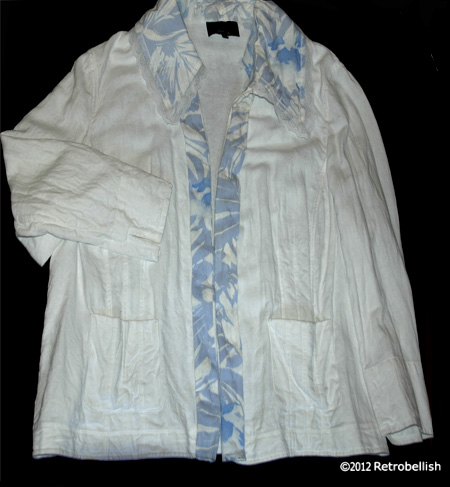
This project started out with two thrift store finds. One was a beautiful blue and white floral cotton dress with a great looking lace edged collar. The other was a plain white cotton jacket. The idea I had was to take the collar from the dress (since it was a size that didn’t fit me), and add it to the jacket. The beautiful floral pattern dress had a lot of potential and lent itself to many other projects because of the extra full fabric bottom.
I started out by carefully cutting out the collar from the dress and leaving about an inch of extra fabric all the way around the collar edge. This would help me position the collar more evenly with the jacket collar and have extra fabric on which to sew it more securely to the jacket. I then started pinning the dress collar to the jacket neckline area and decided to cut away some of the jacket collar to remove bulk. Once the collar was evenly positioned I started pinning it to the jacket so I could begin to sew the two together. This worked out well and looked very nice when completed.
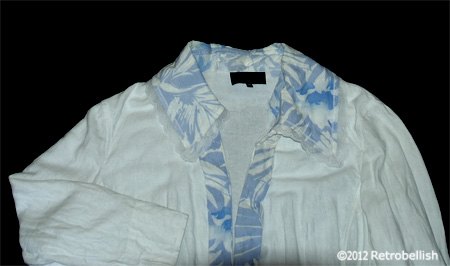
Next, I measured the length of the full skirt-part of the dress (from the waist to the bottom edge) and then measured the jacket from under the left front collar center opening (down the center) to the bottom edge. I then repeated the same process on the right side center jacket opening. I thought that a two inch wide strip of floral fabric would look good adorning each open edge of the jacket. I cut a six inch strip from the dress doing my best (by eye) to pick the same floral pattern on the dress for each side of the jacket. I folded each floral strip (by eye) to a width that looked nicely balanced when placed on the jacket edge, and then I pinned it down. Then I measured the strip and ironed it, which made it so much easier to make the second matching strip for the other jacket edge. I loved how the blue and white floral fabric strips looked on the jacket. It turned out rather well and can be worn with a pair of white shorts, pants, light blue shorts or even jeans.
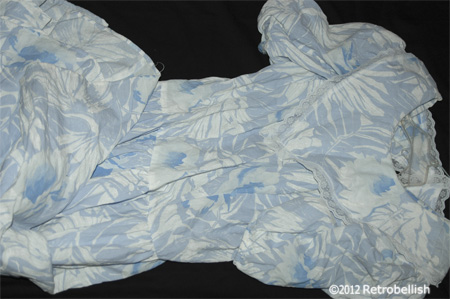
Because I have so much of the blue and white floral fabric left over, I think I will try making a camisole to wear with the jacket. I might even take one of my white camisoles and make a floral strip to add to the top edge of the camisole (definitely a future post). One could also take fabric strips and glue them to a belt to make an accent piece with a jacket. In the past, I’ve even used fabrics I liked on old shoes. So have fun and don’t hesitate to take two of your old pieces and by combining them, see how you can recreate a new piece of your very own. Nothing perfect here, no exact science, just have fun and be yourself.