Folk Art on Plaster Piggy Bank
This plaster piggy bank was very popular in the seventies and eighties and sold at plaster-craft shops throughout the states. This one had been painted with tempera paint and was looking a bit faded and dull. Before I painted it, I wiped it with a damp cloth and painted the whole piggy bank with a fresh coat of gesso.
Once the gesso was dry, I thought of a farm scene and decided to try painting something with a barn and animals. Once I got started with the farm scene, it was really fun and I ended up continuing a country theme all the way around the piggy bank. This piggy bank is one of many pieces on which I’ve painted folk art scenes. This piggy bank measures approximately 9 inches long, 5 inches tall and 15 inches round.
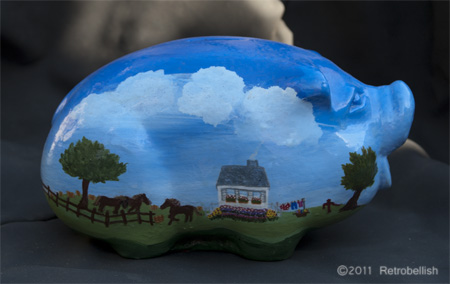
Folk Art On Piggy Bank Right Side
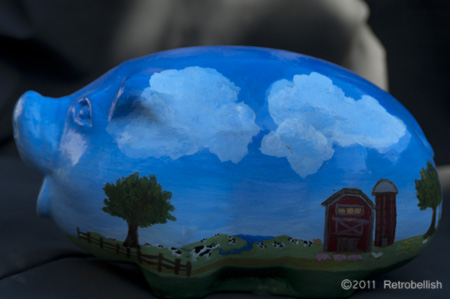
Folk Art On Piggy Bank Left Side
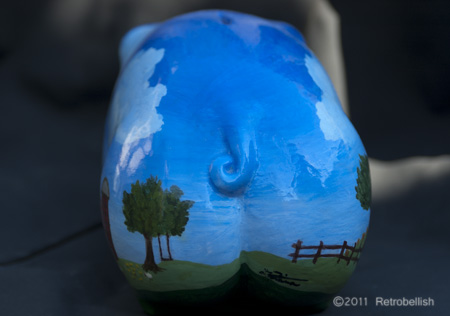
Folk Art On Piggy Bank Back Side
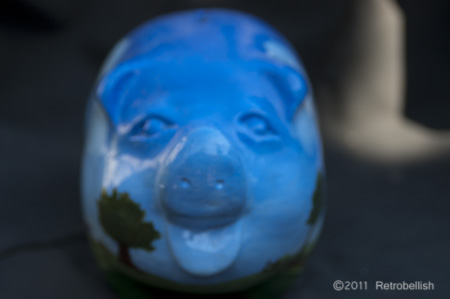
Folk Art On Piggy Bank Face
Paper Mache Fish
This fish is made of old newspapers and a few embellishments I had lying around the house. This is a simple and fun craft to make with children or just for the fun of recycling some old newspapers into your own art piece. I placed several sheets of newspaper on the table to prepare my work area. In a medium container, I made the standard paper mache paste made of flour and water (2 parts flour to one part water–until you get a pancake batter consistency) and added a dash of salt as a preservative. I then tore up several sheets of newspaper into medium sized pieces.
I made the fish core by crumpling some sheets of newspaper (using my hands) and forming them into the fish shape (as close as possible). I then started to dip the torn pieces into the paste mixture and started applying them onto the crumpled sheets to form the shape. At this point you can start shaping your fish to your preferred style. Once the fish shape dried, I used acrylic craft paints to paint the fish. The tail is made from a scrap piece of interfacing that I cut with my pinking shears and scissors, made a slit on the fish tail end and then slid the interface tail piece (with a little glue) into the fish tail end.
I glued on a half round marble for each eye and used fabric paint to draw around the eyes and mouth. I actually made four fish and painted them all in pretty bright colors, but I gave them all away and didn’t photograph them except for this one. Once you get started, it’s a simple and fun project to make. This makes a very lightweight piece which could also be hung with thread or you can make several smaller pieces and hang them as a mobile in a child’s room.
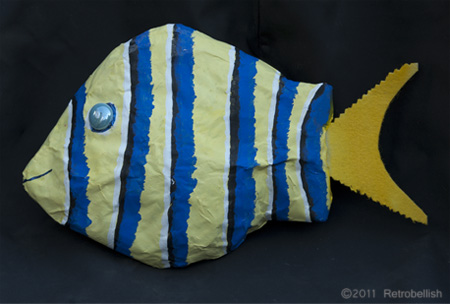
Paper Mache Fish
Fall Holiday Wreath
This wreath started out as a round, green wire bare frame I bought at a craft store. Along with the wreath, I also bought numerous springs of beautiful silk maple leaves and some floral wire. I cut the leaves off of the spring and wired individual leaves onto the wreath. The warm festive fall colors are very cheerful and versatile because they can be displayed from mid-September to Thanksgiving day (US).
Over the years, I’ve added different embellishments to form the wreath featured below. The pieces I added early on were the little scarecrow, little berries and a few fall flowers. Recently, I added the little pumpkin and small gourds. Over the years I’ve had fun adding embellishments to this wreath and although I’ve finished the wreath for now, I know that if I should find fun embellishments I like in the future, I can always swap them out because they are wired on. This is a simple wreath for anyone to make and you can re-use your favorite fall flowers or silk plants, and even some fun embellishments to make your own. A great time to pick up some of these fall items and embellishments is at the end of the holiday seasons.
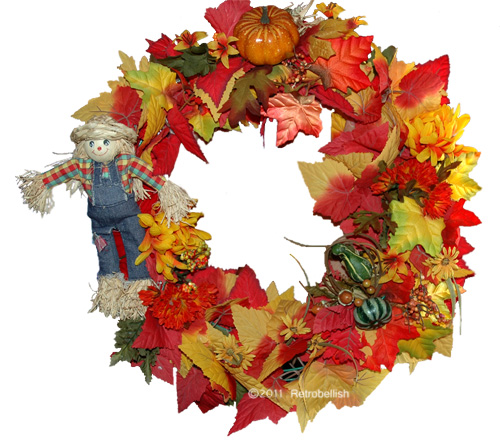
Fall Holiday Wreath
Painting On Reclaimed Wood Frame
Last year I had the opportunity to make a painting for my niece’s wedding. She had the idea to use a framed picture big enough to set on a table with all the seating tags adhered to the face of the painting so guests could find their names and table number right from the picture. I told her I could draw some abstract examples for her on a smaller scale to see how she would like the different scenes. Because the wedding date was set for October, she told us that her wedding color theme would be right from the rich beautiful colors of fall. She chose gorgeous deep reds, warm browns and deep golds. She then described the setting of where the reception was to be held and the beautiful warm colors of the brick walls near the entrance. The entrance area had a long tall table upon which the painting would be set so I was immediately inspired to paint a warm subtle scene of a beautiful sky at dawn, the horizon and soft warm earth colors. I also pictured a large deep brown tree on the left with beautiful maple leaves in an array of bright fall colors. This would leave the entire space to the right of the tree to adhere the lists of names and table numbers.
My husband almost always prefers to use reclaimed wood to make his own frames for his paintings and likes then to be more rustic than perfect. Among the pieces of wood he used, he also used a small piece of wood from an old shelf on which we kept family pictures including some of when our niece was very young. When he completed the frame, he painted it in a deep brown color that complimented and beautifully set off the colors in the painting. Because the name and seating lists were to be taped to the painting, a glass was added to prevent damage. The painting measures 36″ x 40.” Our niece and her husband loved the painting so much, that the painting now hangs in their living room.
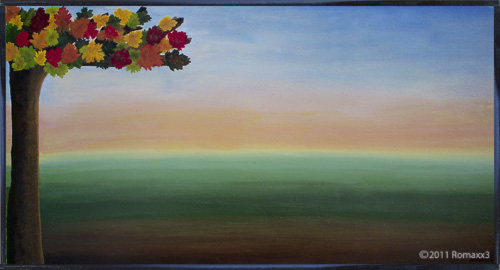
I Named The Painting New Beginnings
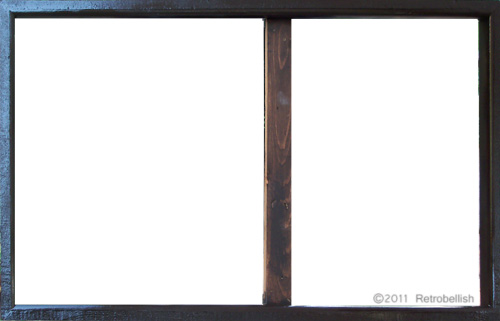
Reclaimed Wood Frame For The Painting New Beginnings
Abstract Autumn Leaf Pin
Autumn is a fun time of the year for crafting seasonal pieces from fall color pieces to nature inspired embellishments. This leaf pin was inspired by all of the beautiful fall colors of the leaves all around us. I recently made a fall wreath from silk maple leaves and had a few sprigs left over. I cut the most colorful leaf from the sprig, which was a beautiful red orange color. I had some sheer brown organza which I intended to use over the leaf to blend with the bright red color, but not cover its brightness completely. I also thought I might try sewing on some sparkly copper and brass toned beads over the surface of the leaf.
I took my pinking shears and cut out two squares of brown sheer organza, which measured 4-1/2″ X 4-1/2″ (slightly larger than the leaf). The leaf measured 4″ X 4″ at its widest points. I centered the silk maple leaf on the two cut pieces of organza and with pinking shears started cutting the organza loosely following the shape of the maple leaf (leaving that slightly larger margin of organza). Once I finished cutting out the leaf shaped organza pieces, holding the leaf and organza pieces together, I hand sewed a few copper colored beads through the organza pieces and the leaf, which helped to anchor everything together. I then used larger brass toned beads near the base of the leaf. I then sewed on a pin closure on the back, but if you’d prefer, you can also use glue on the pin closure. I then took some gold glitter fabric paint and outlined the organza shaped leaf and made a few little vein designs on the leaf for a little more sparkle. I was very pleased with the way the pin turned out and will enjoy wearing it on my jacket and sweaters.
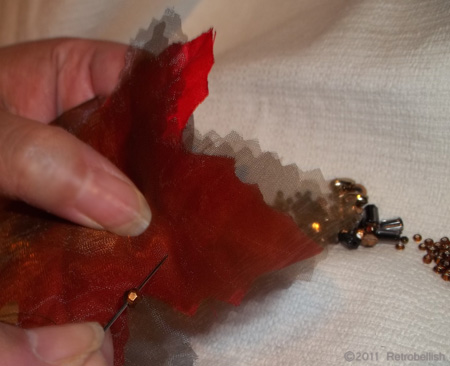
Making Autumn Leaf Pin
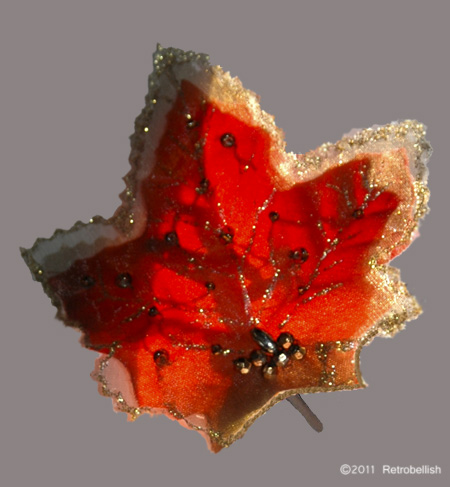
Autumn Leaf Pin