Painting On Reclaimed Wood Frame
Last year I had the opportunity to make a painting for my niece’s wedding. She had the idea to use a framed picture big enough to set on a table with all the seating tags adhered to the face of the painting so guests could find their names and table number right from the picture. I told her I could draw some abstract examples for her on a smaller scale to see how she would like the different scenes. Because the wedding date was set for October, she told us that her wedding color theme would be right from the rich beautiful colors of fall. She chose gorgeous deep reds, warm browns and deep golds. She then described the setting of where the reception was to be held and the beautiful warm colors of the brick walls near the entrance. The entrance area had a long tall table upon which the painting would be set so I was immediately inspired to paint a warm subtle scene of a beautiful sky at dawn, the horizon and soft warm earth colors. I also pictured a large deep brown tree on the left with beautiful maple leaves in an array of bright fall colors. This would leave the entire space to the right of the tree to adhere the lists of names and table numbers.
My husband almost always prefers to use reclaimed wood to make his own frames for his paintings and likes then to be more rustic than perfect. Among the pieces of wood he used, he also used a small piece of wood from an old shelf on which we kept family pictures including some of when our niece was very young. When he completed the frame, he painted it in a deep brown color that complimented and beautifully set off the colors in the painting. Because the name and seating lists were to be taped to the painting, a glass was added to prevent damage. The painting measures 36″ x 40.” Our niece and her husband loved the painting so much, that the painting now hangs in their living room.
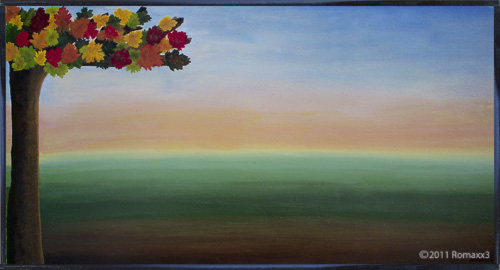
I Named The Painting New Beginnings
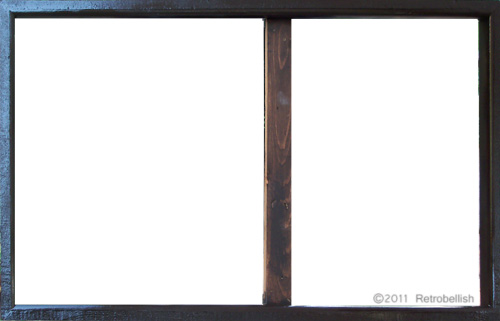
Reclaimed Wood Frame For The Painting New Beginnings
Abstract Autumn Leaf Pin
Autumn is a fun time of the year for crafting seasonal pieces from fall color pieces to nature inspired embellishments. This leaf pin was inspired by all of the beautiful fall colors of the leaves all around us. I recently made a fall wreath from silk maple leaves and had a few sprigs left over. I cut the most colorful leaf from the sprig, which was a beautiful red orange color. I had some sheer brown organza which I intended to use over the leaf to blend with the bright red color, but not cover its brightness completely. I also thought I might try sewing on some sparkly copper and brass toned beads over the surface of the leaf.
I took my pinking shears and cut out two squares of brown sheer organza, which measured 4-1/2″ X 4-1/2″ (slightly larger than the leaf). The leaf measured 4″ X 4″ at its widest points. I centered the silk maple leaf on the two cut pieces of organza and with pinking shears started cutting the organza loosely following the shape of the maple leaf (leaving that slightly larger margin of organza). Once I finished cutting out the leaf shaped organza pieces, holding the leaf and organza pieces together, I hand sewed a few copper colored beads through the organza pieces and the leaf, which helped to anchor everything together. I then used larger brass toned beads near the base of the leaf. I then sewed on a pin closure on the back, but if you’d prefer, you can also use glue on the pin closure. I then took some gold glitter fabric paint and outlined the organza shaped leaf and made a few little vein designs on the leaf for a little more sparkle. I was very pleased with the way the pin turned out and will enjoy wearing it on my jacket and sweaters.
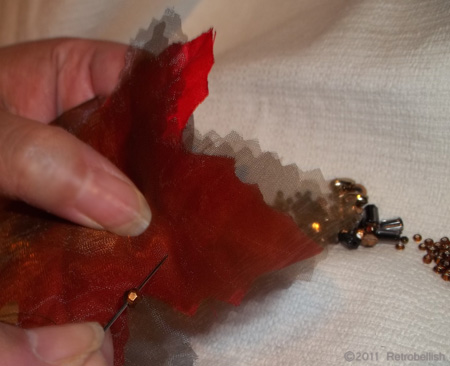
Making Autumn Leaf Pin
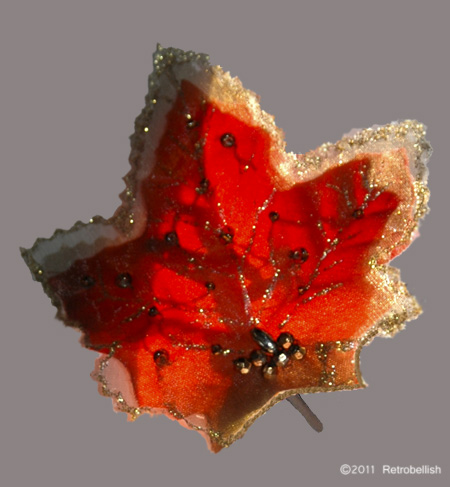
Autumn Leaf Pin
Small Dress In Reused Frame
This small dress is framed in an old plastic frame. We picked up these frames from our local science surplus store. We painted a few of them and gave two of them a crackle finish. I decided to use one of these frames for a small dress project I thought of making. The frame measures 6″ x 7″ and the dress measures approximately 3″ long by 1-3/4″ wide. I first drew a small plain dress outline on thin cardboard. Once I had a simple shape I liked, I cut out the traced cardboard shape. I then placed the cardboard cutout onto a small remnant piece of pink cotton fabric and with pinking shears cut fabric about 1/4″ larger on all sides. I then hot glued the fabric only onto the back of the cardboard.
I took some white tuling and measured a square a few inches wide, folded it in half, held it against the dress and trimmed the length to the same length of the dress. I then threaded a sewing needle with white thread and sewed in and out of the tuling’s folded edge every 1/8″ inch. When I reached the end, I pulled on the thread and gathered the tuling and when I had the gathered look I liked, I made a knot. I placed the tuling about waist high and used a small dot of hot glue on the back left side of the dress to adhere the tuling and the same on the right back side.
I had a small white remnant piece of soft cotton I cut with pinking shears to the shape of a cute rounded collar, and also found some very pretty embellishments to decorate the dress. I carefully hot glued little beaded strands around the collar and two strands at the waist. I also glued a small pink flower onto the dress. With colored pencils I drew a striped wall paper design on plain paper and placed a piece of velum in front of the paper to soften the look. This was a fun project to make using a lot of remnant pieces.
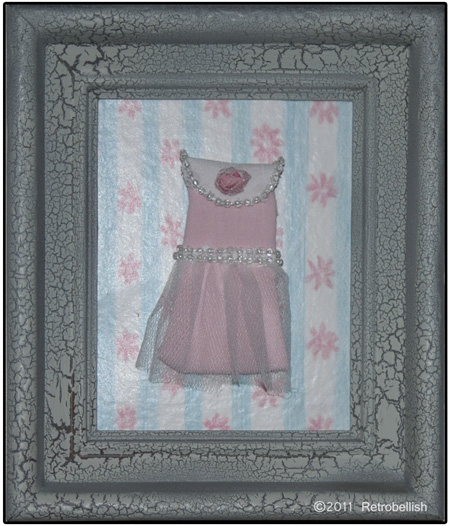
Framed Small Dress
Art On Reclaimed Plaster Lion
This lion cub is a plaster piece that had been painted in a dark color that made the lion cub dull and bland. We had acquired some statuary from a plaster business that was closing in Milwaukee, Wisconsin about 13 years ago. I had painted an abstract painting at the time that I named Confetti and my husband suggested that I should paint the same colors and designs on the lion cub as an abstract piece. At first I thought it would be better if I painted the cub in realist coloring and features, but later decided my husband was right and I should give it a try.
It was very interesting to paint the cub in the same abstract colors and designs I had used in my painting. I had so much fun and was very impressed with the results that I decided to name him Calico Cat. Here I have featured the original painting and Calico Cat. I’m glad I listened to my husband’s advice — sometimes it’s fun to use your imagination on an old piece and give it a new look and feel.
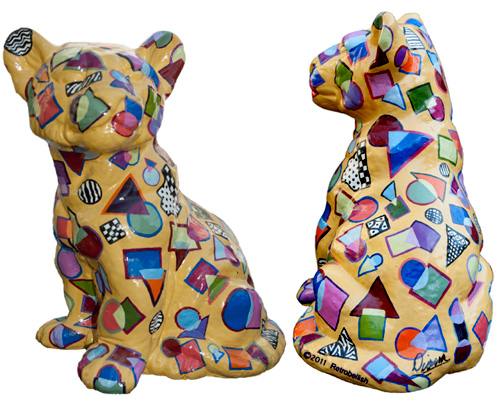
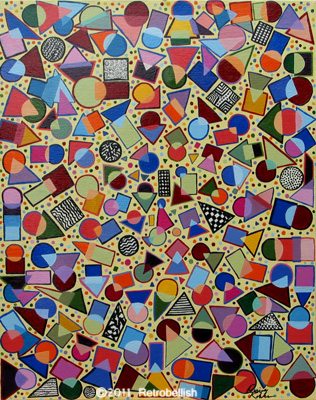
Confetti Painting by Diana Romaxx
Making A Beaded Crochet Ring
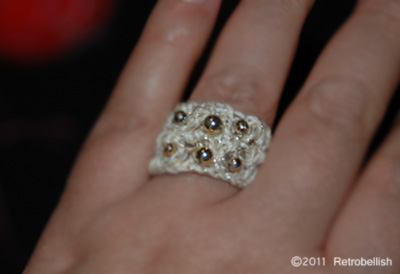
Crocheting has always been a very therapeutic craft for me, so it doesn’t matter how big or small, I always look forward to any new crochet project. I’ve wanted to try making a crochet ring for the longest time, so I decided to try it. I used a size E/4 crochet needle and started the ring by crocheting 17 single chains. I measured the length of crocheted single chains around my ring finger every so often until both ends touched and the band felt snug. I then double-crocheted two rows to make the ring, and stitched together both ends. I’ve had this beige and gold metallic crochet thread for a very long time, however, I threw away the wrapper so I’m guessing that it’s very close to a size 3 crochet thread.
I decided to use a 34 gauge gold jewelry wire to thread the gold beads through the ring. The wire is very flexible and soft yet thin enough to thread the tiny gold beads. I used gold seed beads, but slightly bigger ones in the center of both rows. This really turned out to be a very fun project. I’m definitely looking forward to making another one in a brighter color.
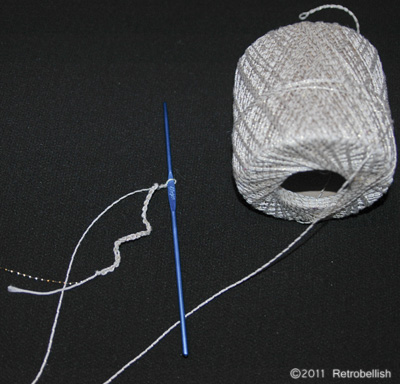
Starting to Crochet Ring's 1st Row
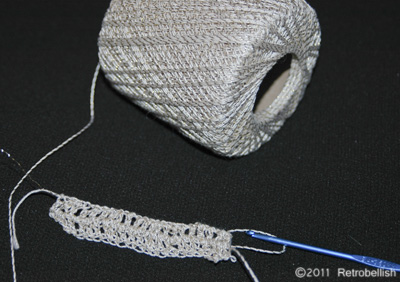
Crocheting the Ring's 2nd Row
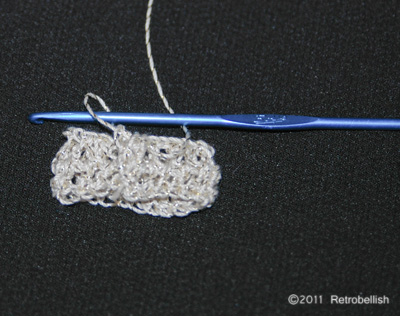
Crocheting Both Ends Together
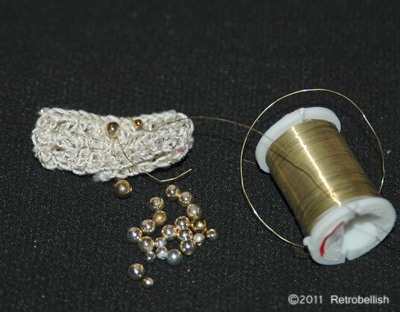
Ready to Begin Beading the Ring
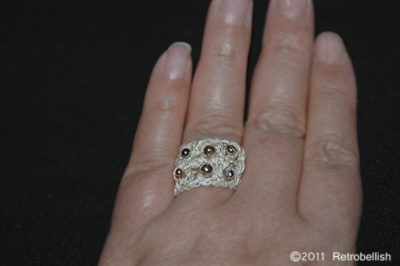
Crochet Beaded Ring
