Embellished Navy Blue Blouse
This is a soft stretch cotton blouse that has a gathered v-neckline. Because the gathered neckline has a lot of texture, I thought it would look even more interesting with some sparkle in between the little creases of the gathered fabric. I had some iridescent bugle beads that reflected blue and purple hues of color. I sewed on a few bugle beads and saw how nice they looked, so I kept sewing them on.
When I sewed on the beads to about a three inch section of the neckline, I was really happy with how different the blouse looked. This project did take a while to complete, but after sewing a little while each night for about a week, I can say that the results were worth it. I still wear this blouse with jeans, but it’s nice to have given my blouse a fun and pretty new look.
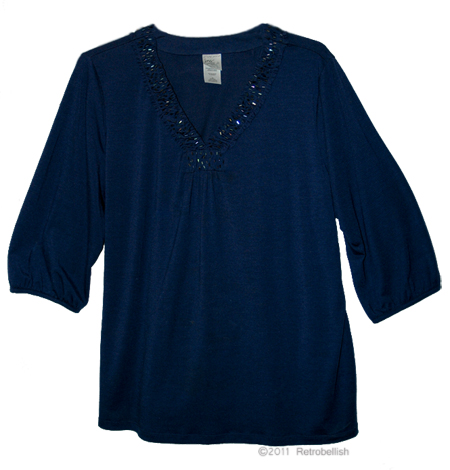
Embellished Navy Blue Blouse
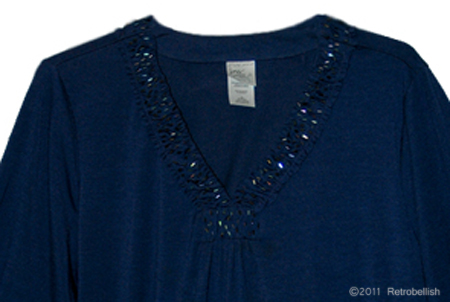
Closeup Of The Navy Blue Blouse Neckline.
Embellished Purple Blouse
I really like this purple blouse and wanted to give it a new look. I realized that when I wear this purple blouse, I always wear it with black — be it a pair of black pants or a black skirt. The blouse has a nice texture so I thought it would look nice with some kind of black trim around the neckline.
Recently, I found some black trim that I thought would look very nice around the neckline. After I measured the trim and the neckline, I confirmed that I had more than enough trim to complete this project.
Once I pinned the trim onto the neckline, I started to sew it on the blouse. I loved that this was a quick and easy project to do. Including the time it took to pin the trim to the blouse, I was able to complete this entire project in one hour. I’m very happy with the results and how the trim gave my blouse a new look.
TIP: The back (top center) of the blouse has a one-button closure, which makes it easy to remove over my head. However, please keep in mind the type of trim you use to embellish articles of clothing made of stretch fabric, because when you have to pull a stretch sweater or blouse over your head to wear it, the trim should also be of an elastic type to be compatible with the fabric.

Embellished Purple Blouse
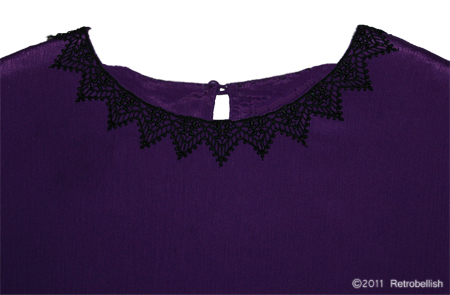
Closeup of Embellishment On Purple Blouse
Folk Art on Plaster Piggy Bank
This plaster piggy bank was very popular in the seventies and eighties and sold at plaster-craft shops throughout the states. This one had been painted with tempera paint and was looking a bit faded and dull. Before I painted it, I wiped it with a damp cloth and painted the whole piggy bank with a fresh coat of gesso.
Once the gesso was dry, I thought of a farm scene and decided to try painting something with a barn and animals. Once I got started with the farm scene, it was really fun and I ended up continuing a country theme all the way around the piggy bank. This piggy bank is one of many pieces on which I’ve painted folk art scenes. This piggy bank measures approximately 9 inches long, 5 inches tall and 15 inches round.
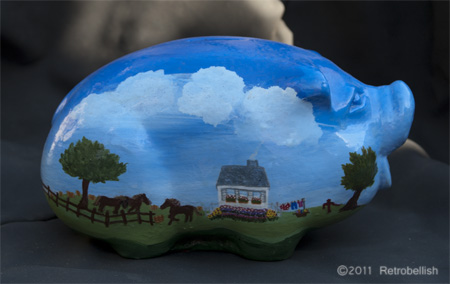
Folk Art On Piggy Bank Right Side
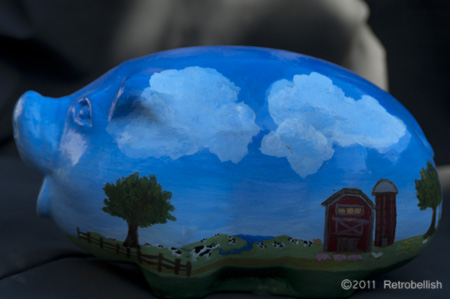
Folk Art On Piggy Bank Left Side
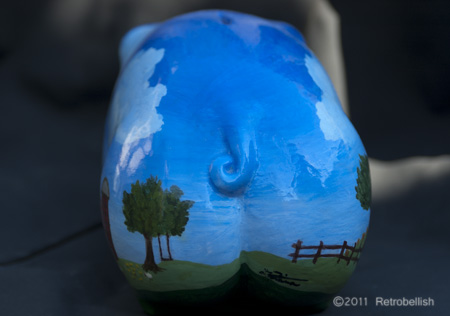
Folk Art On Piggy Bank Back Side
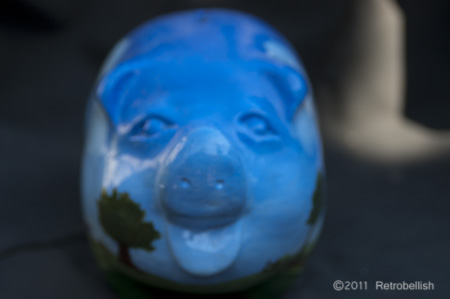
Folk Art On Piggy Bank Face
Fall Holiday Wreath
This wreath started out as a round, green wire bare frame I bought at a craft store. Along with the wreath, I also bought numerous springs of beautiful silk maple leaves and some floral wire. I cut the leaves off of the spring and wired individual leaves onto the wreath. The warm festive fall colors are very cheerful and versatile because they can be displayed from mid-September to Thanksgiving day (US).
Over the years, I’ve added different embellishments to form the wreath featured below. The pieces I added early on were the little scarecrow, little berries and a few fall flowers. Recently, I added the little pumpkin and small gourds. Over the years I’ve had fun adding embellishments to this wreath and although I’ve finished the wreath for now, I know that if I should find fun embellishments I like in the future, I can always swap them out because they are wired on. This is a simple wreath for anyone to make and you can re-use your favorite fall flowers or silk plants, and even some fun embellishments to make your own. A great time to pick up some of these fall items and embellishments is at the end of the holiday seasons.
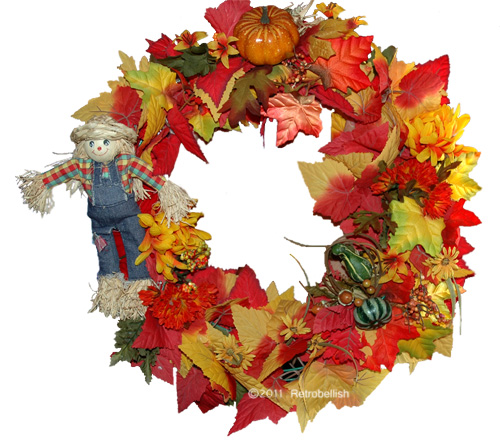
Fall Holiday Wreath
Painting On Reclaimed Wood Frame
Last year I had the opportunity to make a painting for my niece’s wedding. She had the idea to use a framed picture big enough to set on a table with all the seating tags adhered to the face of the painting so guests could find their names and table number right from the picture. I told her I could draw some abstract examples for her on a smaller scale to see how she would like the different scenes. Because the wedding date was set for October, she told us that her wedding color theme would be right from the rich beautiful colors of fall. She chose gorgeous deep reds, warm browns and deep golds. She then described the setting of where the reception was to be held and the beautiful warm colors of the brick walls near the entrance. The entrance area had a long tall table upon which the painting would be set so I was immediately inspired to paint a warm subtle scene of a beautiful sky at dawn, the horizon and soft warm earth colors. I also pictured a large deep brown tree on the left with beautiful maple leaves in an array of bright fall colors. This would leave the entire space to the right of the tree to adhere the lists of names and table numbers.
My husband almost always prefers to use reclaimed wood to make his own frames for his paintings and likes then to be more rustic than perfect. Among the pieces of wood he used, he also used a small piece of wood from an old shelf on which we kept family pictures including some of when our niece was very young. When he completed the frame, he painted it in a deep brown color that complimented and beautifully set off the colors in the painting. Because the name and seating lists were to be taped to the painting, a glass was added to prevent damage. The painting measures 36″ x 40.” Our niece and her husband loved the painting so much, that the painting now hangs in their living room.
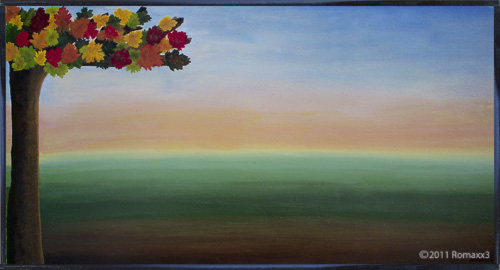
I Named The Painting New Beginnings
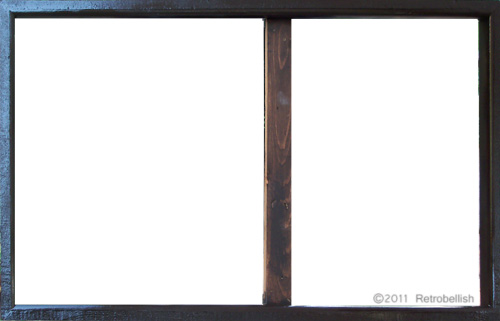
Reclaimed Wood Frame For The Painting New Beginnings