Repurposed Red Cast-Iron Sink
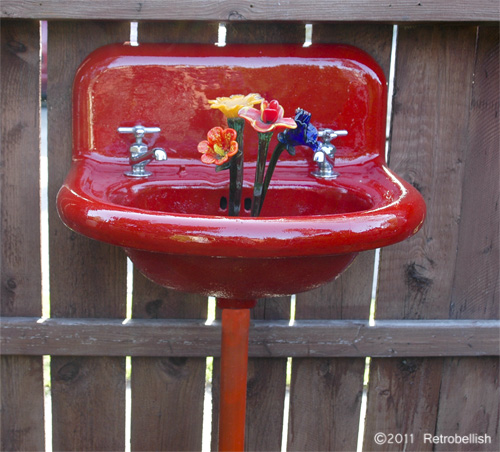
This old cast-iron sink got a new life as yard art. The sink was left over from a bathroom remodeling job done about thirty years ago. The sink had been in the yard so long that it was partially buried into the ground. We took the old sink and chrome faucets and cleaned them up. We did some sanding to remove the rust. We then primed, painted the sink a bright red color, the supporting pipe in a bright orange, and added some colorful glass flowers we had purchased a while back.
The sink looks great and added a wonderful addition to our yard. This sink could also double as a bird bath. Re-embellish, re-invent, recycle.
Red Cast-iron Sink
Whirly Man Trash Art
This piece all started with an old plastic Easter egg we had bought for our dog Maxx about ten years ago. We actually purchased two–one for Maxx and one for Angel our next door neighbor’s dog, which was one of our rescues. Angel chewed through hers in no time but Maxx never really liked the egg except in the winter when there was snow on the ground and he would slide on it throughout the yard. The egg was always around the yard in one corner or another. We never wanted to get rid of it, so in the yard it stayed.
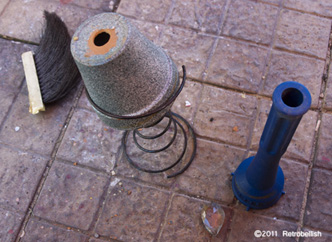
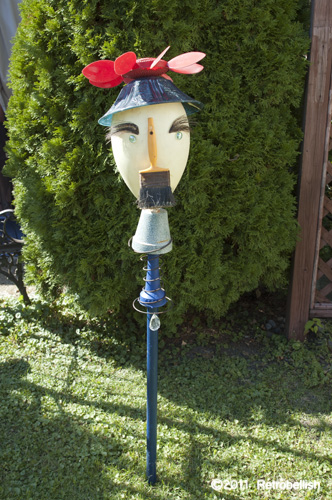
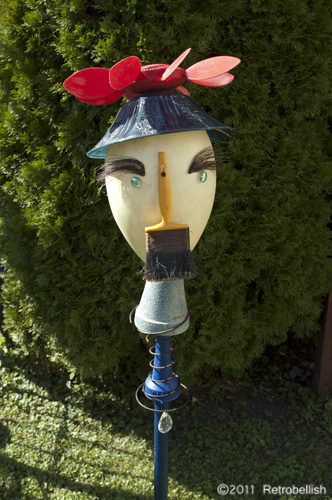
Last summer, my husband started to clean out a spot on the side of the garage we use to keep pieces for future projects. After cleaning out the area we were left with a bunch of items we wanted to recycle. There was some tubing from our old tru-link fence, an old plastic bowl we had painted blue, a broken Stanley broom, a old paint brush, an old whirly flower, a blue piece from the top of a squeeze mop, an old sofa spring, a crystal glass piece, half-round glass pieces, and of course the egg. How David saw a man in all of this, I’ll never know. One day when I got home from work, he surprised me with this piece he named whirly man. Below are photos of whirly man and the trash art pieces used in the process.
Whirly Man Trash Art
Whirly Man Trash Art
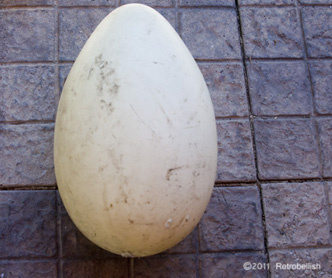
Whirly Man Egg
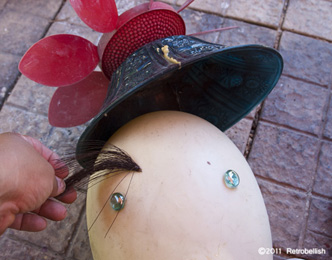
Whirly Man Gets Eyebrows
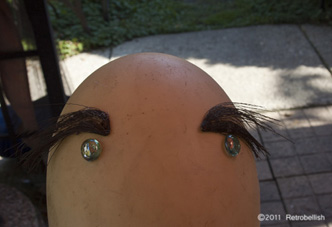
Whirly Man Face
Recycled Bell Phone
This old Bell phone was recycled by David Romaxx by painting it red and using a spring recycled from an old couch. David likes movement in his outside art and the spring provides movement with the wind, and even the birds like to perch on it from time to time. Re-embellish, re-invent, recycle.
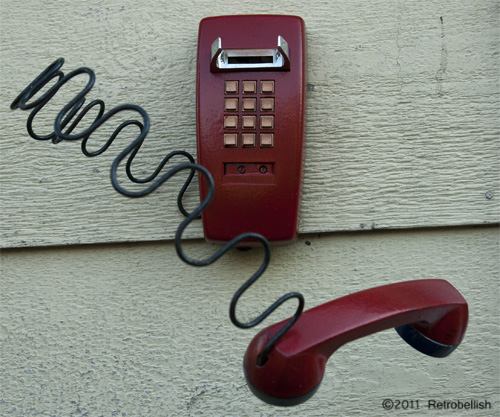
Hot Line Recycled Phone
Embellished Cream Color Jacket/Sweatshirt
Materials used in this project:
–Sweatshirt (button down front)
–Cream colored acrylic yarn
–Size J Crochet Needle
–Cream colored sewing thread
–Cloth Tape Measure
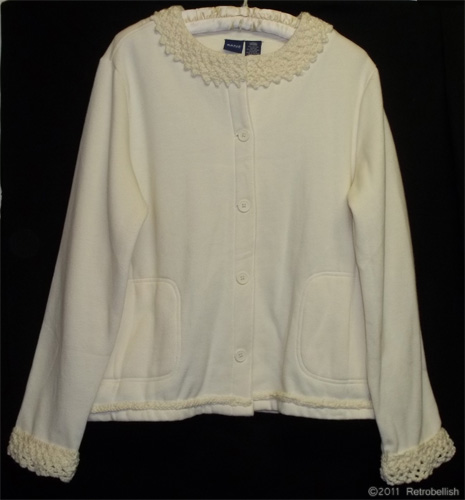
Cream Sweatshirt Jacket Front
I have a cream colored jacket that I’ve had for so many years (too many to mention), made from a sweatshirt-like fabric that I love wearing during the fall season. One of the things I love about it is that I can unbutton it when it gets too warm. Last year, I was going through a pile of clothes to donate and I came across my cream colored jacket. It was still in such great condition that I decided to do my next embellishment project with it. That same week while I looking through one of my fashion catalogs, I came across a beautiful cream colored sweater with a very pretty crocheted collar. That’s when I got the idea that I could embellish my old jacket with a pretty crocheted collar.
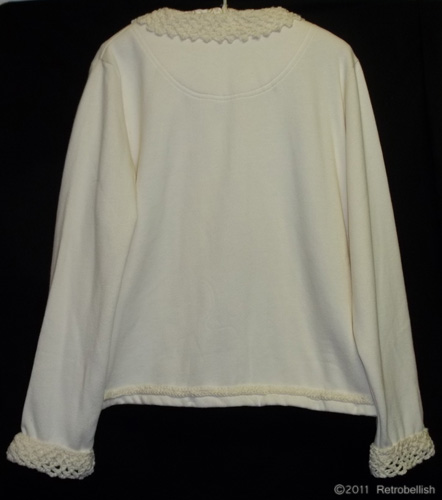
Cream Sweatshirt Jacket Back
The collar of my jacket was thick enough for me to sew on a crocheted trim. So I was able to use a skein of cream colored yarn that I had left over from a previous project and was able to use a crochet pattern from one of my books. I measured the length of my collar and started crocheting. I used a size J crochet needle and enjoyed crocheting the decorative trim. Once I finished the trim, I hand sewed it onto the collar with a sewing needle and matching colored thread.
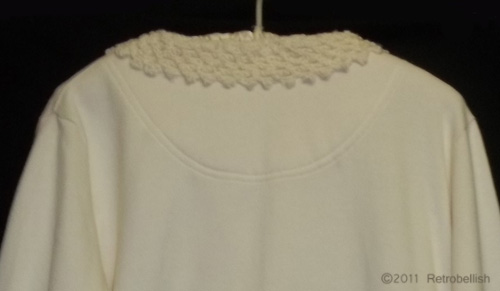
Cream Sweatshirt Jacket Collar
I was very pleased with how wonderful the trim looked on the collar. I absolutely loved it – so much that I decided to crochet two more trims for the cuffs, which also turned out beautiful.
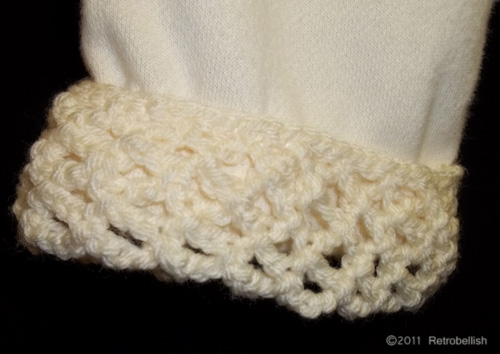
Cream Sweatshirt Jacket Cuff Trim
While looking at the overall look of the jacket, I thought something was off and that it needed something near the bottom. I noticed that the bottom edge of my jacket had a wide hem so I measured the line of hem stitching all the way around to see if I had enough yarn. It would come close, so I decided to crochet a few rows of crocheted chains to cover the hem stitching. I crocheted three rows of single chains, which when completed looked just like a braided band. I then hand sewed the band over the hem stitching. It looked fantastic and completed the look of my jacket.
I love the look that I was able to create for my jacket and how I was able to add it back into my wardrobe. I managed to not only make it a casual piece but even a piece with a little more elegance. Its amazing how a little bit of work with knitting or crocheting can give a piece of clothing a new life.
Elegant Lilac Scarf
Materials I Used in this Project:
Organza fabric (52” L x 10” W )
Fabric scissors and Pinking shears
Tape measure
Straight pins
Sewing thread and needle
1 skein fun fur (optional)
Size 10 (U.S.) knitting needles
* * * * * * * * * * * * * * * * * * * * * * * * * * * ** * * * * * * * * *
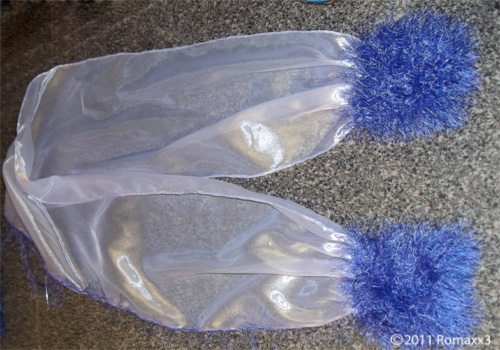
A few years ago, I bought several yards of a beautiful lilac colored organza at a great fabric sale. At the time, I had no idea what I would make with it, but I loved it, so I bought it. Recently, I bought a violet purple dress and thought it would look better with a scarf of some kind. I remembered the organza fabric and thought it might work. I held the organza next to the dress and the violet colors looked great together, so I decided make an organza scarf.
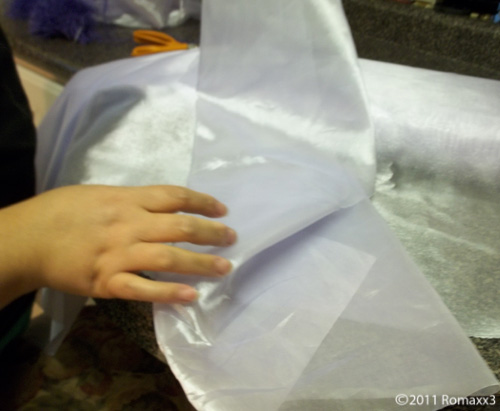
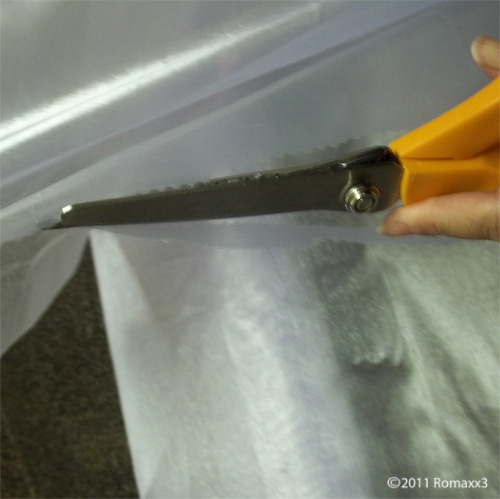
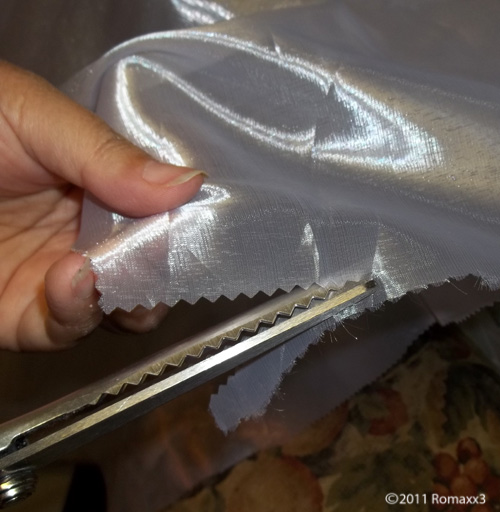
I have several scarves that I tried on with my dress so I could get an idea of the length and width that would compliment my dress. I picked out the scarf that I thought was the perfect length and width and used it as a template to cut the organza. I carefully pinned the scarf to the organza and used pinking shears to cut the fabric. I also added a seam allowance of about ¼ inch all the way around. After measuring the cut organza, it turned out to be 52” long and 10-1/2 wide.
I sewed a hem only on the two length sides of the scarf and left the tail ends raw (that I had also cut with pinking shears). This part is optional and you can decorate (or not decorate) each end of your scarf anyway you’d prefer, but I planned to knit some furry yarn into two separate rectangular pieces to cover each end of the scarf.
I thought the ends would look better if I sewed a running stitch about 2 inches from each scarf end and then sewed on the knitted furry rectangles. To make each of the knitted rectangles, I used size 10 (U.S.) knitting needles and casted on 21 stitches and knitted nine rows (or any length you’d prefer). I actually kept knitting rows (holding them up to the scarf end) until the length was longer than the edge of scarf, which is how I came up with my measurements.
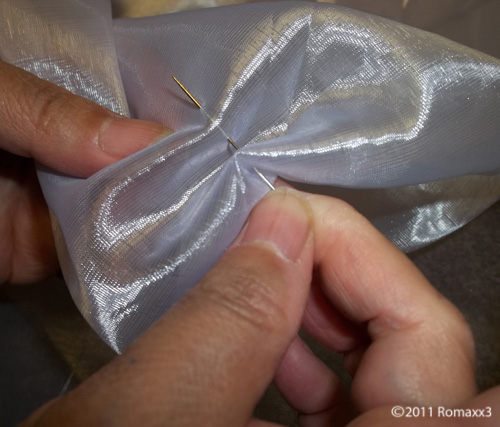
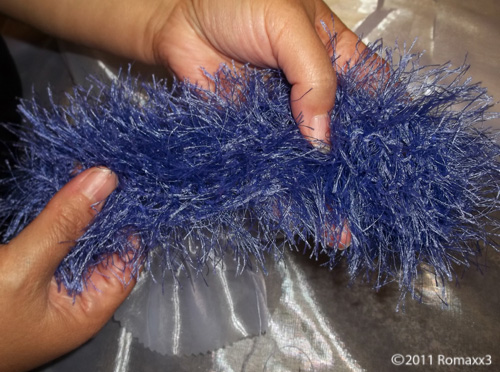
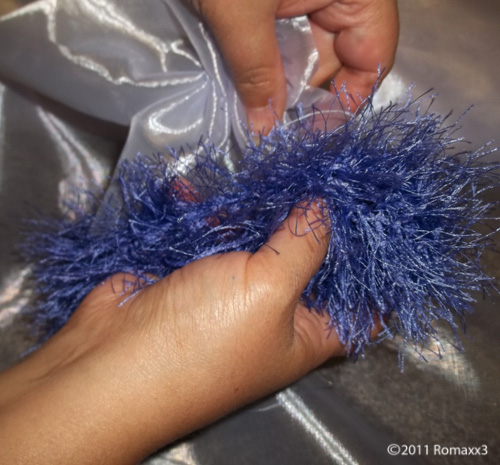
Next, I wrapped one of the furry pieces around the gathered end of the scarf (with the center furry rectangle covering (hiding) the stitches) and spread it out as evenly as I could all the way around. I began to pin the furry yarn to the scarf in a few spots. I then started sewing a few stitches to tack down the furry yarn to the scarf. You don’t have to sew every square inch of the fur onto the scarf, but just enough to hold it in place. I then repeated this on the other end of the scarf. I’m very happy with my scarf and love the way it looks with my dress.
