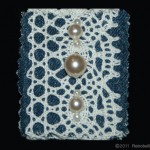
Denim, Lace and Pearl Pin
This gallery contains 10 photos.
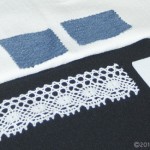
Recycling even the small scrap pieces of fabrics leftover from other projects could produce little fun pieces such as embellishments for other projects. I have a nice casual denim jacket that has an outside left breast pocket. The pocket is square in shape and I’ve always thought it would look nice with some kind of pin, but I didn’t like the look of any of the pins I have. I looked through my fabrics, trims and beads and combined a few things to see if I could make a pin for my jacket. I really liked the look of blue denim covered with a leftover piece of white lace trim. I looked through my beads and found some pretty white pearl beads of all different sizes. A few of the pearls looked nice over the white lace trim and both looked nice against the dark blue of the denim.
I came up with an idea to make a rectangular shaped pin for my denim jacket pocket. So I took my pinking shears and cut about 3 inches of blue denim (and then cut a second piece for the back of the pin), about 5 inches of the white lace, and made sure to cut the denim wider than the lace (the denim measured 2-1/2 inches wide). The pin needed some support so I have some 1/8th inch thick interface that I cut to a smaller size than the length and width of the denim pieces.
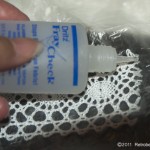
Although I used pinking shears to cut the lace, to make sure the lace edges would not unravel, I used a few drops of Fray Check over the cut lace edges. Fray Check is a liquid solution which keeps fabric edges from unraveling.
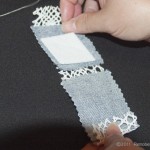
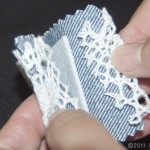
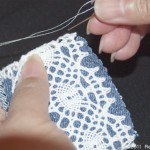
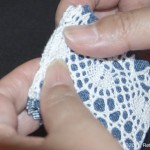
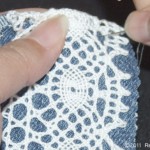
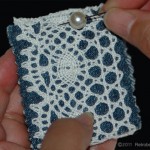
I wrapped the lace around the denim pieces, firmly held together all the pieces and then hand sewed the white lace to the denim. At some points I made sure that I also sewed through the interface piece (sandwiched in the center). I played around with the layout of the pearl beads, chose a simple pattern I really liked, and sewed on the pearls. I’m really happy with the look of my new pin and have used it on my jacket pocket.
- Materials Used for Pin
- Ready to Begin
- Applying the Fray Check to Lace Edge
- Positioning the Interface on the Denim
- Sandwiching the Interface
- Begining to Sew Lace and Denim
- Aligning All Materials
- Sewing through All Materials
- Positioning the First Pearl
- Finished Denim, Lace and Pearl Pin
Retro Pink Pearl Pin
I’ve always loved hats and living in the midwest gives me the opportunity to pull out my winter hats every year. The problem is that a lot of the hats made today have lost a lot of embellishment touches that they had in the past. My problem is that I go for warmth instead of style and a lot of the winter hats are just plain, and some even ugly, but boy are they toasty when the weather outside hits 10 below zero. One of the things that works for me as a crafter, is to embellish my hats with things I love like a crocheted flower, or pin, or knitted piece that I’ve made. This pearled fabric flower pin is very versatile because I chose to use a hat pin instead of a permanent attachment on the hat shown here. This way I can also pin it onto a purse, jacket, coat or other hat.
I used some vintage fabric, an old broken necklace for the pearls and leftover lace from another project to make this flower pin, and one of my old hats. I cut a two inch wide by 12 inch long strip of pink fabric and gently twisted the fabric while forming a circle. Then as I formed the center I started hand sewing the pearls onto the fabric. Next I continued gently twisting the fabric strip until the flower reached a size that I liked. Then I tucked the end under and stitched a knot there to complete the flower. I started hand sewing the lace trim onto the underside of the flower slightly gathering the lace as I sewed it on until it reached all the way around.
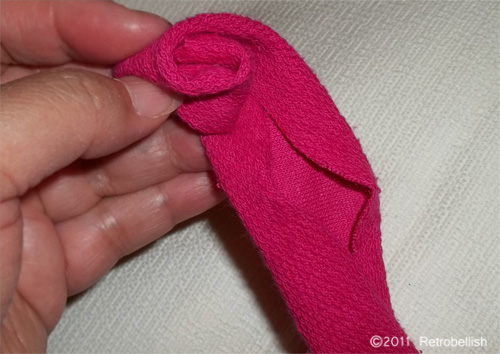
Starting the Pink Pearl Flower
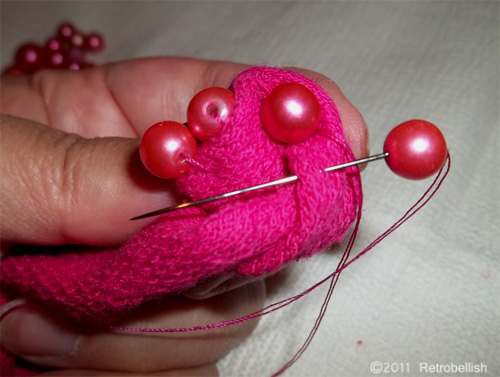
Adding the Pink Pearls
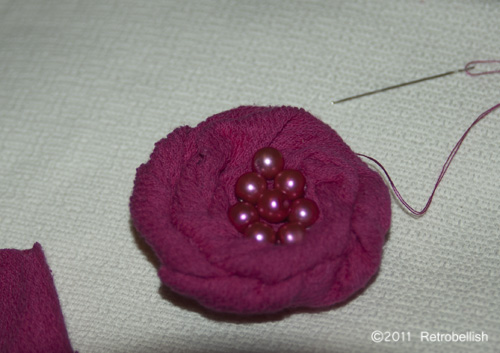
Pink Pearl Pin Flower
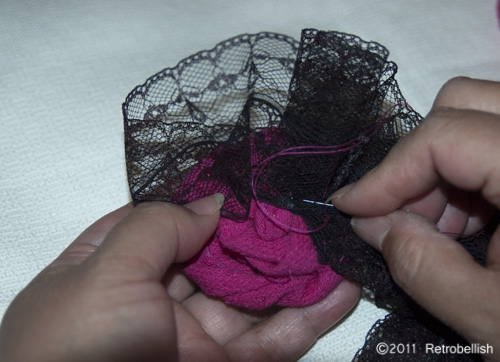
Adding Black Lace to Flower
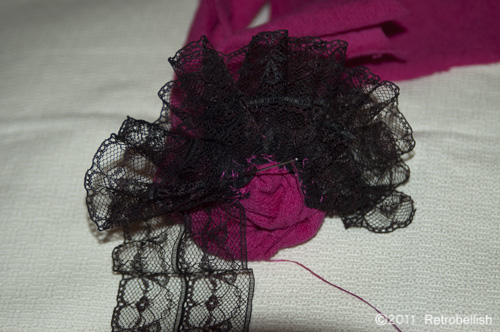
Sewing Lace on the Back of the Flower
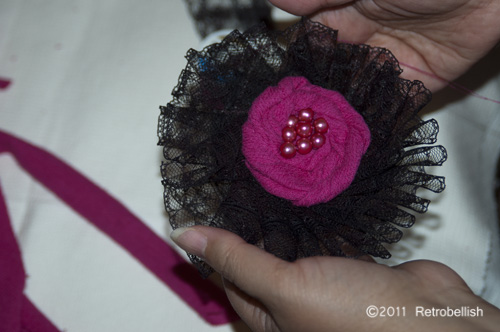
The Finished Pink Flower Pin
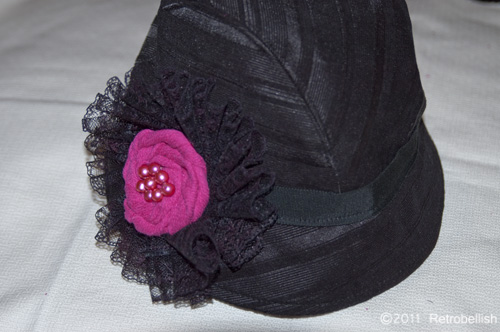
Finished Flower Pin on Black Retro Hat
Embellishing A Black Lacy Blouse
Materials I used to embellish blouse:
Black lacy trim
Black sewing thread and sewing needle
Several years ago, I bought this blouse to wear to an anniversary party. The blouse is black satin with lacy see-through sleeves and rhinestone buttons. Although I’ve only worn it several times since that occasion, I’ve always wanted to embellish it by adding something more to it, I just couldn’t figure out what type of embellishment would look the best.
Recently, I went shopping at a fabric store and in the trims section I found a beautiful black lacy trim. The moment I saw it I knew it would be the perfect embellishment to sew onto my black blouse. I was thrilled with the results of the lace around the cuffs, so I decided to add trim to the collar as well. I just love the new look of my blouse and look forward to wearing it again.
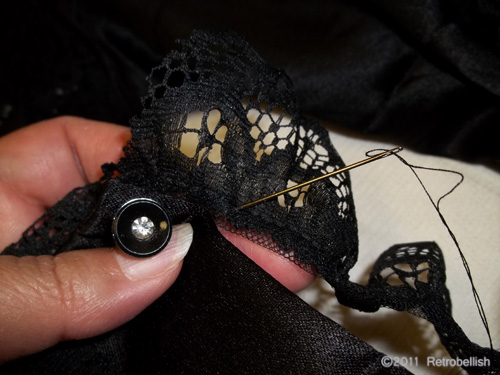
Embellishing-Cuffs
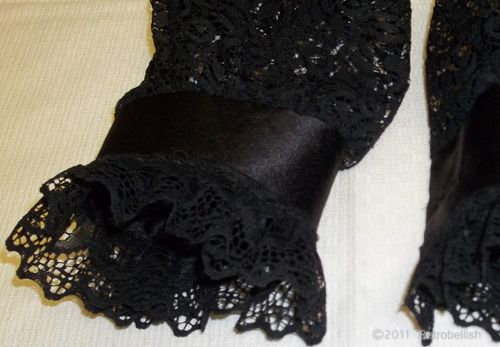
Embellished Cuffs
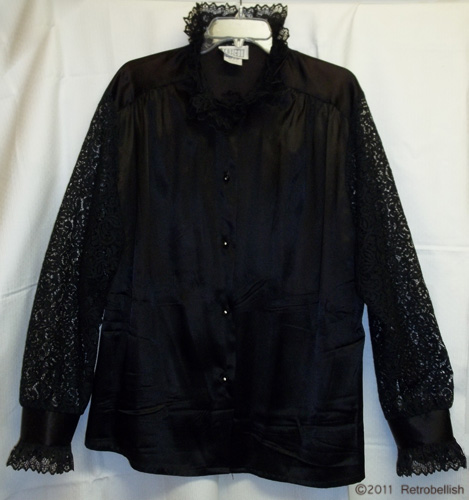
Black Satin Blouse
Embellished Wedding Watch
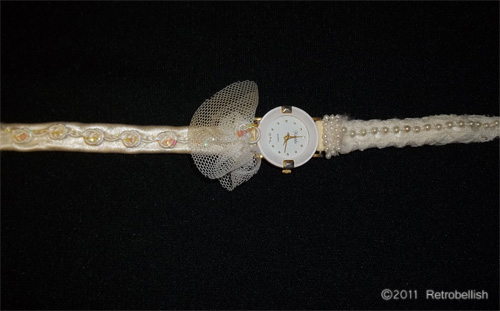
Embellished Watch Sampler
Weddings could be very stressful for the bride-to-be, not to mention all the running around there is to get all your last minute things ready for the next day. A while back, one of my girlfriends was getting married in a small chapel and wanted something old, but not the traditional items like a hanky or piece of jewelry. So I asked her if there was a special item that she had been using for a long time. She gave it some thought and told me about an old white watch she had received as a high school graduation gift from her parents, so it was very sentimental to her. I also had a similar watch at home which I used as a template to give her an idea of how I could embellish her watch for her wedding day. A few weeks ago I found the same watch I had embellished to show her. The watch pictured here has two different styles of embellishments. By the way, my friend was touched with both results, but picked the one with the fluffy tulle, rose-sequin trim on white satin. So this is just one of many ways that you can embellish and reuse an old watch.
