Embellishing A Black Lacy Blouse
Materials I used to embellish blouse:
Black lacy trim
Black sewing thread and sewing needle
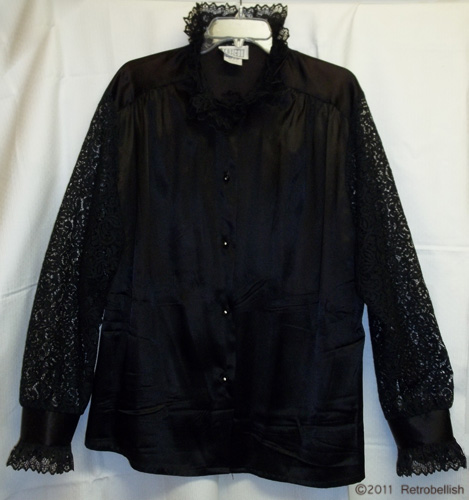
Several years ago, I bought this blouse to wear to an anniversary party. The blouse is black satin with lacy see-through sleeves and rhinestone buttons. Although I’ve only worn it several times since that occasion, I’ve always wanted to embellish it by adding something more to it, I just couldn’t figure out what type of embellishment would look the best.
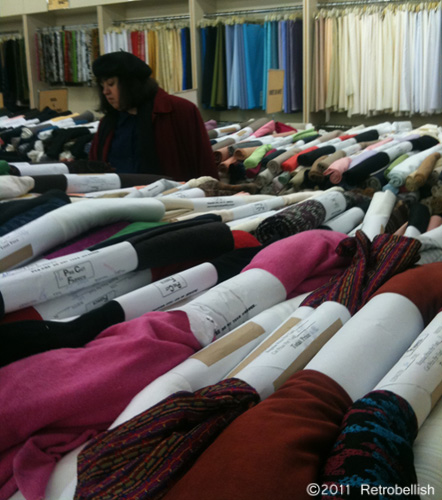
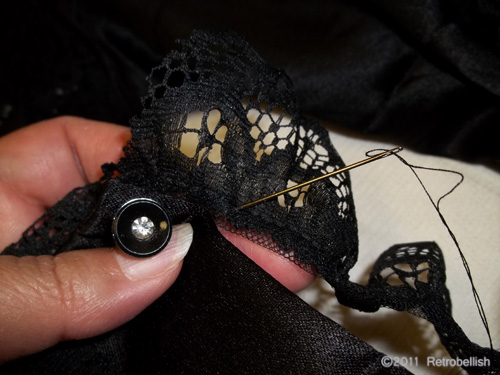
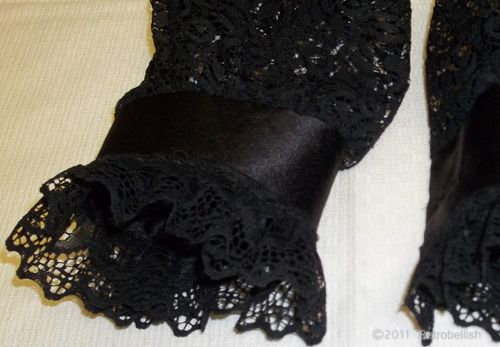
Recently, I went shopping at a fabric store and in the trims section I found a beautiful black lacy trim. The moment I saw it I knew it would be the perfect embellishment to sew onto my black blouse. I was thrilled with the results of the lace around the cuffs, so I decided to add trim to the collar as well. I just love the new look of my blouse and look forward to wearing it again.
Embellishing-Cuffs
Embellished Cuffs
Black Satin Blouse
Recycling Trash Items
One of the most important craft projects for us is to recycle as much as we can. The house is a great place to start your recycling projects. What objects do you tend to throw out the most in your trash? Is it plastic, paper, glass or metal? In our case it’s paper from all the junk mail we still receive. Since we shred all of our paper scraps we end up with a lot of confetti style shredded paper by the bag full. So we have tried a few creative ways to incorporate this shredded paper into our arts and crafts instead of the recycle trash. In a previous article we talked about using paper mache instead of plaster in your plaster-craft molds. And in future articles we will be using the different kinds paper items you could recycle at home. Not only is recycling great for our environment, but it’s also a fun way to craft with family or friends. This summer we had a very bad start to the spring season in Chicago.

Cola Bottle Flowers by Diana & David Romaxx
We lost a lot of our plants we had kept inside for the winter. One such plant was a daisy tree we had for over four years. It started out fine, but by mid-June we lost it. But around our house my husband and I are always creating something out of throw-away items. Shown are photos of two of the recycling projects we created for our yard. My husband removed the daisy tree from the large center pot and cleaned the dry roots out very thoroughly and let it dry outside for about one month. He then painted the roots purple and the trunk gold. He added two wine bottle caps to the front side of the roots and a ruby round half glass bead over each bottle cap to complete the eyes. He then added an old waterbottle and an old telephone cord. It looked like some strange creature from outer space. He put a metal rod into the base that holds the piece yet allows movement with the wind. The flowers in the planter were all made from forty recycled liters of cola and one-inch recycled dowel rods. They really added a lot of charm to our yard and we can reuse them for many, many years. Re-embellish, reinvent, recycle.

Root Man by David Romaxx
Embellished Wedding Watch
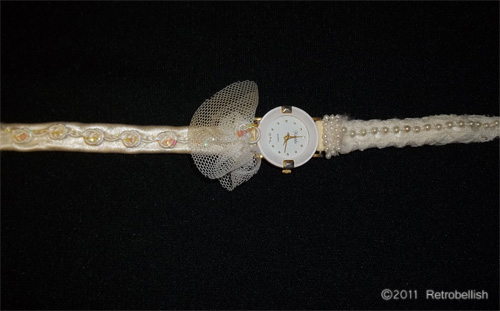
Embellished Watch Sampler
Weddings could be very stressful for the bride-to-be, not to mention all the running around there is to get all your last minute things ready for the next day. A while back, one of my girlfriends was getting married in a small chapel and wanted something old, but not the traditional items like a hanky or piece of jewelry. So I asked her if there was a special item that she had been using for a long time. She gave it some thought and told me about an old white watch she had received as a high school graduation gift from her parents, so it was very sentimental to her. I also had a similar watch at home which I used as a template to give her an idea of how I could embellish her watch for her wedding day. A few weeks ago I found the same watch I had embellished to show her. The watch pictured here has two different styles of embellishments. By the way, my friend was touched with both results, but picked the one with the fluffy tulle, rose-sequin trim on white satin. So this is just one of many ways that you can embellish and reuse an old watch.
Elegant Lilac Scarf
Materials I Used in this Project:
Organza fabric (52” L x 10” W )
Fabric scissors and Pinking shears
Tape measure
Straight pins
Sewing thread and needle
1 skein fun fur (optional)
Size 10 (U.S.) knitting needles
* * * * * * * * * * * * * * * * * * * * * * * * * * * ** * * * * * * * * *
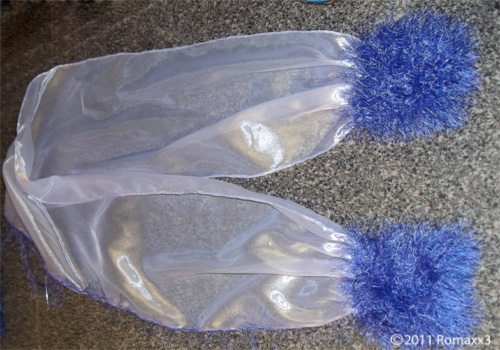
A few years ago, I bought several yards of a beautiful lilac colored organza at a great fabric sale. At the time, I had no idea what I would make with it, but I loved it, so I bought it. Recently, I bought a violet purple dress and thought it would look better with a scarf of some kind. I remembered the organza fabric and thought it might work. I held the organza next to the dress and the violet colors looked great together, so I decided make an organza scarf.
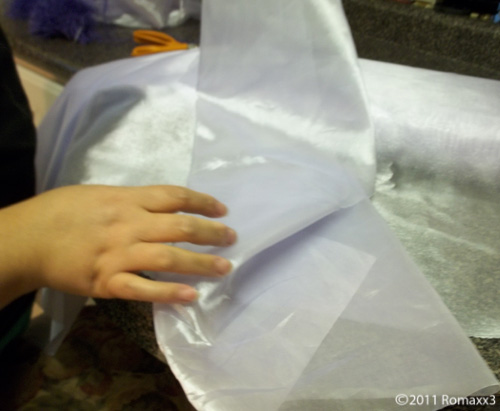
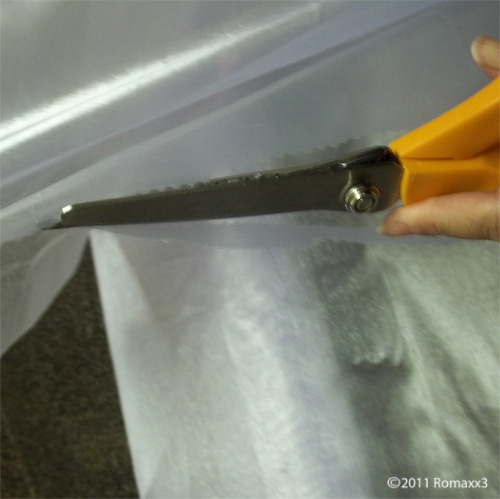
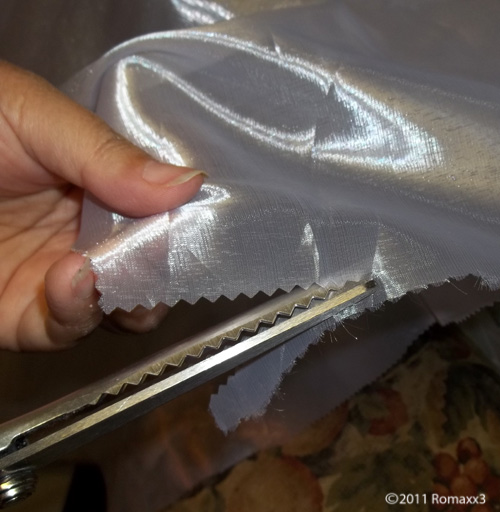
I have several scarves that I tried on with my dress so I could get an idea of the length and width that would compliment my dress. I picked out the scarf that I thought was the perfect length and width and used it as a template to cut the organza. I carefully pinned the scarf to the organza and used pinking shears to cut the fabric. I also added a seam allowance of about ¼ inch all the way around. After measuring the cut organza, it turned out to be 52” long and 10-1/2 wide.
I sewed a hem only on the two length sides of the scarf and left the tail ends raw (that I had also cut with pinking shears). This part is optional and you can decorate (or not decorate) each end of your scarf anyway you’d prefer, but I planned to knit some furry yarn into two separate rectangular pieces to cover each end of the scarf.
I thought the ends would look better if I sewed a running stitch about 2 inches from each scarf end and then sewed on the knitted furry rectangles. To make each of the knitted rectangles, I used size 10 (U.S.) knitting needles and casted on 21 stitches and knitted nine rows (or any length you’d prefer). I actually kept knitting rows (holding them up to the scarf end) until the length was longer than the edge of scarf, which is how I came up with my measurements.
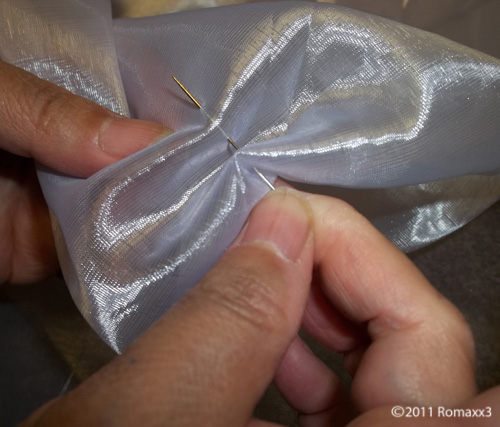
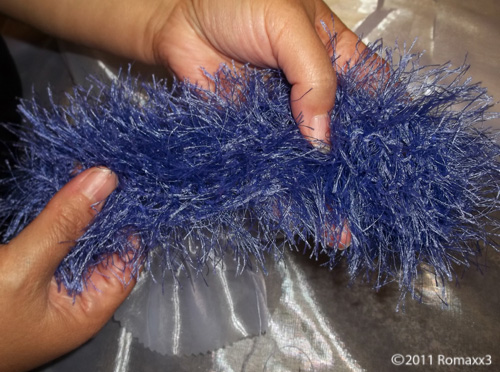
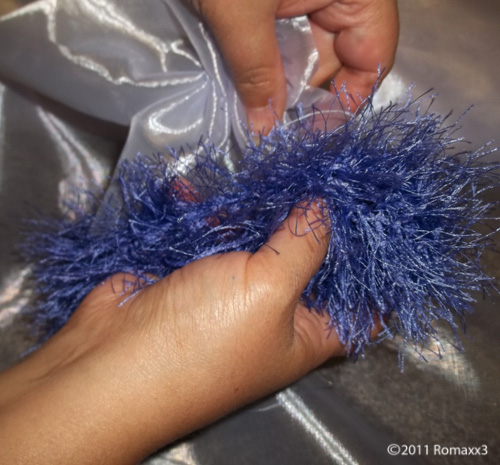
Next, I wrapped one of the furry pieces around the gathered end of the scarf (with the center furry rectangle covering (hiding) the stitches) and spread it out as evenly as I could all the way around. I began to pin the furry yarn to the scarf in a few spots. I then started sewing a few stitches to tack down the furry yarn to the scarf. You don’t have to sew every square inch of the fur onto the scarf, but just enough to hold it in place. I then repeated this on the other end of the scarf. I’m very happy with my scarf and love the way it looks with my dress.
